.JPG)

"Your source for standard gauge modeling in 1:20.3"
|
|
|
"Your source for standard gauge modeling in 1:20.3" |
|
|
.jpg) |
"Work with your own hands … that you
may walk properly toward those who are outside, and that you may lack
nothing" My workshop began at my Dad's place in a 12' x 24' portion of his three car detached garage (the "lower garage" as we call it, one of three outbuildings at my parent's home). In middle and high school it had housed my HO gauge layout--heated in the winter, but as hot, humid and buggy as a Georgia swamp in the summer. After my wife and I were married, the shop occupied a good portion of the basement of our rental house in Kingsport, Tennessee. Since moving back to Knoxville in 2001, I initially moved my equipment back into Dad's "lower garage" while the wife and I lived in an apartment. The lower garage was where most of the Gauge 3 freight cars pictured elsewhere on this site were built just before I made the switch to F scale. In 2003 we moved into the rental house (at left) which we bought in 2005. I began working on the detached garage which at that point was just the shell of a building, with exposed stud walls, no ceiling, no insulation and one 15 amp circuit off the house for electrical service. That's all changed now. And after several years of on again, off again work, Dave's Workshop is 575 square feet of model building comfort. My thanks go
to Seth Rosenberger, Kaleb White, Roger Olsen, Don Niday, Jeff Nichols,
and Julian Morrison--friends all--who at different points in time helped
make the
vision into a reality. |
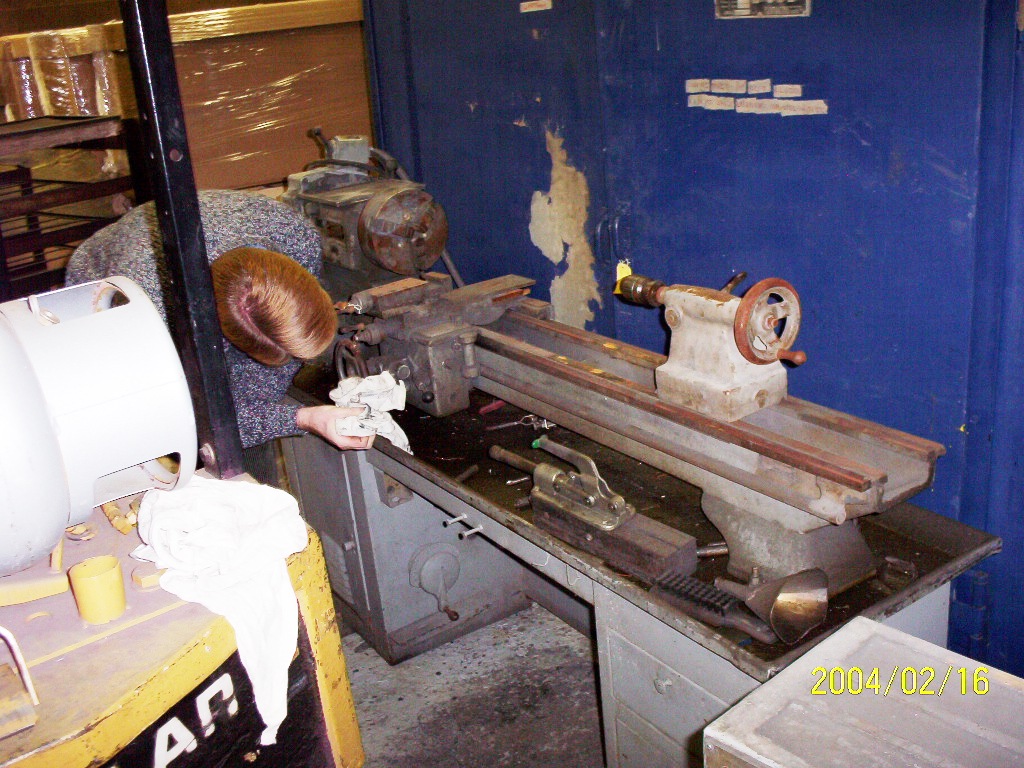
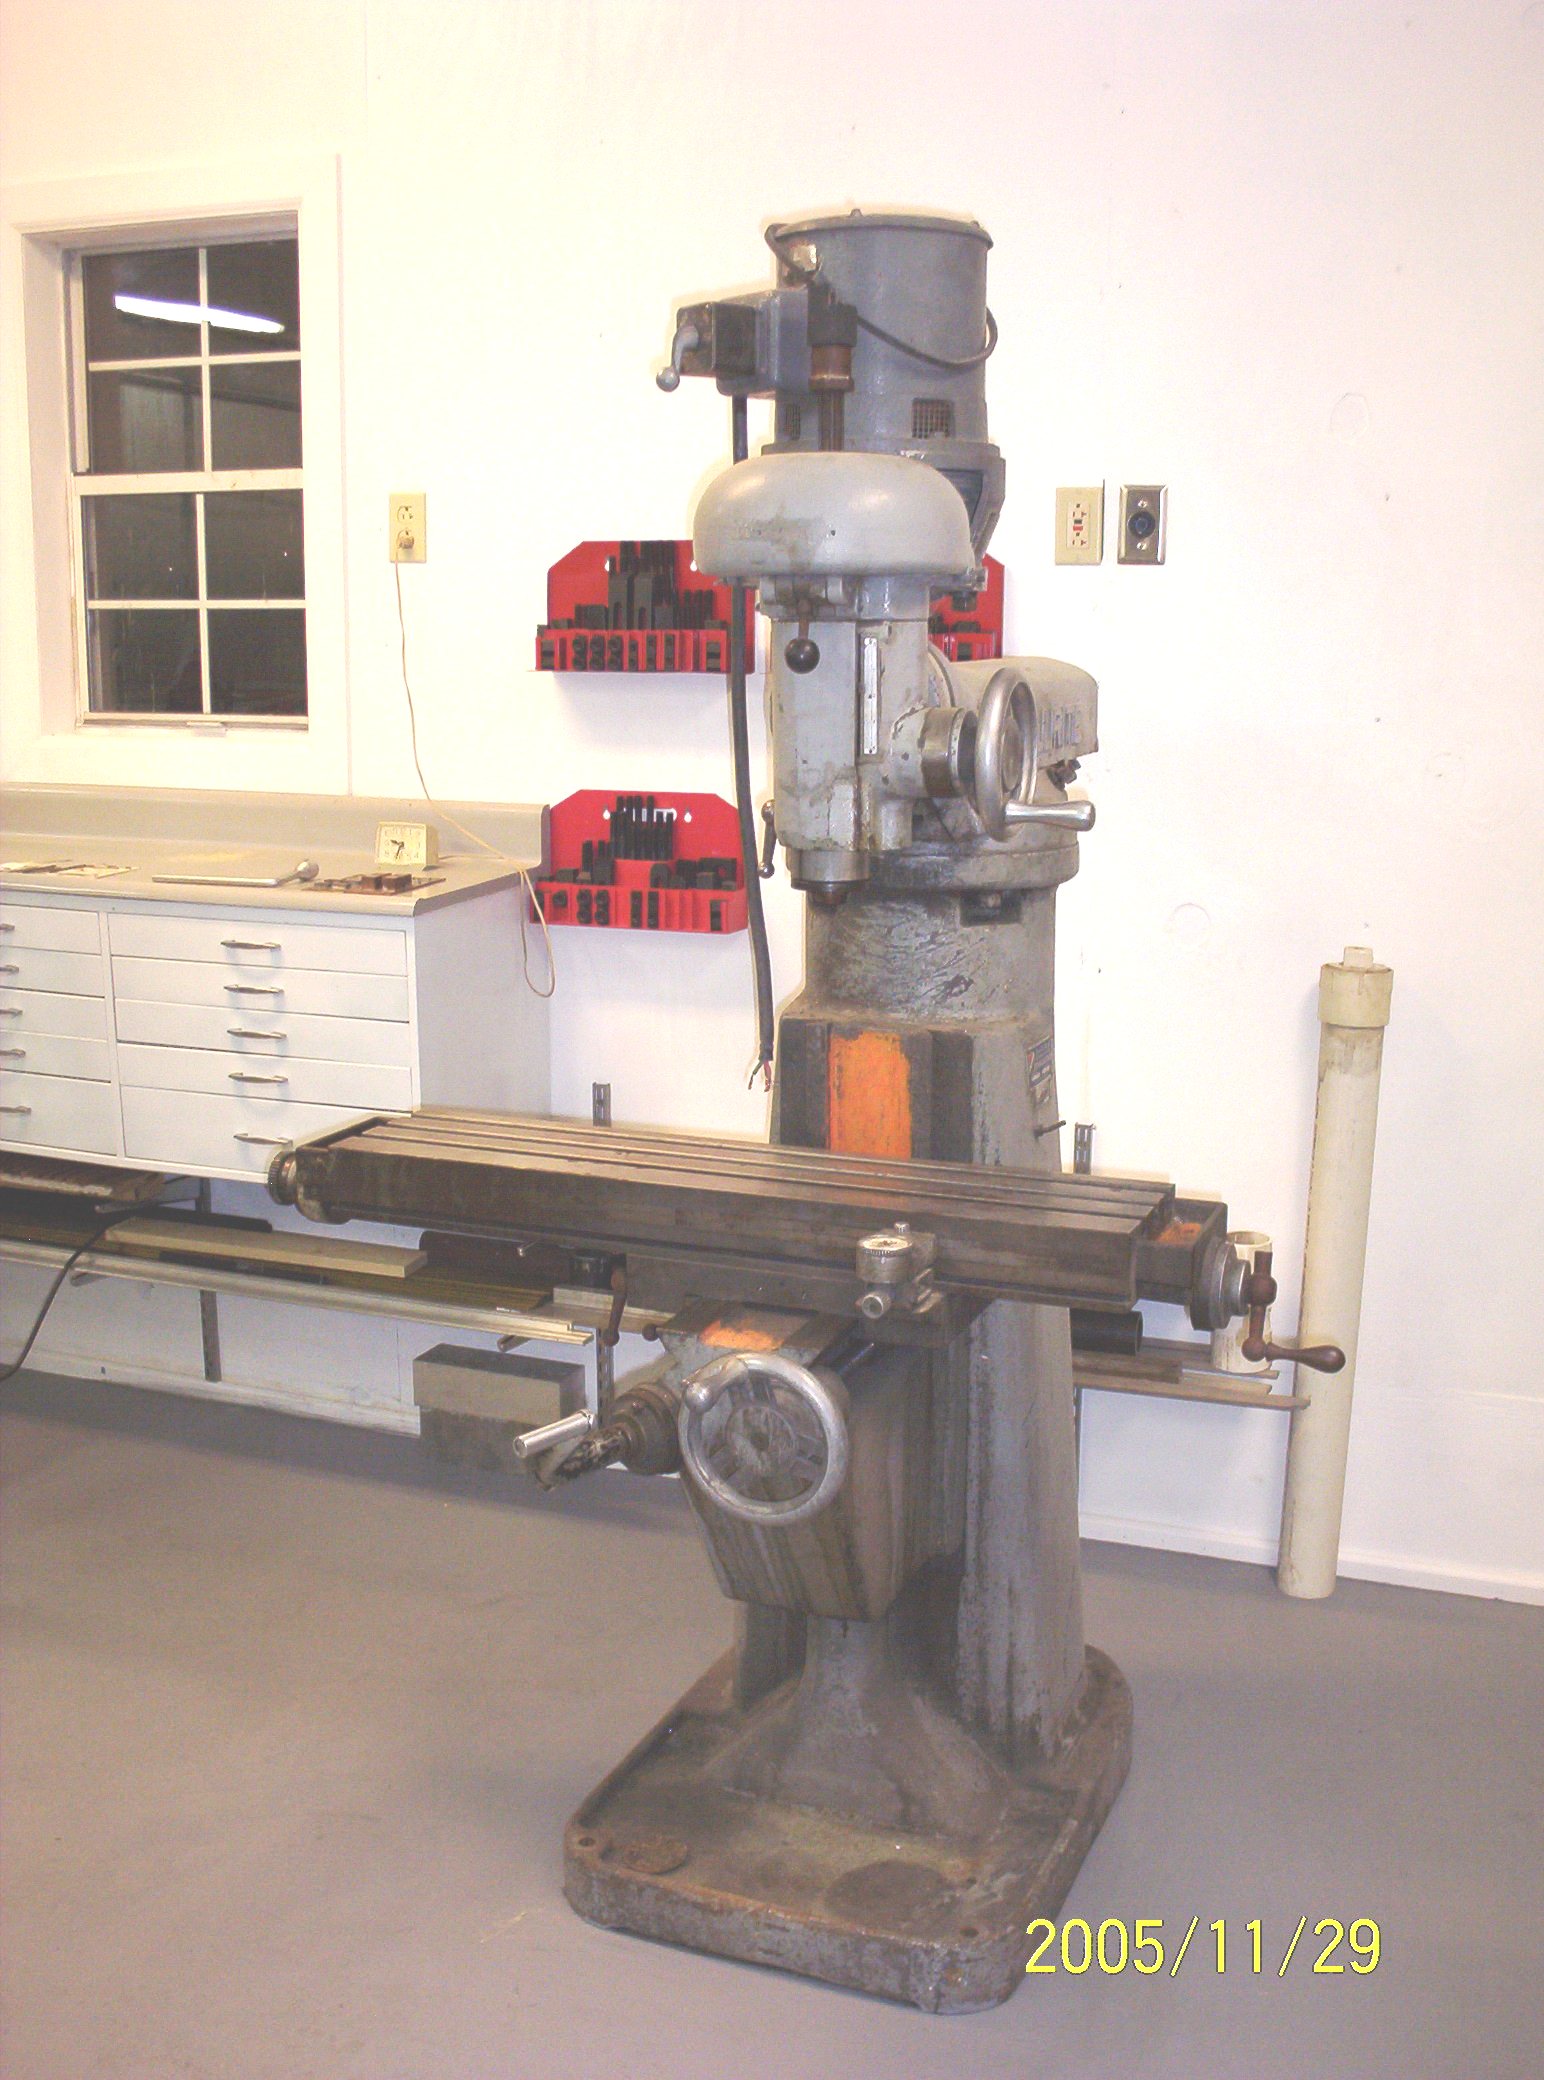
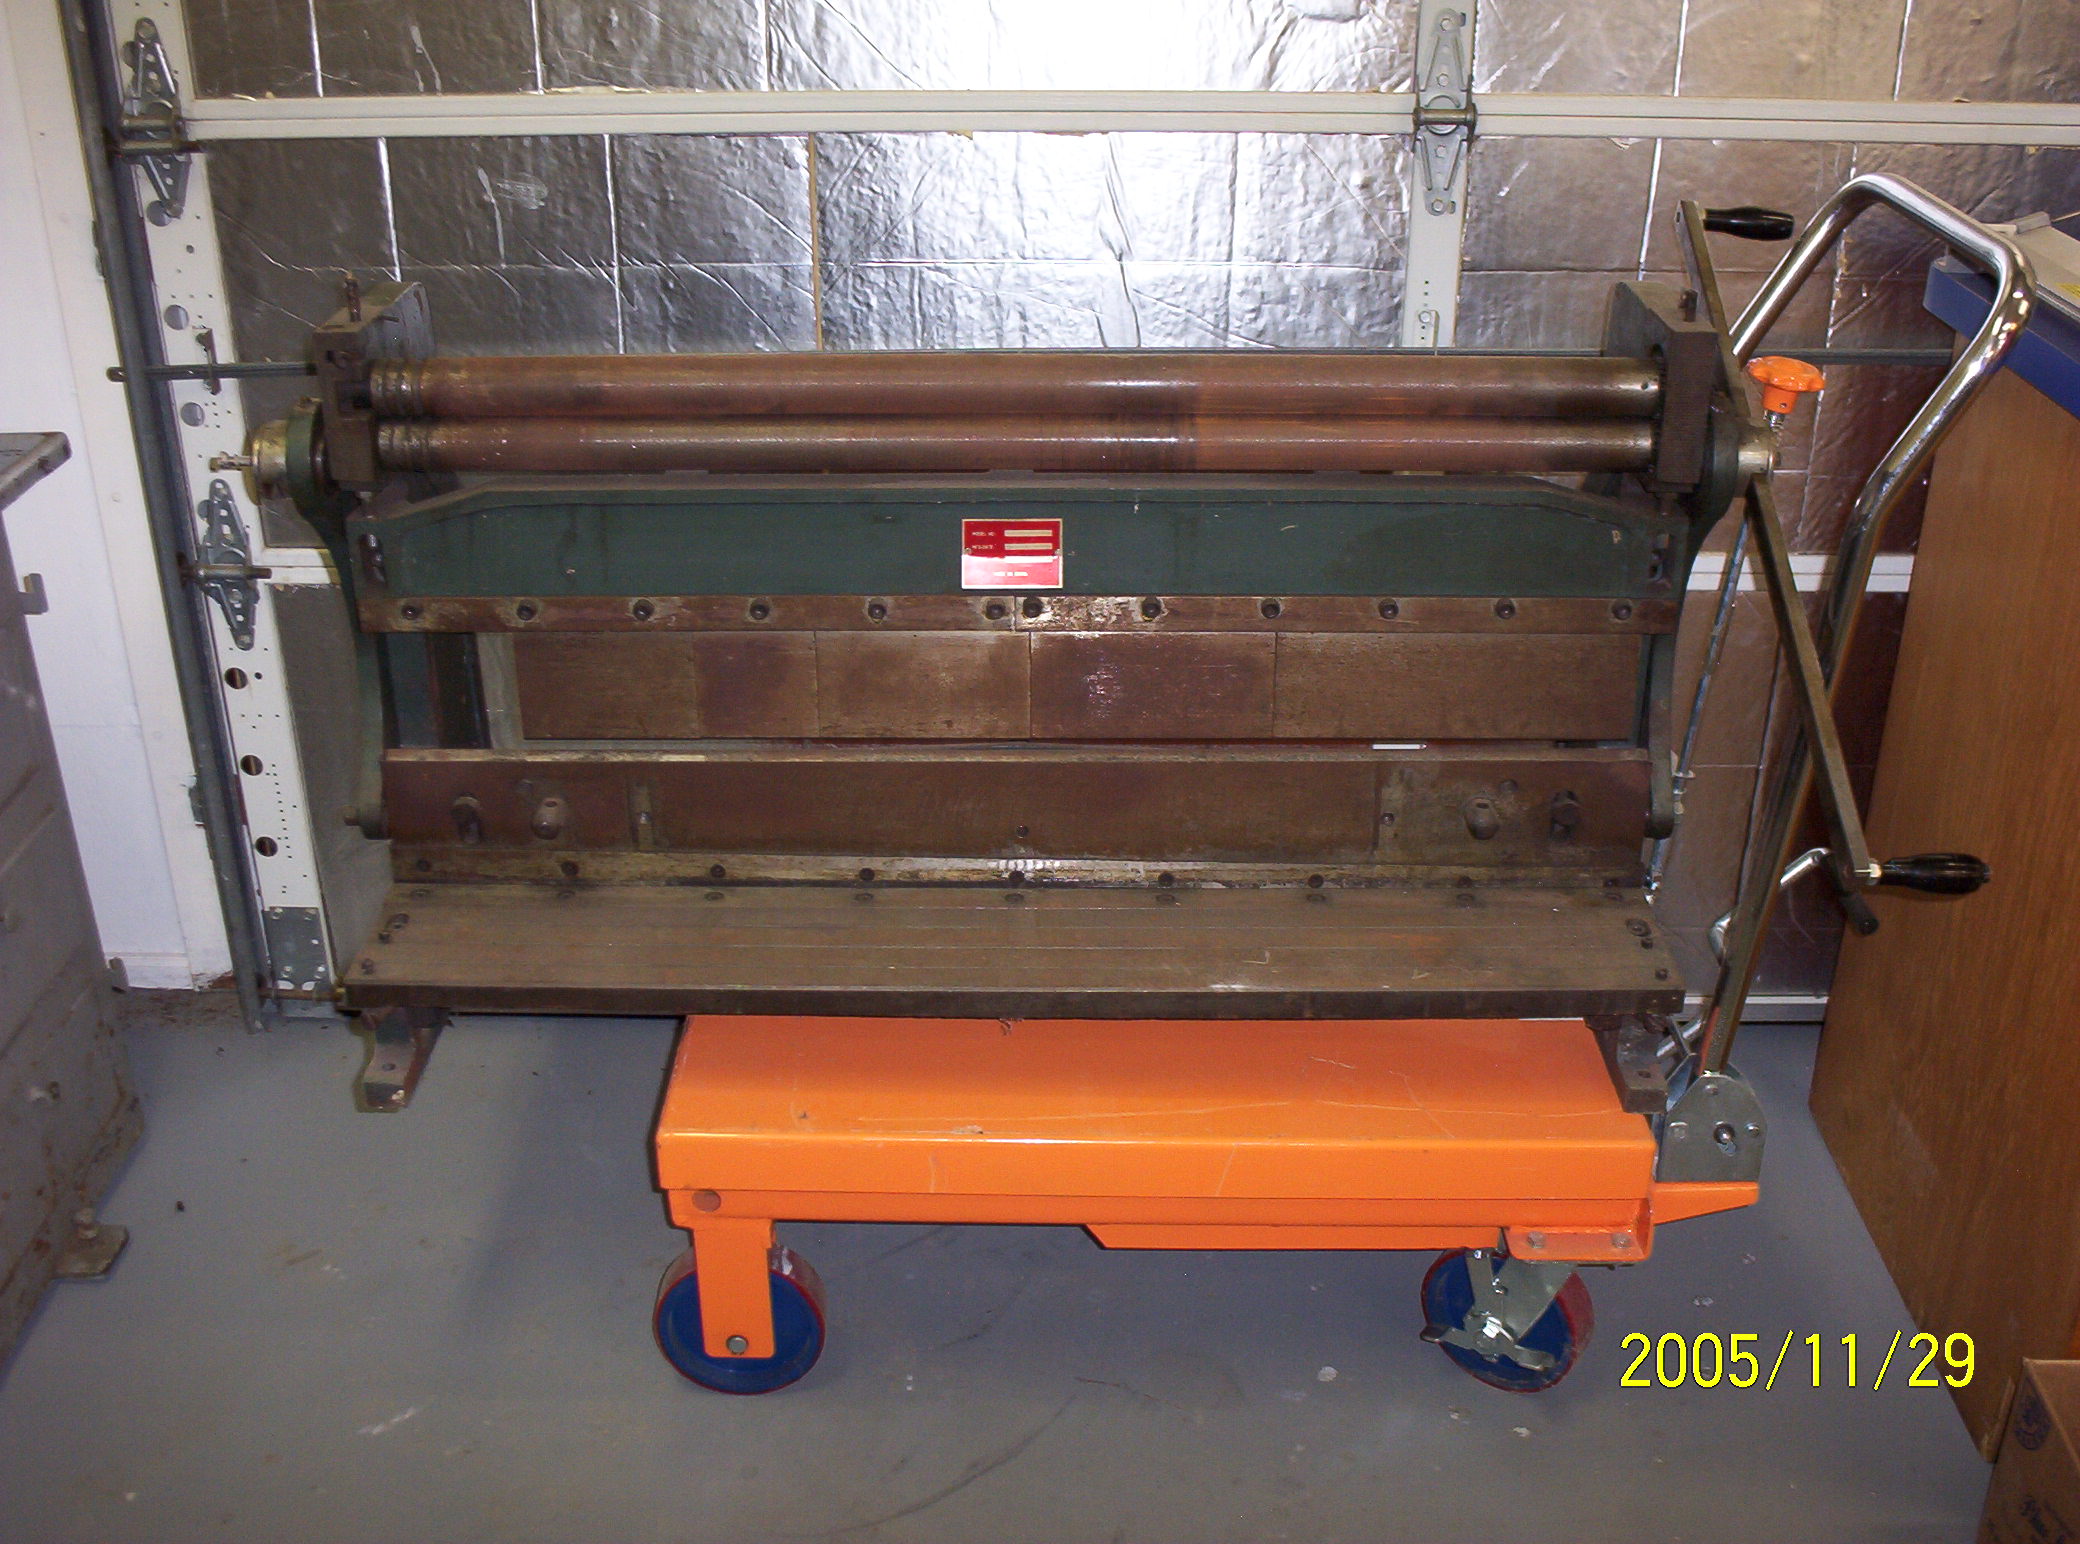
.JPG) From
Shell to Shop (2003-2005) From
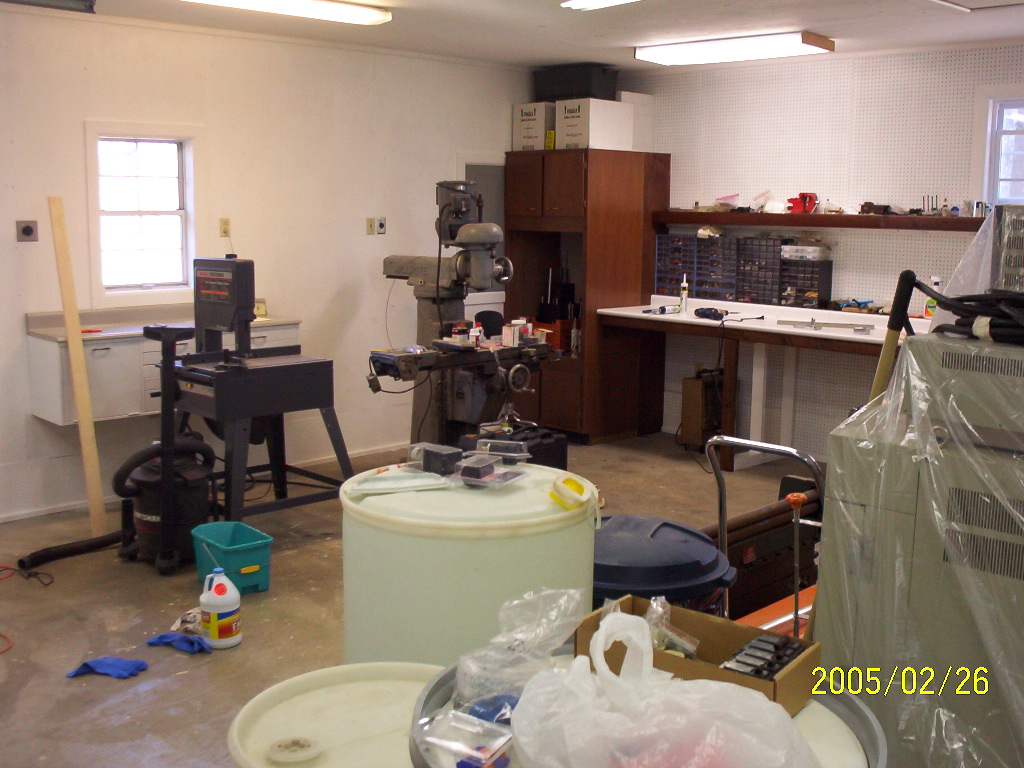
Shell to Shop (2003-2005)Taking the outbuilding from the shell of a building to a completed, climate controlled workshop fit for housing machine tools was no easy chore and took a good deal of spare time. Work began in earnest with a ceiling in January of 2004. By late February the first machine tools had arrived (at right)--a Millrite knee mill; a 1950s era 12" Clausing lathe, and 3-1 combination shear, brake & slip roll--all obtained at scrap prices and in need of rebuilding. By the fall of 2005, the building sported insulation, the interior a plywood skin, work benches had been set up, a separate 200 amp electrical service installed, and the first three cabinets put in place. More wall cabinets would follow in 2010.
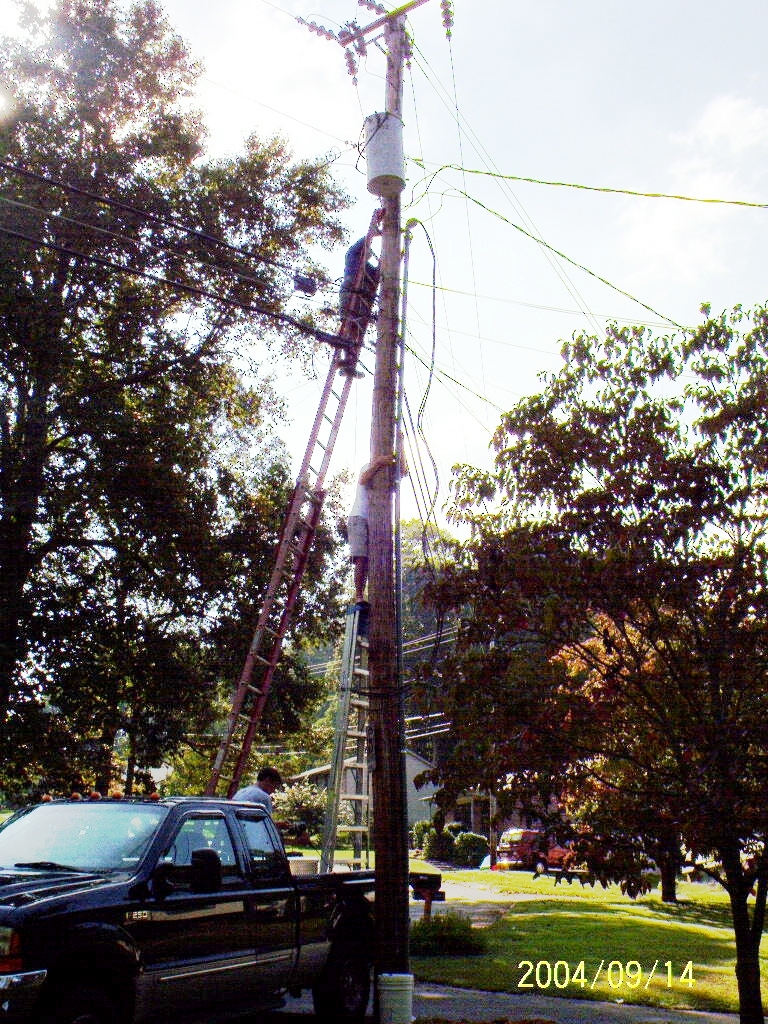
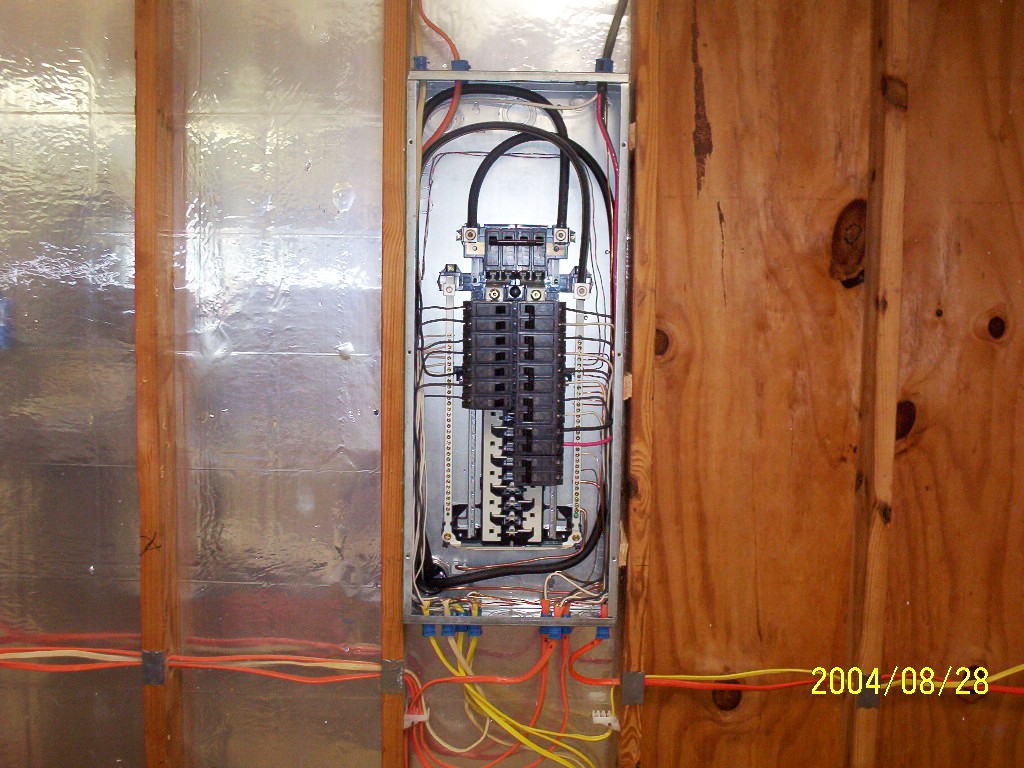
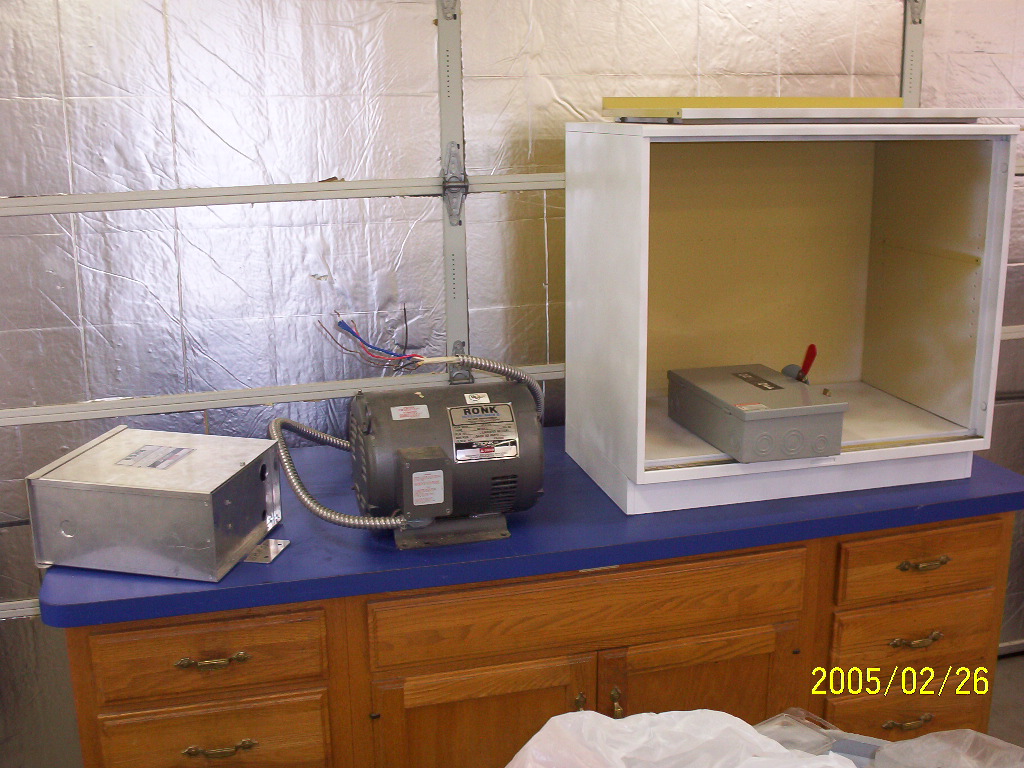
The separate 200 Amp electrical service was put in the redneck way--a couple of guys swaying on a 30 ft. ladder planted atop the wheel well of their hick'em-up truck, dragging a PVC masthead up a utility pole. Wiring the shop myself was a learning experience; but with a DIY book from Ortho, quite doable. My only regret was that the utility would not let me run 3-phase into my shop (which was on their utility pole in my front yard), hence the need for a Ronk rotary phase converter to make that extra leg for my machine tools and their motors.
|
|
Gathering Equipment (1998-Present)
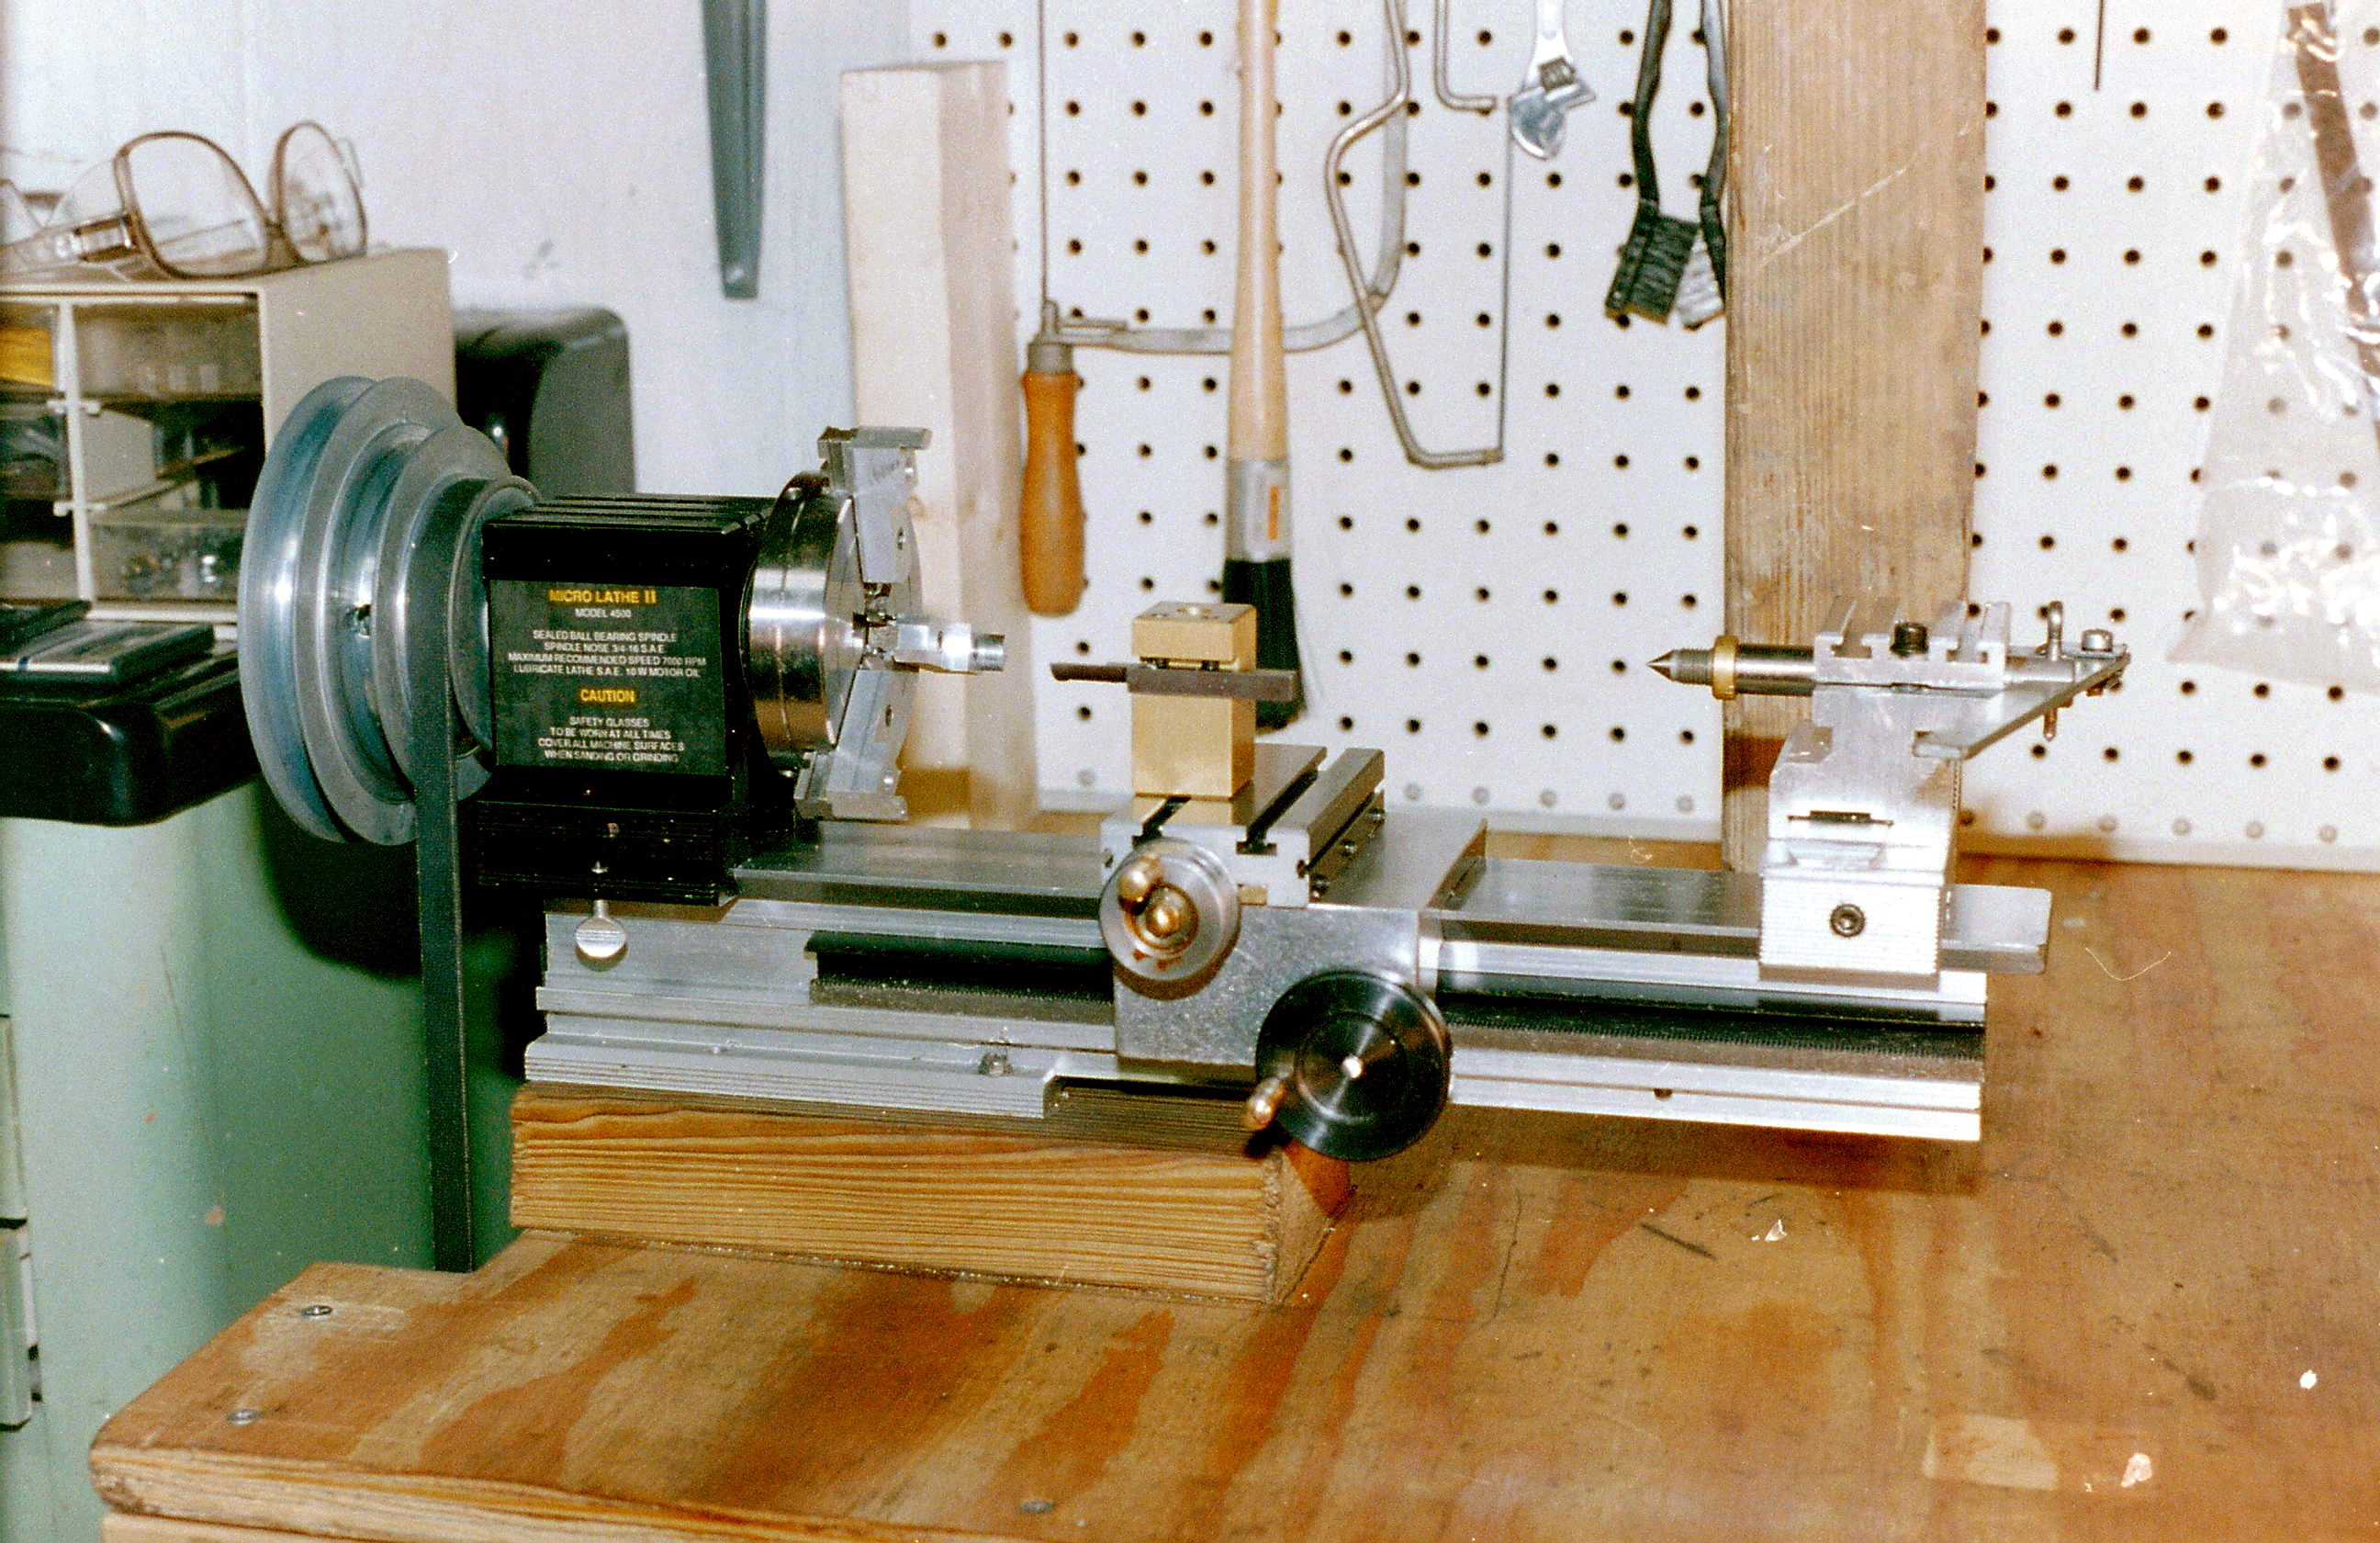
The earliest machine tools I acquired were small desktop affairs I bought not long after graduating from Covenant Theological Seminary in May of 1995. Since my high school did not have shop class--it was and remains an overpriced prep school--I did not get my hands on a mill or lathe until I was well into graduate school. During that time several live steam enthusiasts in both the St. Louis and the Knoxville areas invited me over to try my hand at making chips in their home workshops (one of whom had a Bridgeport mill in his basement which I am convinced was either beamed there Star Trek style or carried down a narrow flight of wooden stairs piecemeal and then welded back together!). After a handful of visits I was hooked. And so my thanks go to the late Bob Paule of the St. Louis Live Steamers, John Delaney of the Wabash, Frisco and Pacific 12 inch gauge steam railway (a real steam mechanic, retired from the Frisco), and Terry Herrington of Oak Ridge, Tennessee who each gave me an introduction to the world of home shop machining.
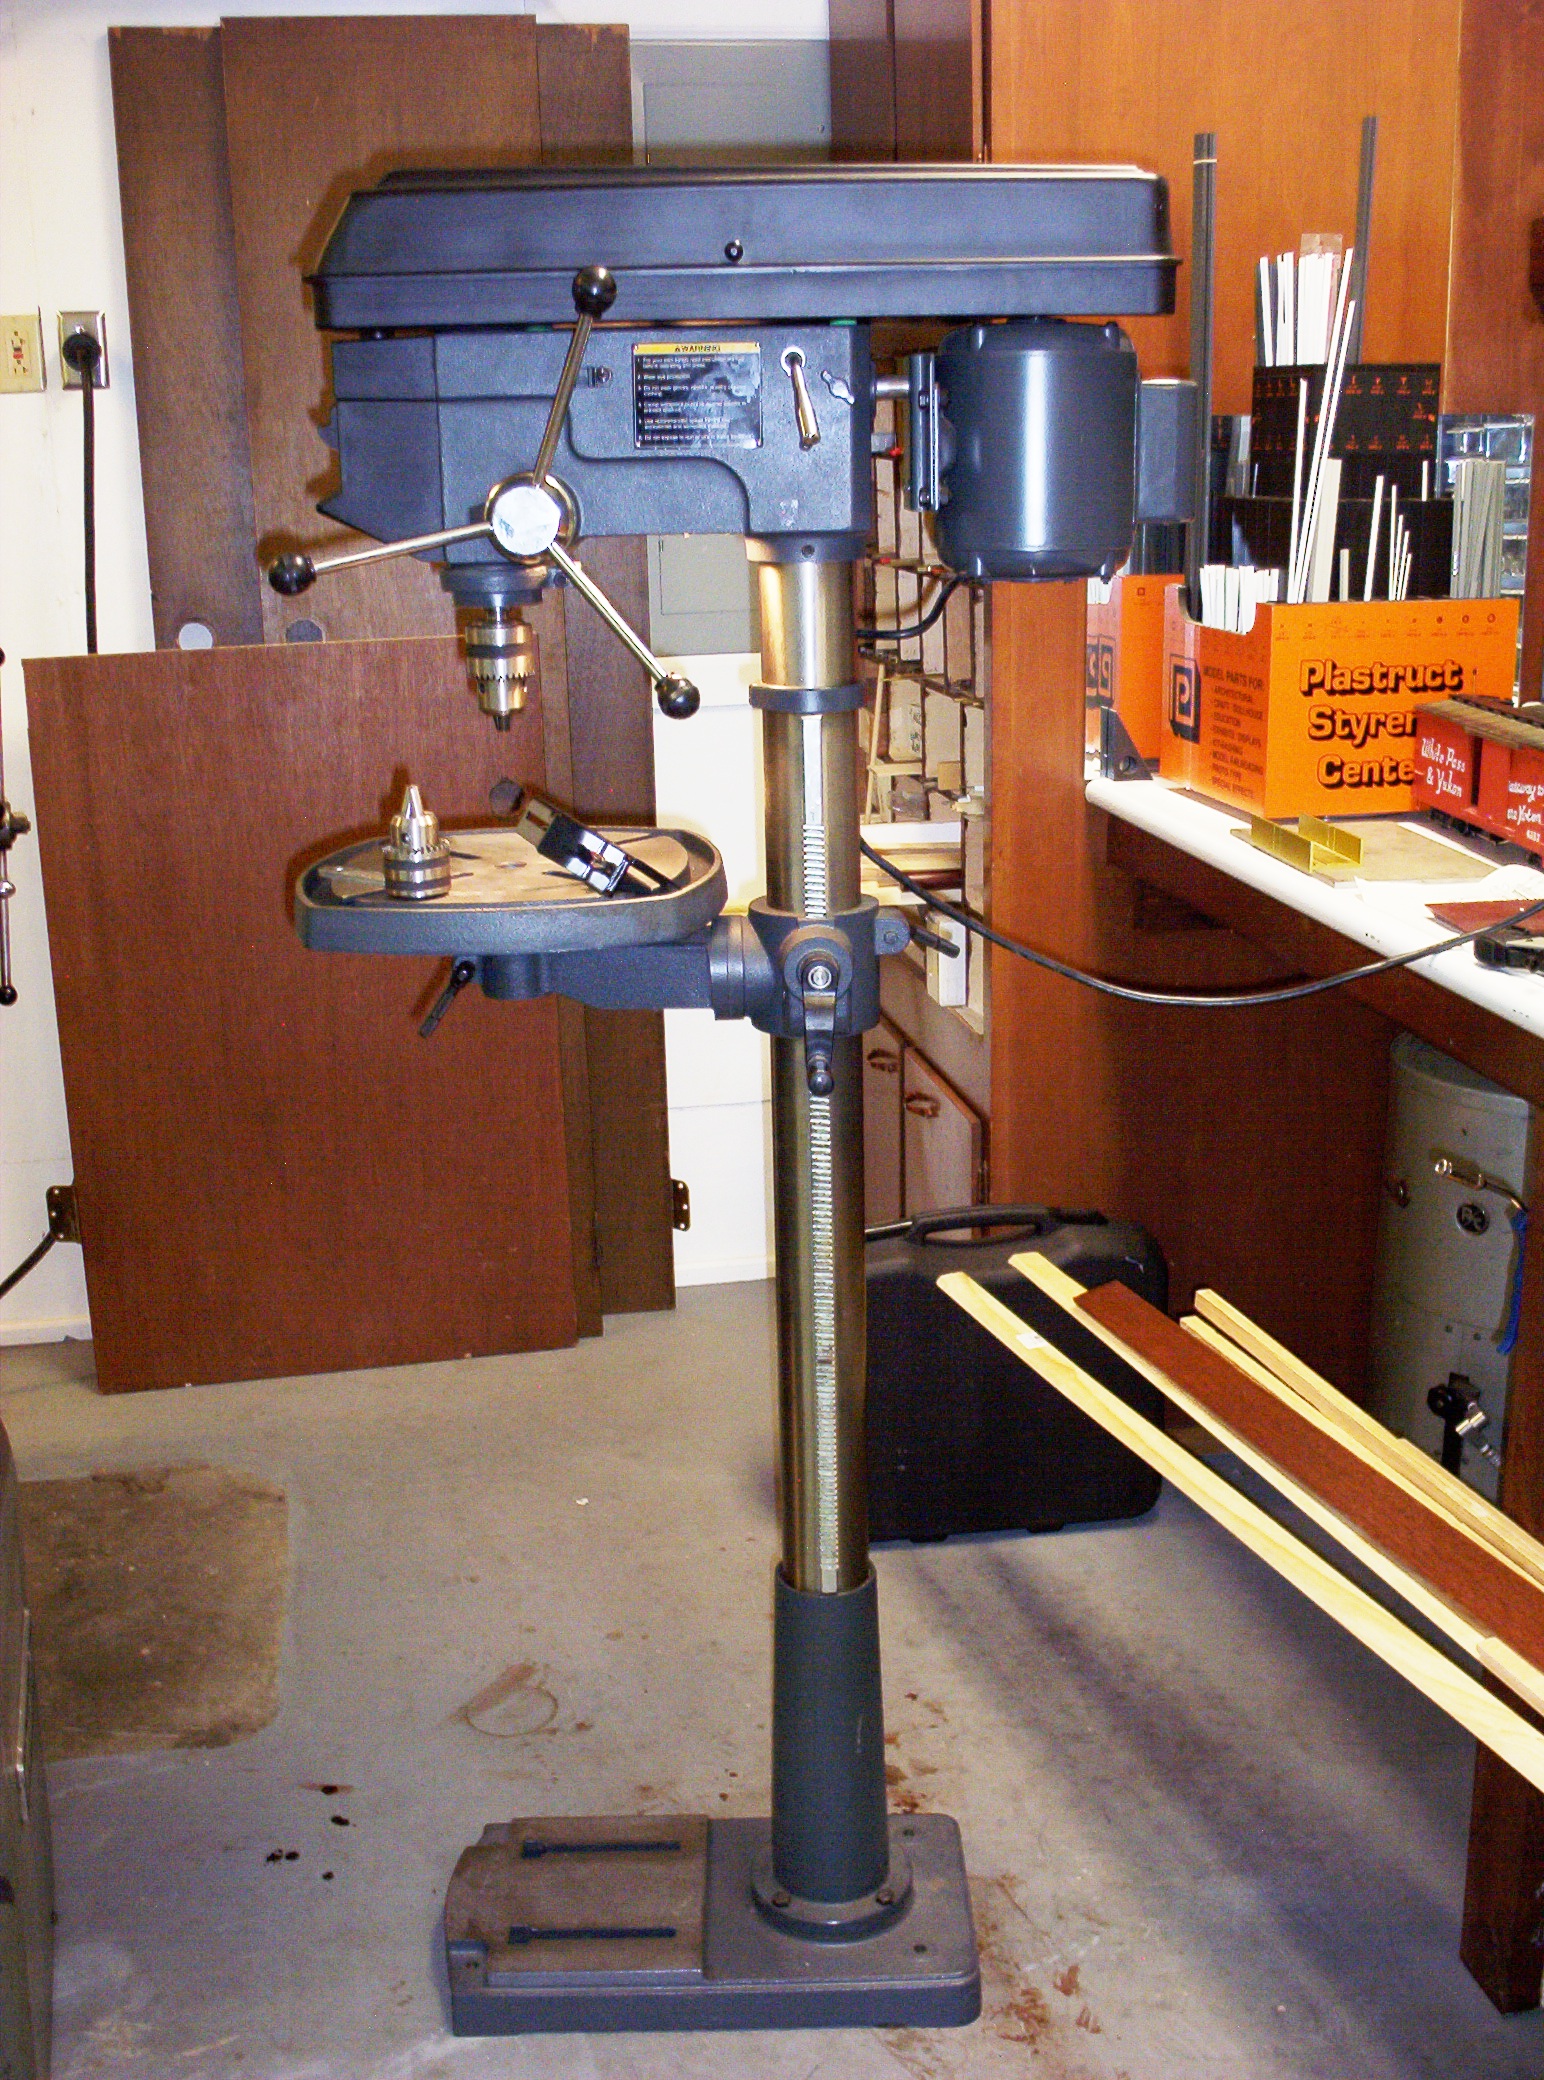
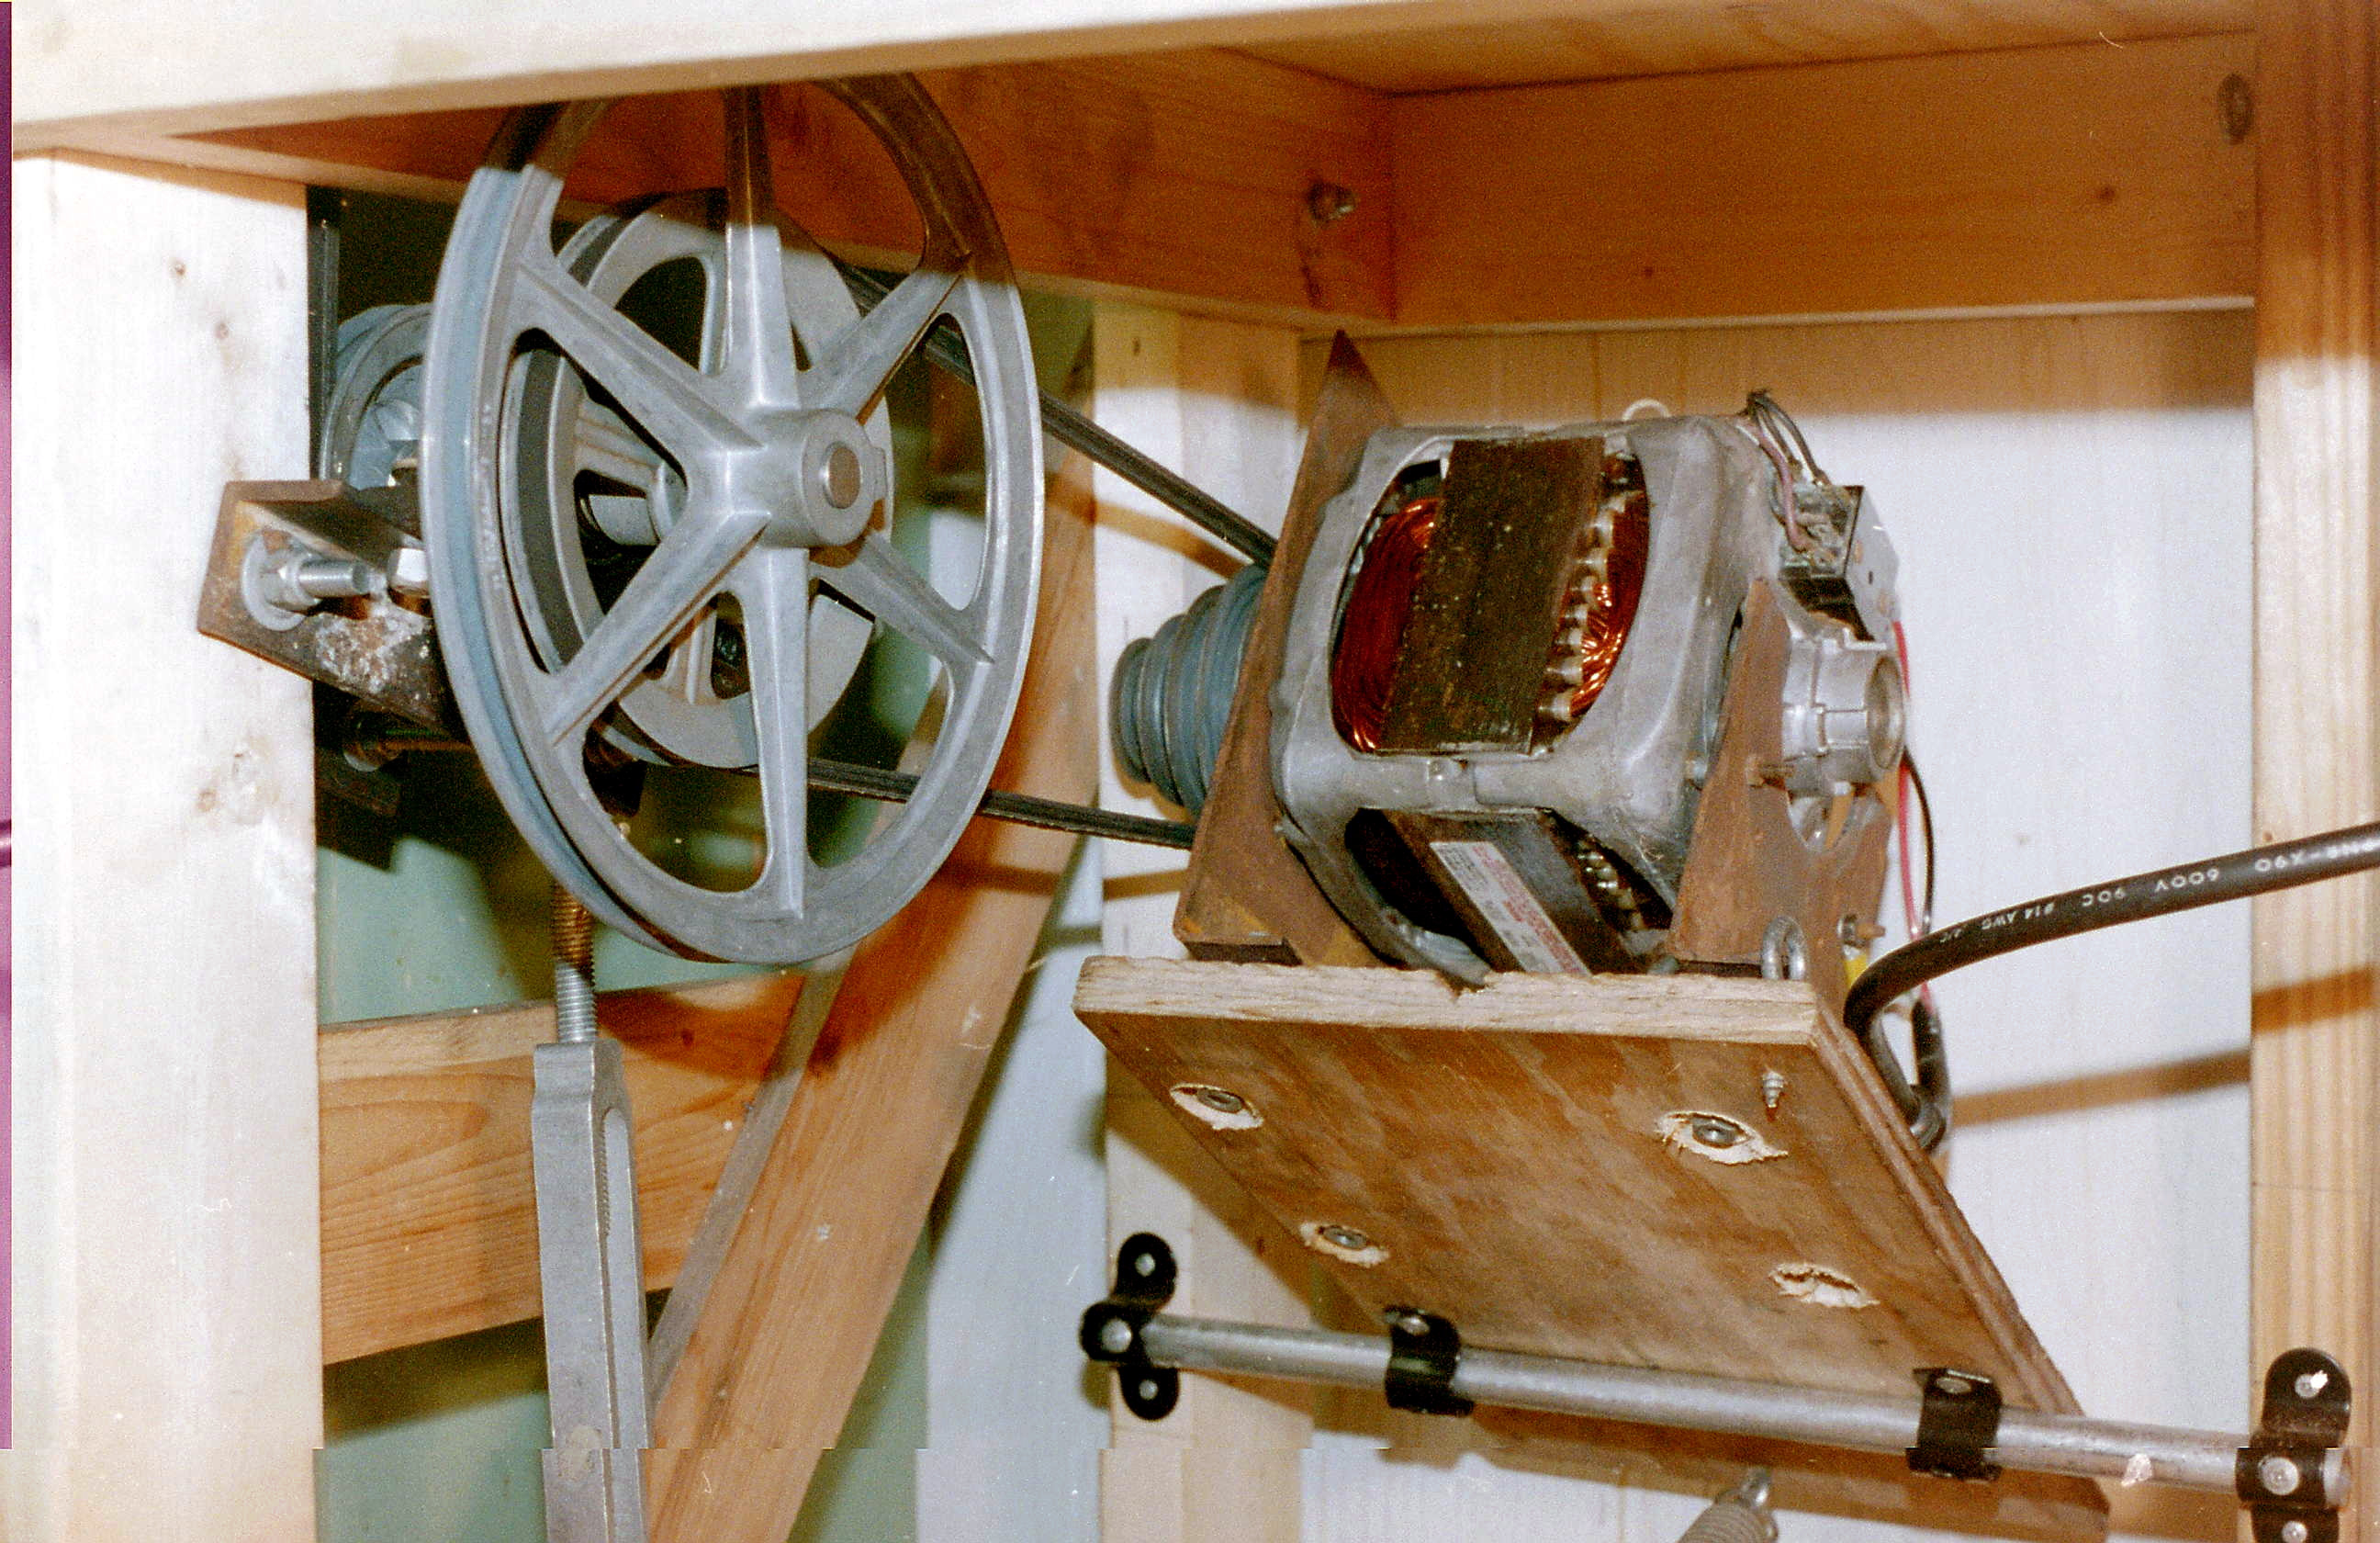
My first lathe was a Taig bought from the hobby shop where I worked part-time between graduating from seminary and teaching college in South Africa. I was 27 years old. This lathe was a rather dinky thing, powered by a washing machine motor & v-belt contraption rigged up by my friend Terry Herrington to the underside of a wooden workbench. A Chinese import drill press soon followed, supplemented with an Enco milling table so that I could do some "milling" on the drill press--really just abuse its spindle bearings. A Harbor Freight 7x10 Chinese lathe and a Craftsman 10" bandsaw followed in 1998. In 2000 while working out of my basement shop in Kingsport, Tennessee, a Rong Fu Taiwanese mill-drill and a Craftsman drill press were added to round out the first generation of tools. So things visibly were improving in my shop, so much so that I was beginning to scratch build Gauge 3 freight cars and even took a stab at building several Gauge 3 2-4-4-2 logging mallets.
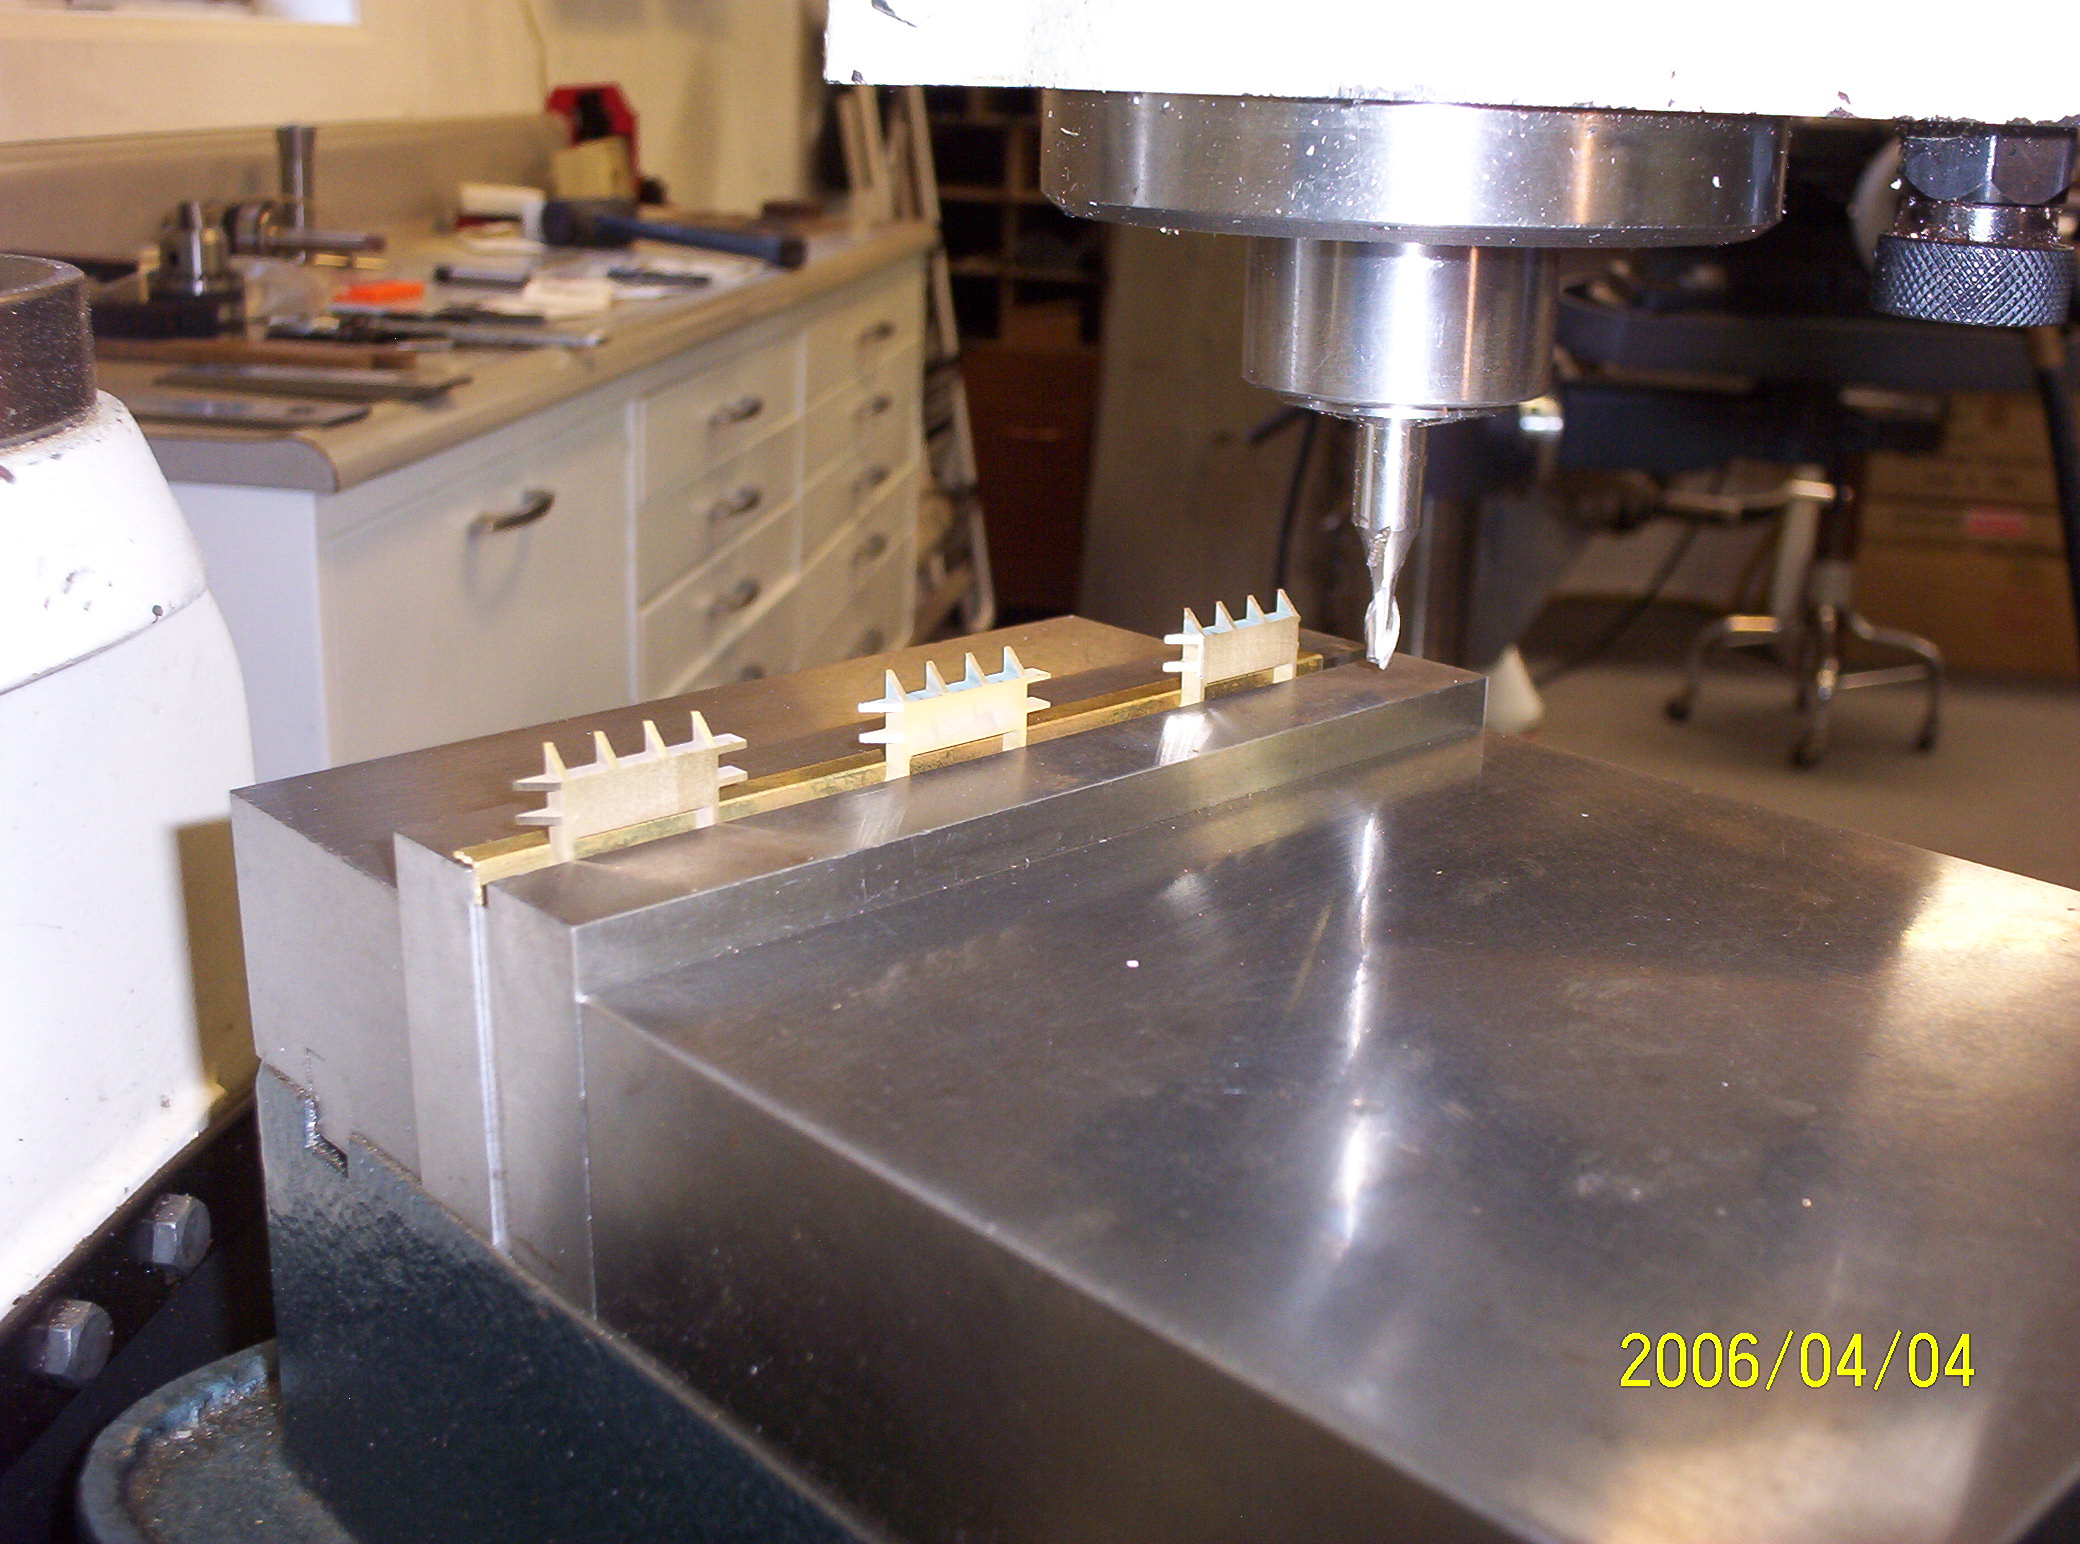
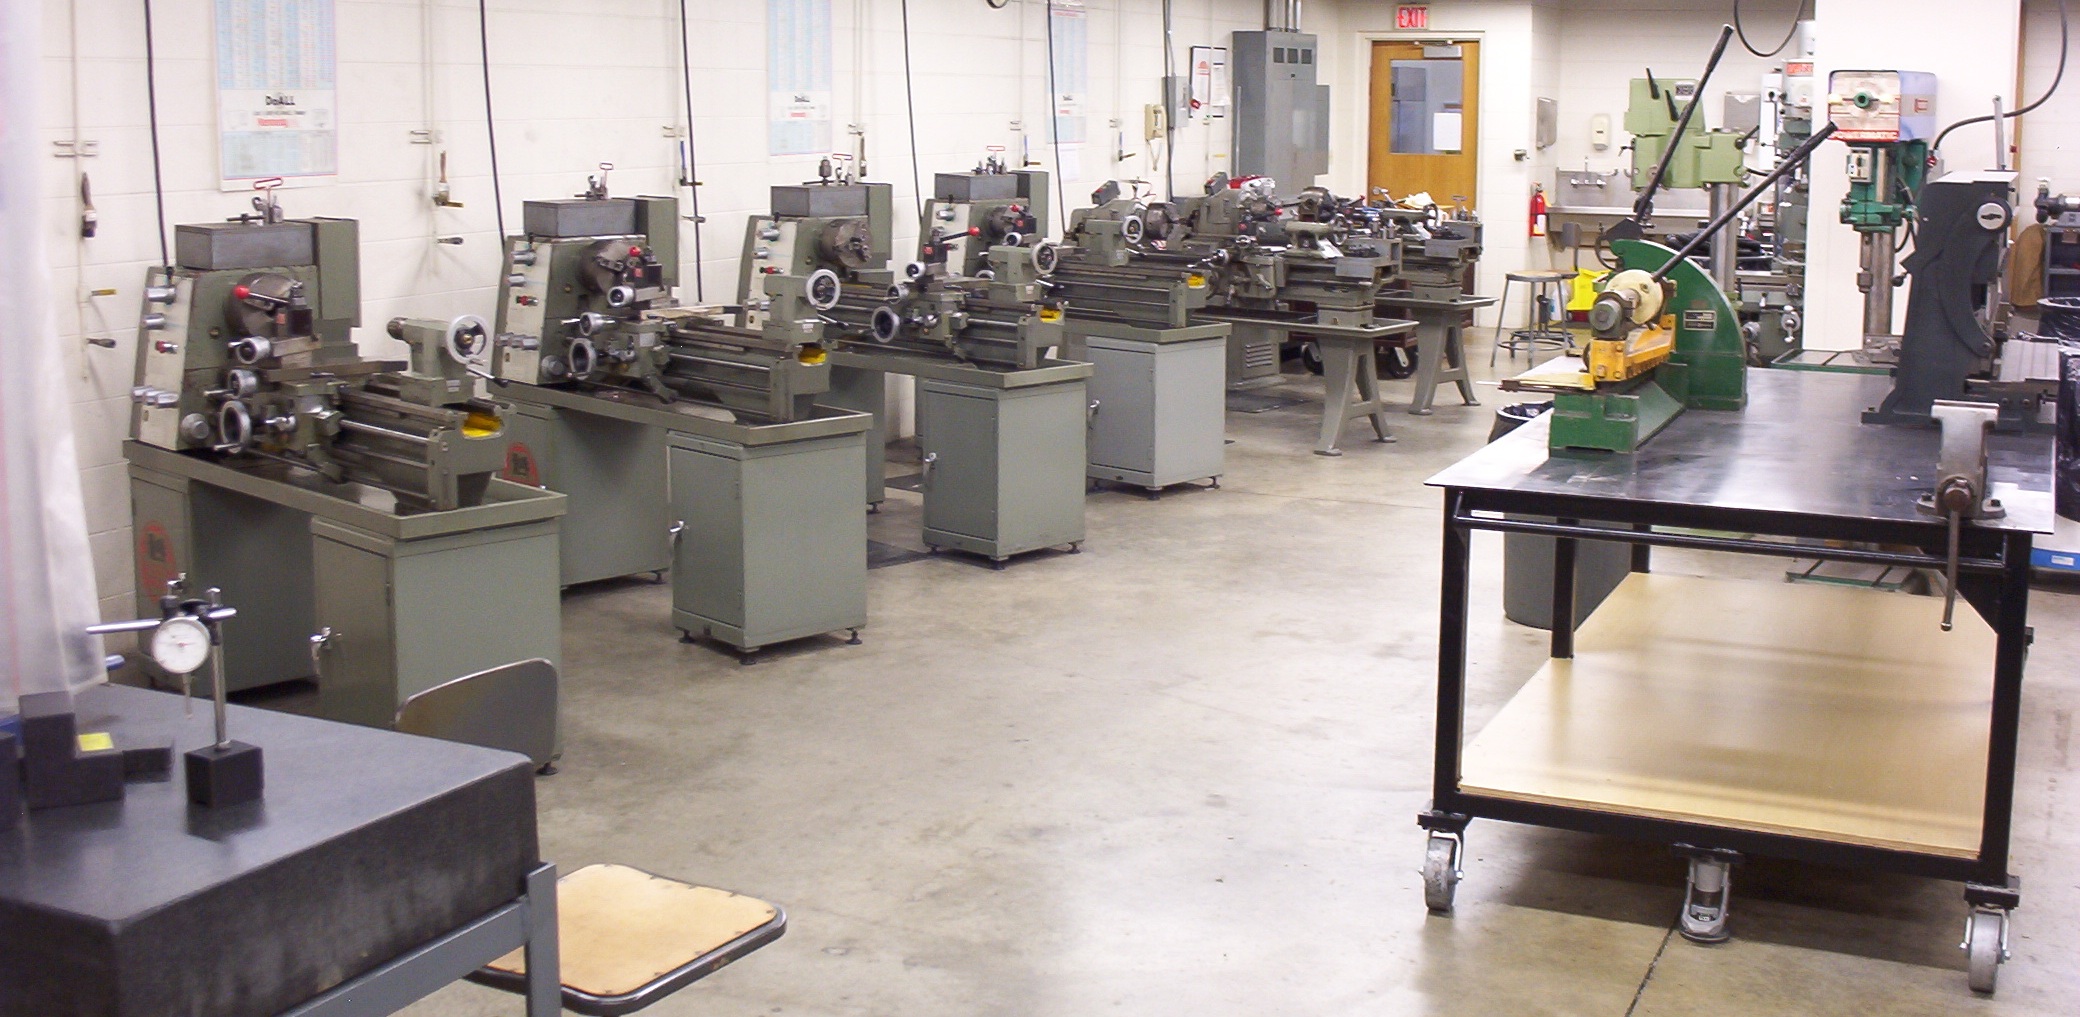
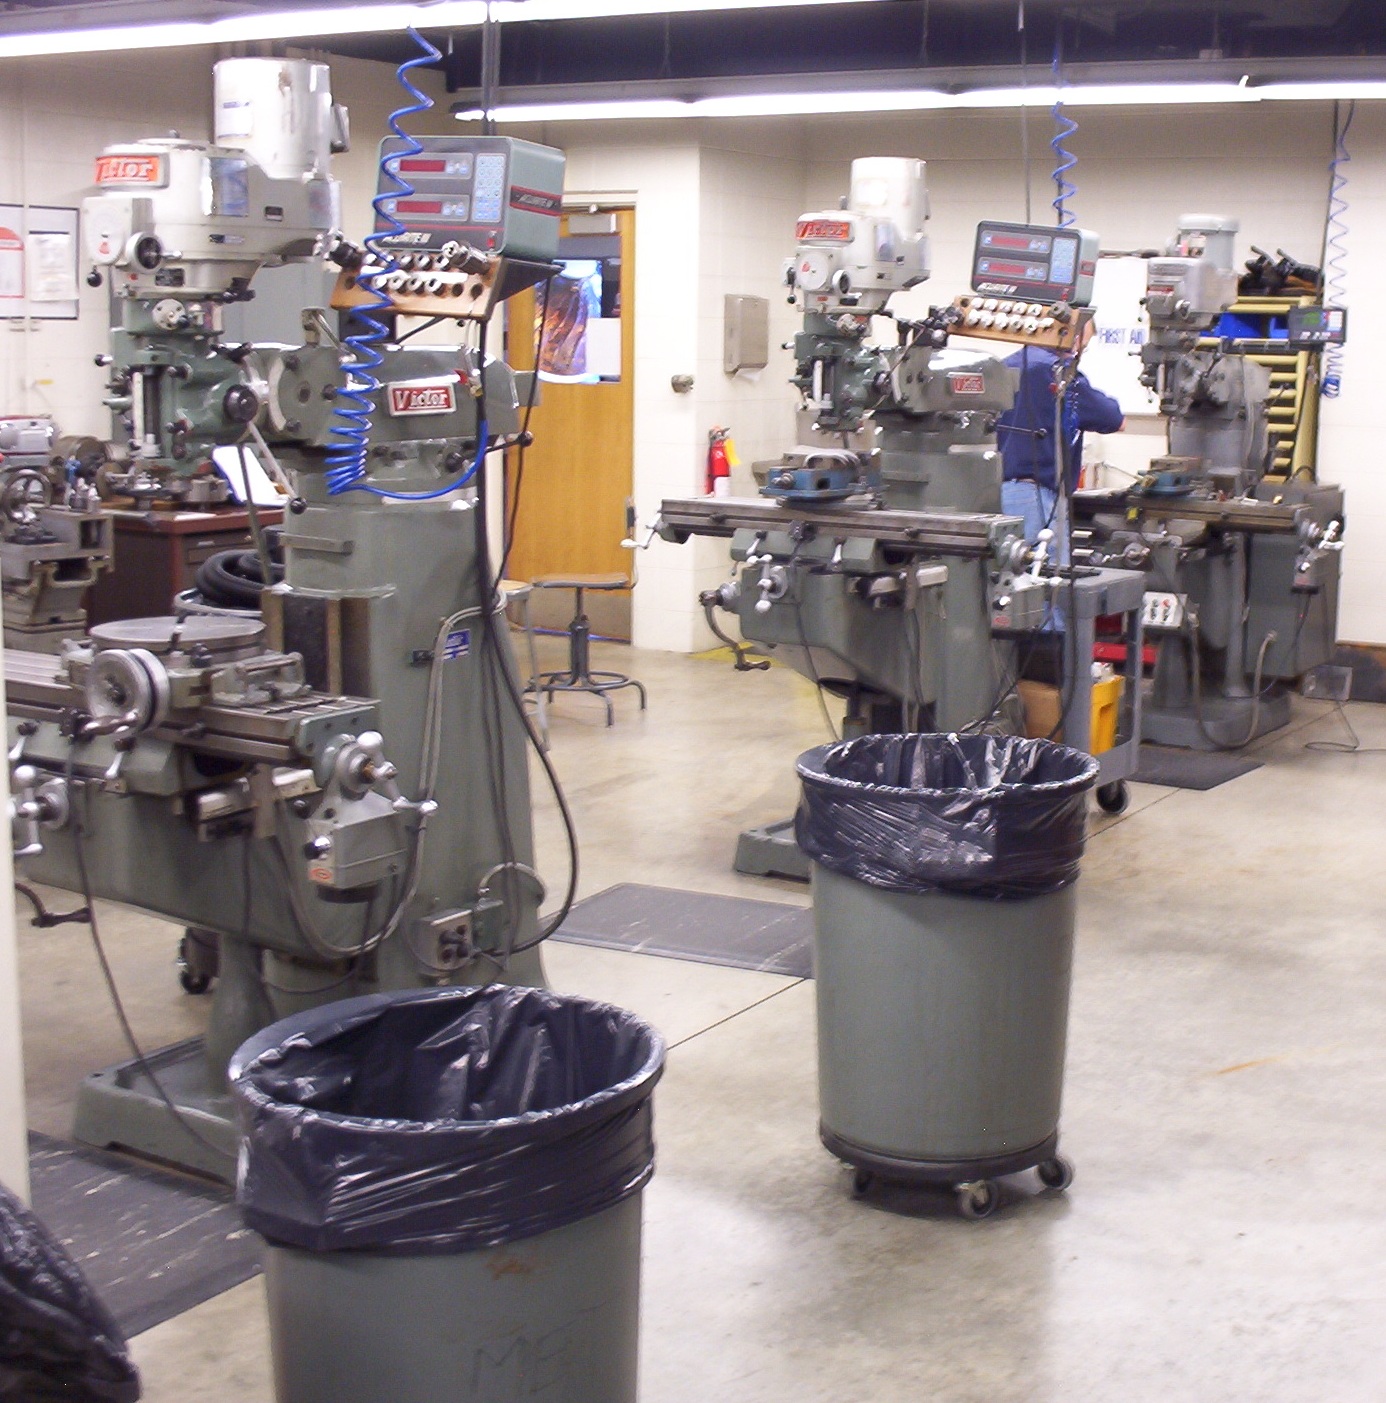
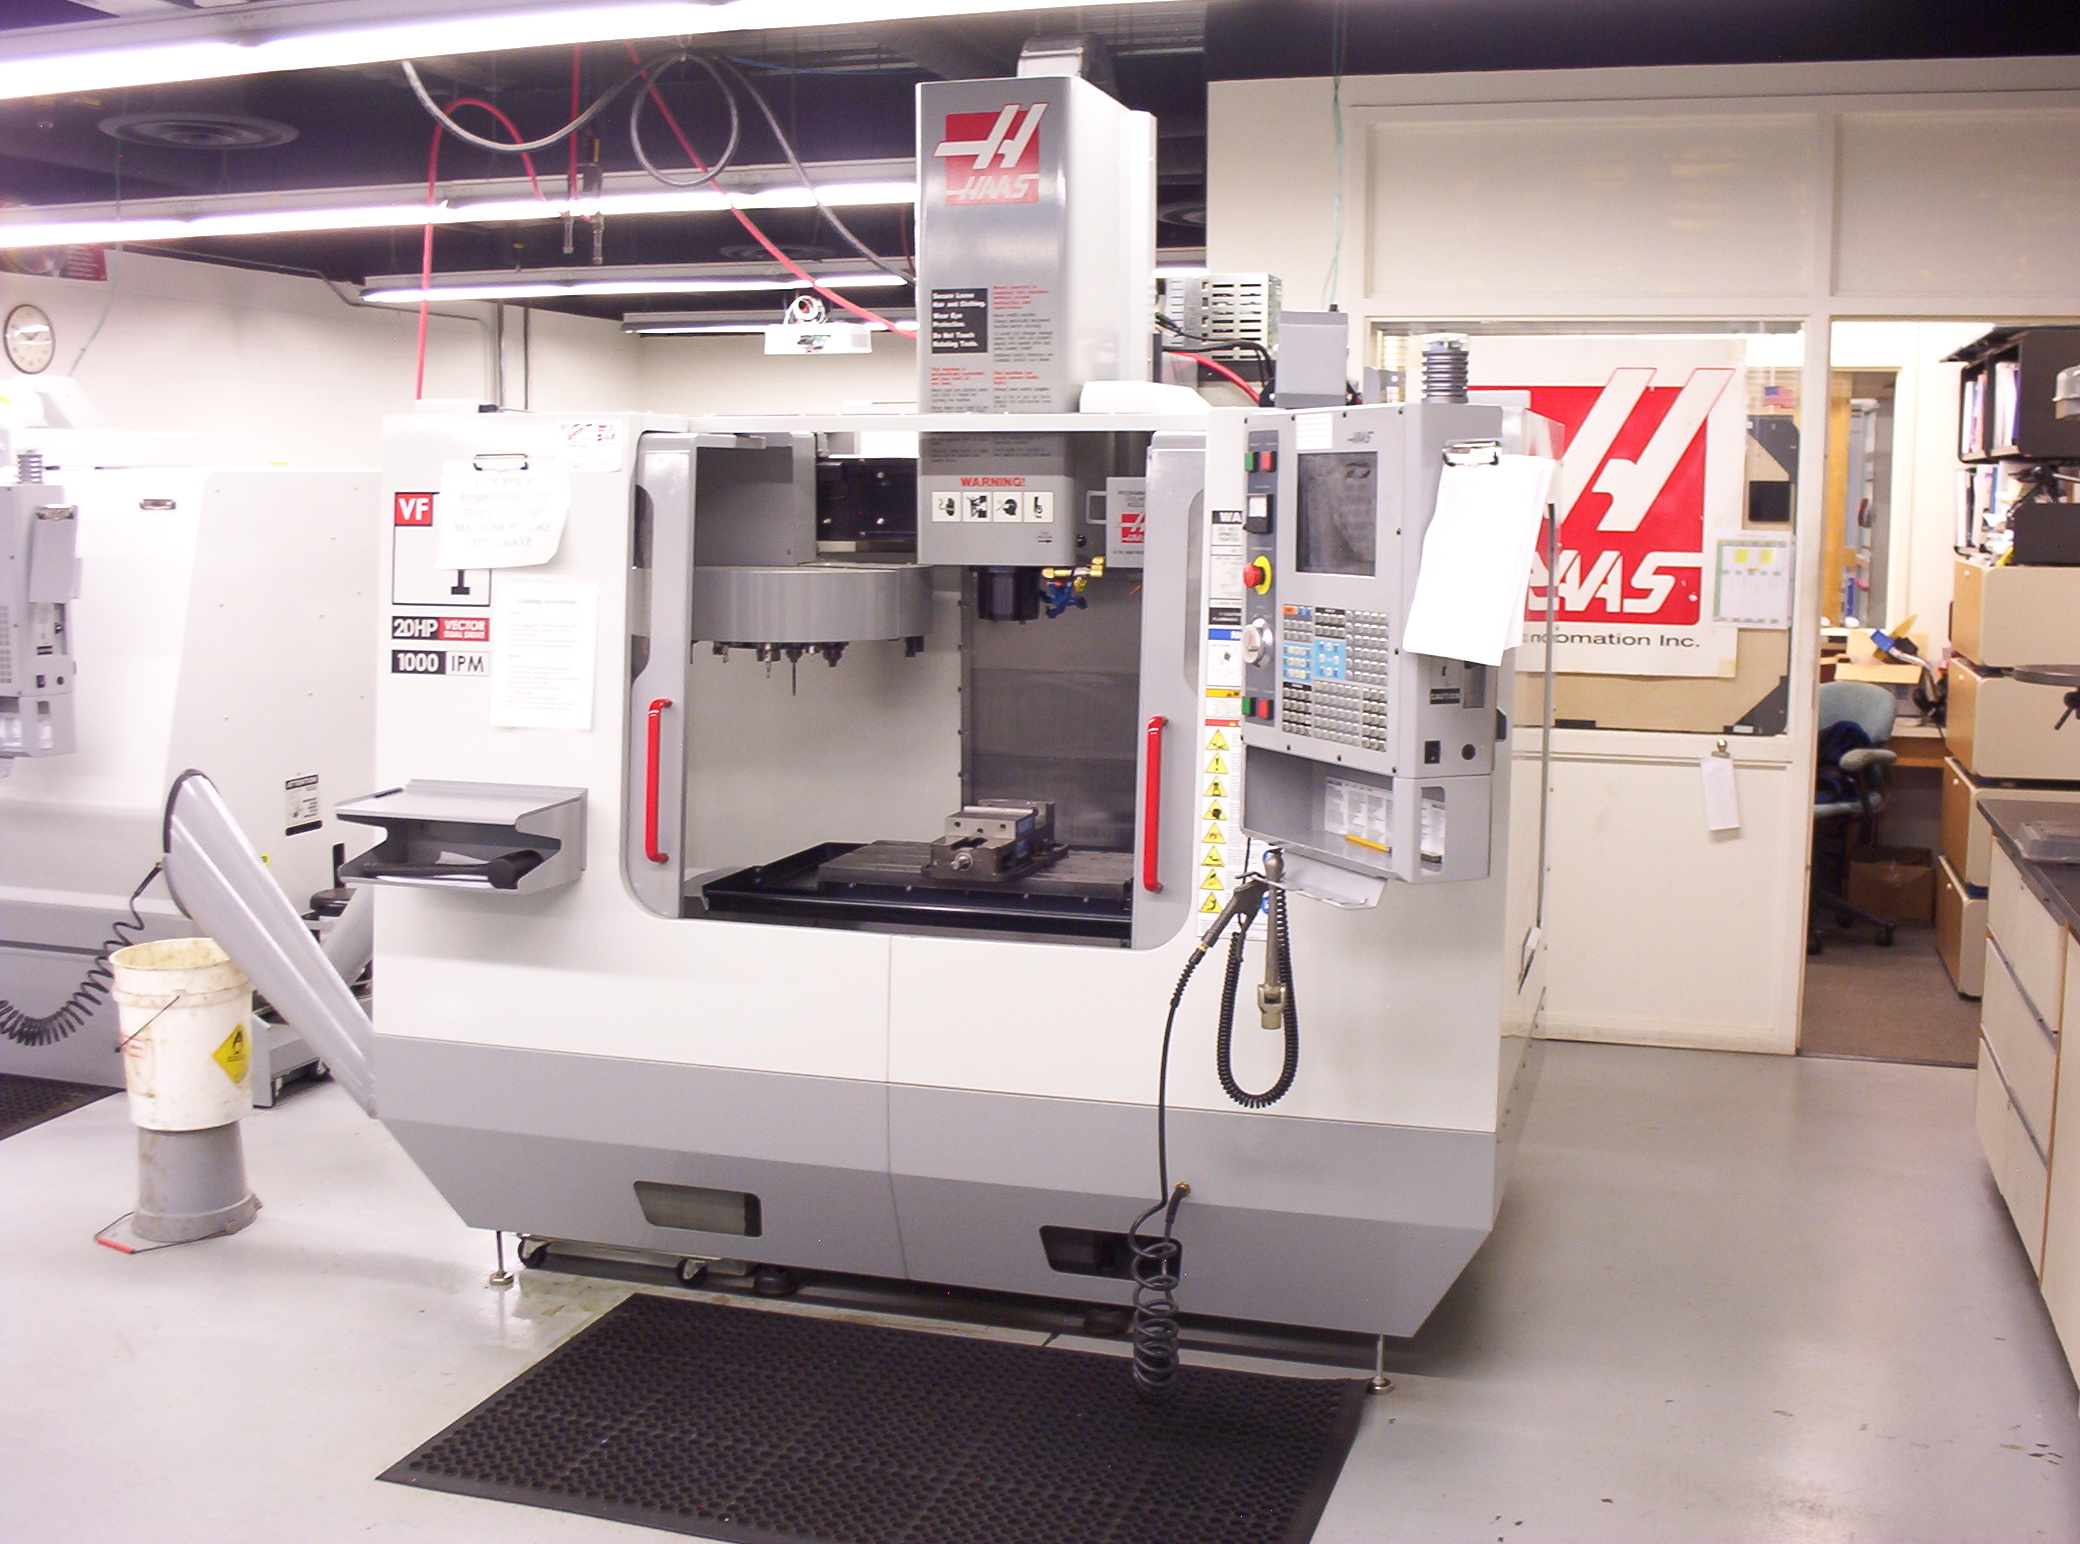
Upon returning to Knoxville, I set up shop once again in my Dad's lower garage with the same tools I had had in Kingsport. In the fall of 2001 I also began taking courses in Mechanical Engineering Technology (MET) at Pellissippi State Technical Community College--which gave me nearly unfettered access to a whole lab full of industrial quality machine tools (thumbnails above)--and introduced me to CNC (computer numerical control) machining. The only downside was once you have been introduced to quality, American-made machine tools and gotten a taste of CNC, it is almost almost impossible to go back to hobbyist equipment or to cheap Chinese imports. So when my wife and I moved to our current home in the spring of 2003, I finally had sufficient space in a detached two car garage to set up the sort of shop I had been wanting. The only problem was how to fill it with the variety of machine tools I needed in order to move beyond the inadequacies of hobbyist grade equipment and to do so economically. Part of that answer was old iron. Let's face it: Machine tools cost money, and the more accurate the machine, the more it costs. CNC costs more than manual machine tools; new iron costs more than old, and so forth. Imported Chinese tools are relatively cheap but are often junk or require a good deal of tweaking in order to make them usable. Taiwanese machines are generally better than their Chinese counterparts; but American iron, from the post-war glory days of the American machine tool industry, is often still superior to the oriental imports and, generally speaking, built to be rebuilt, and oftentimes of no greater or even less cost than the imports. The question is: Can you, the novice machinist, rebuild it?
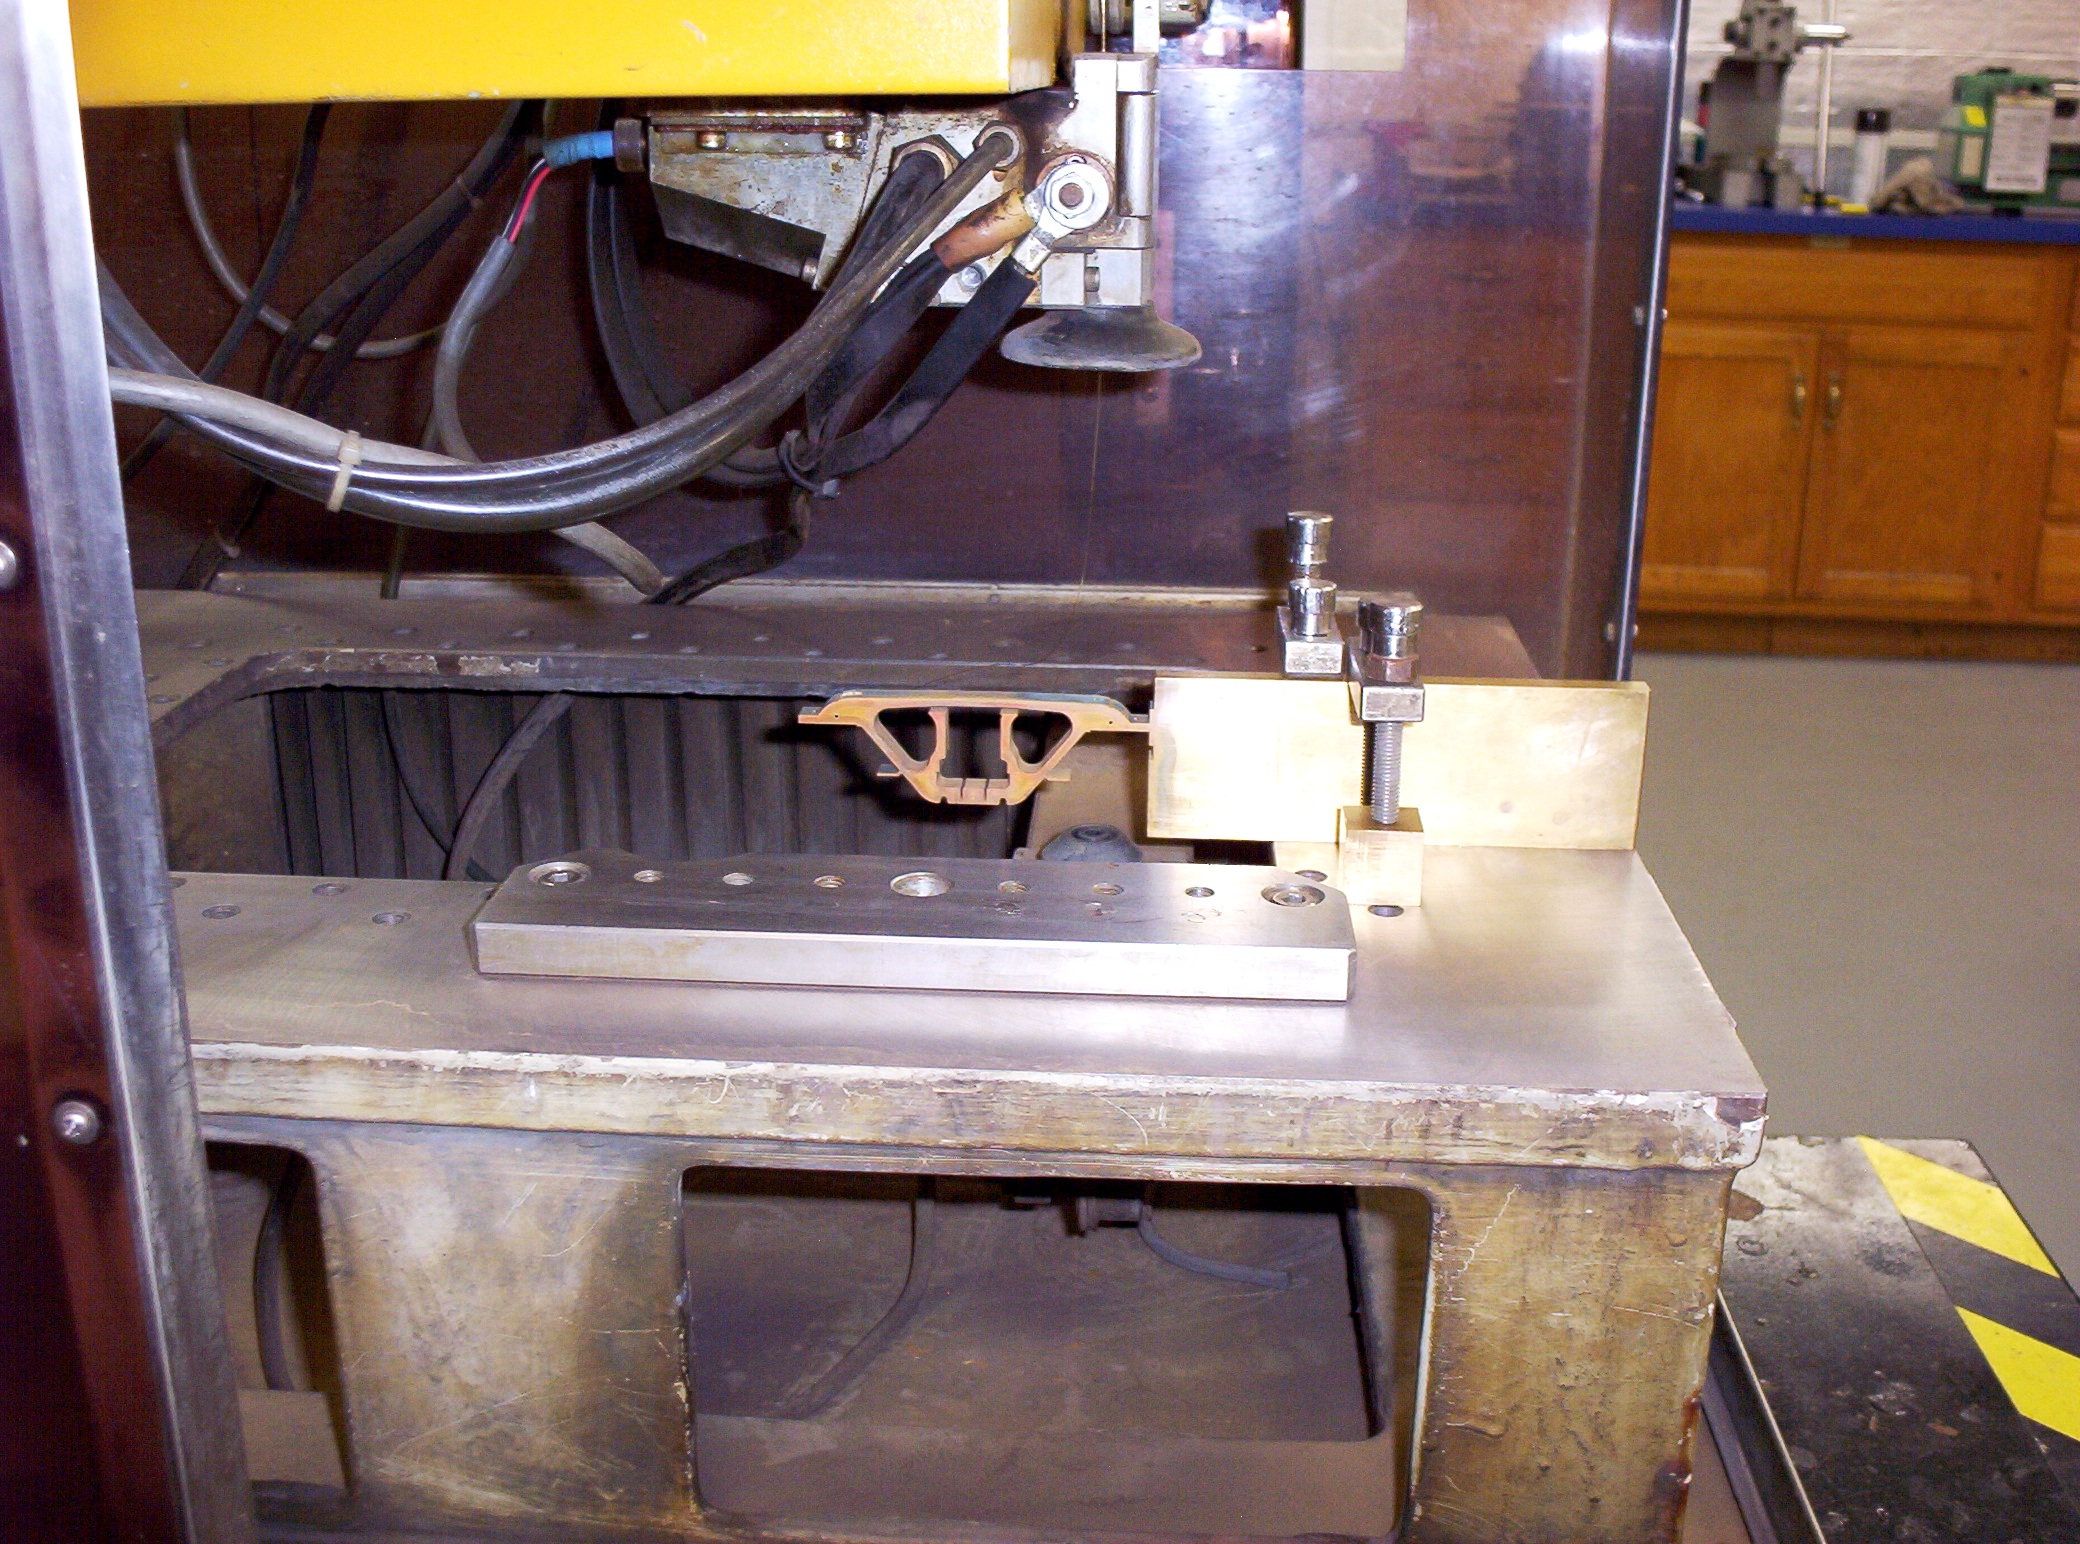
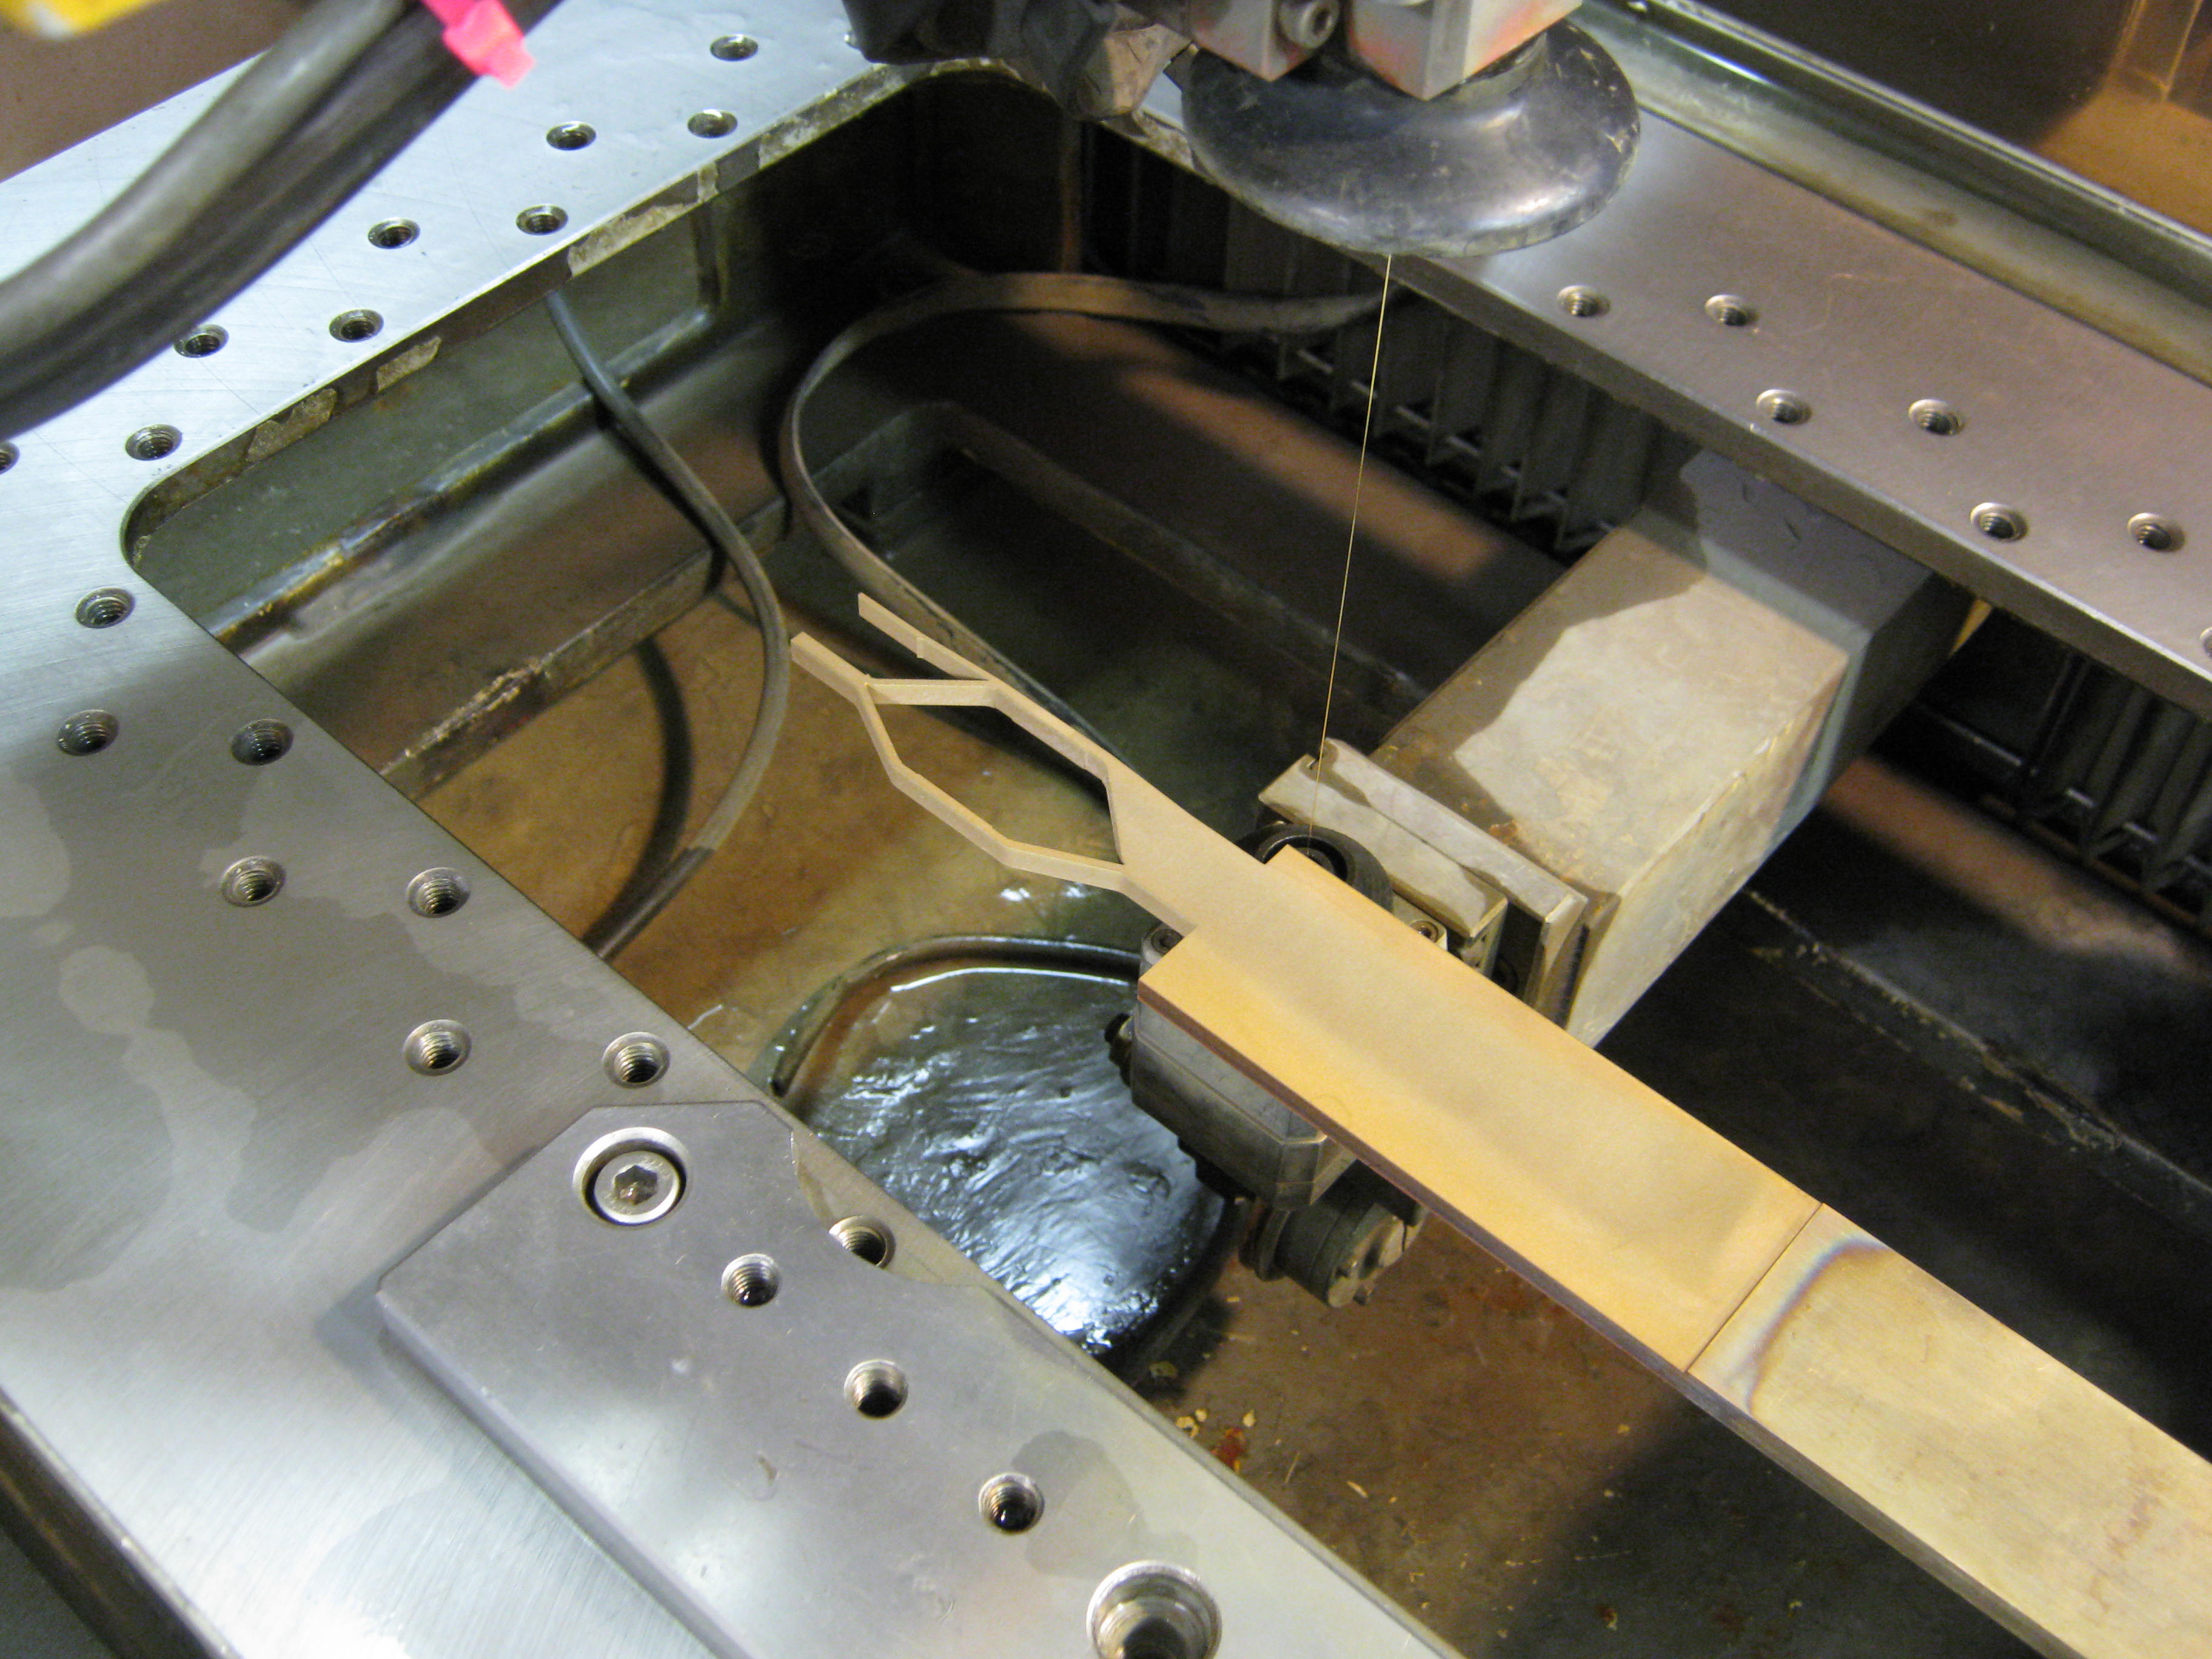
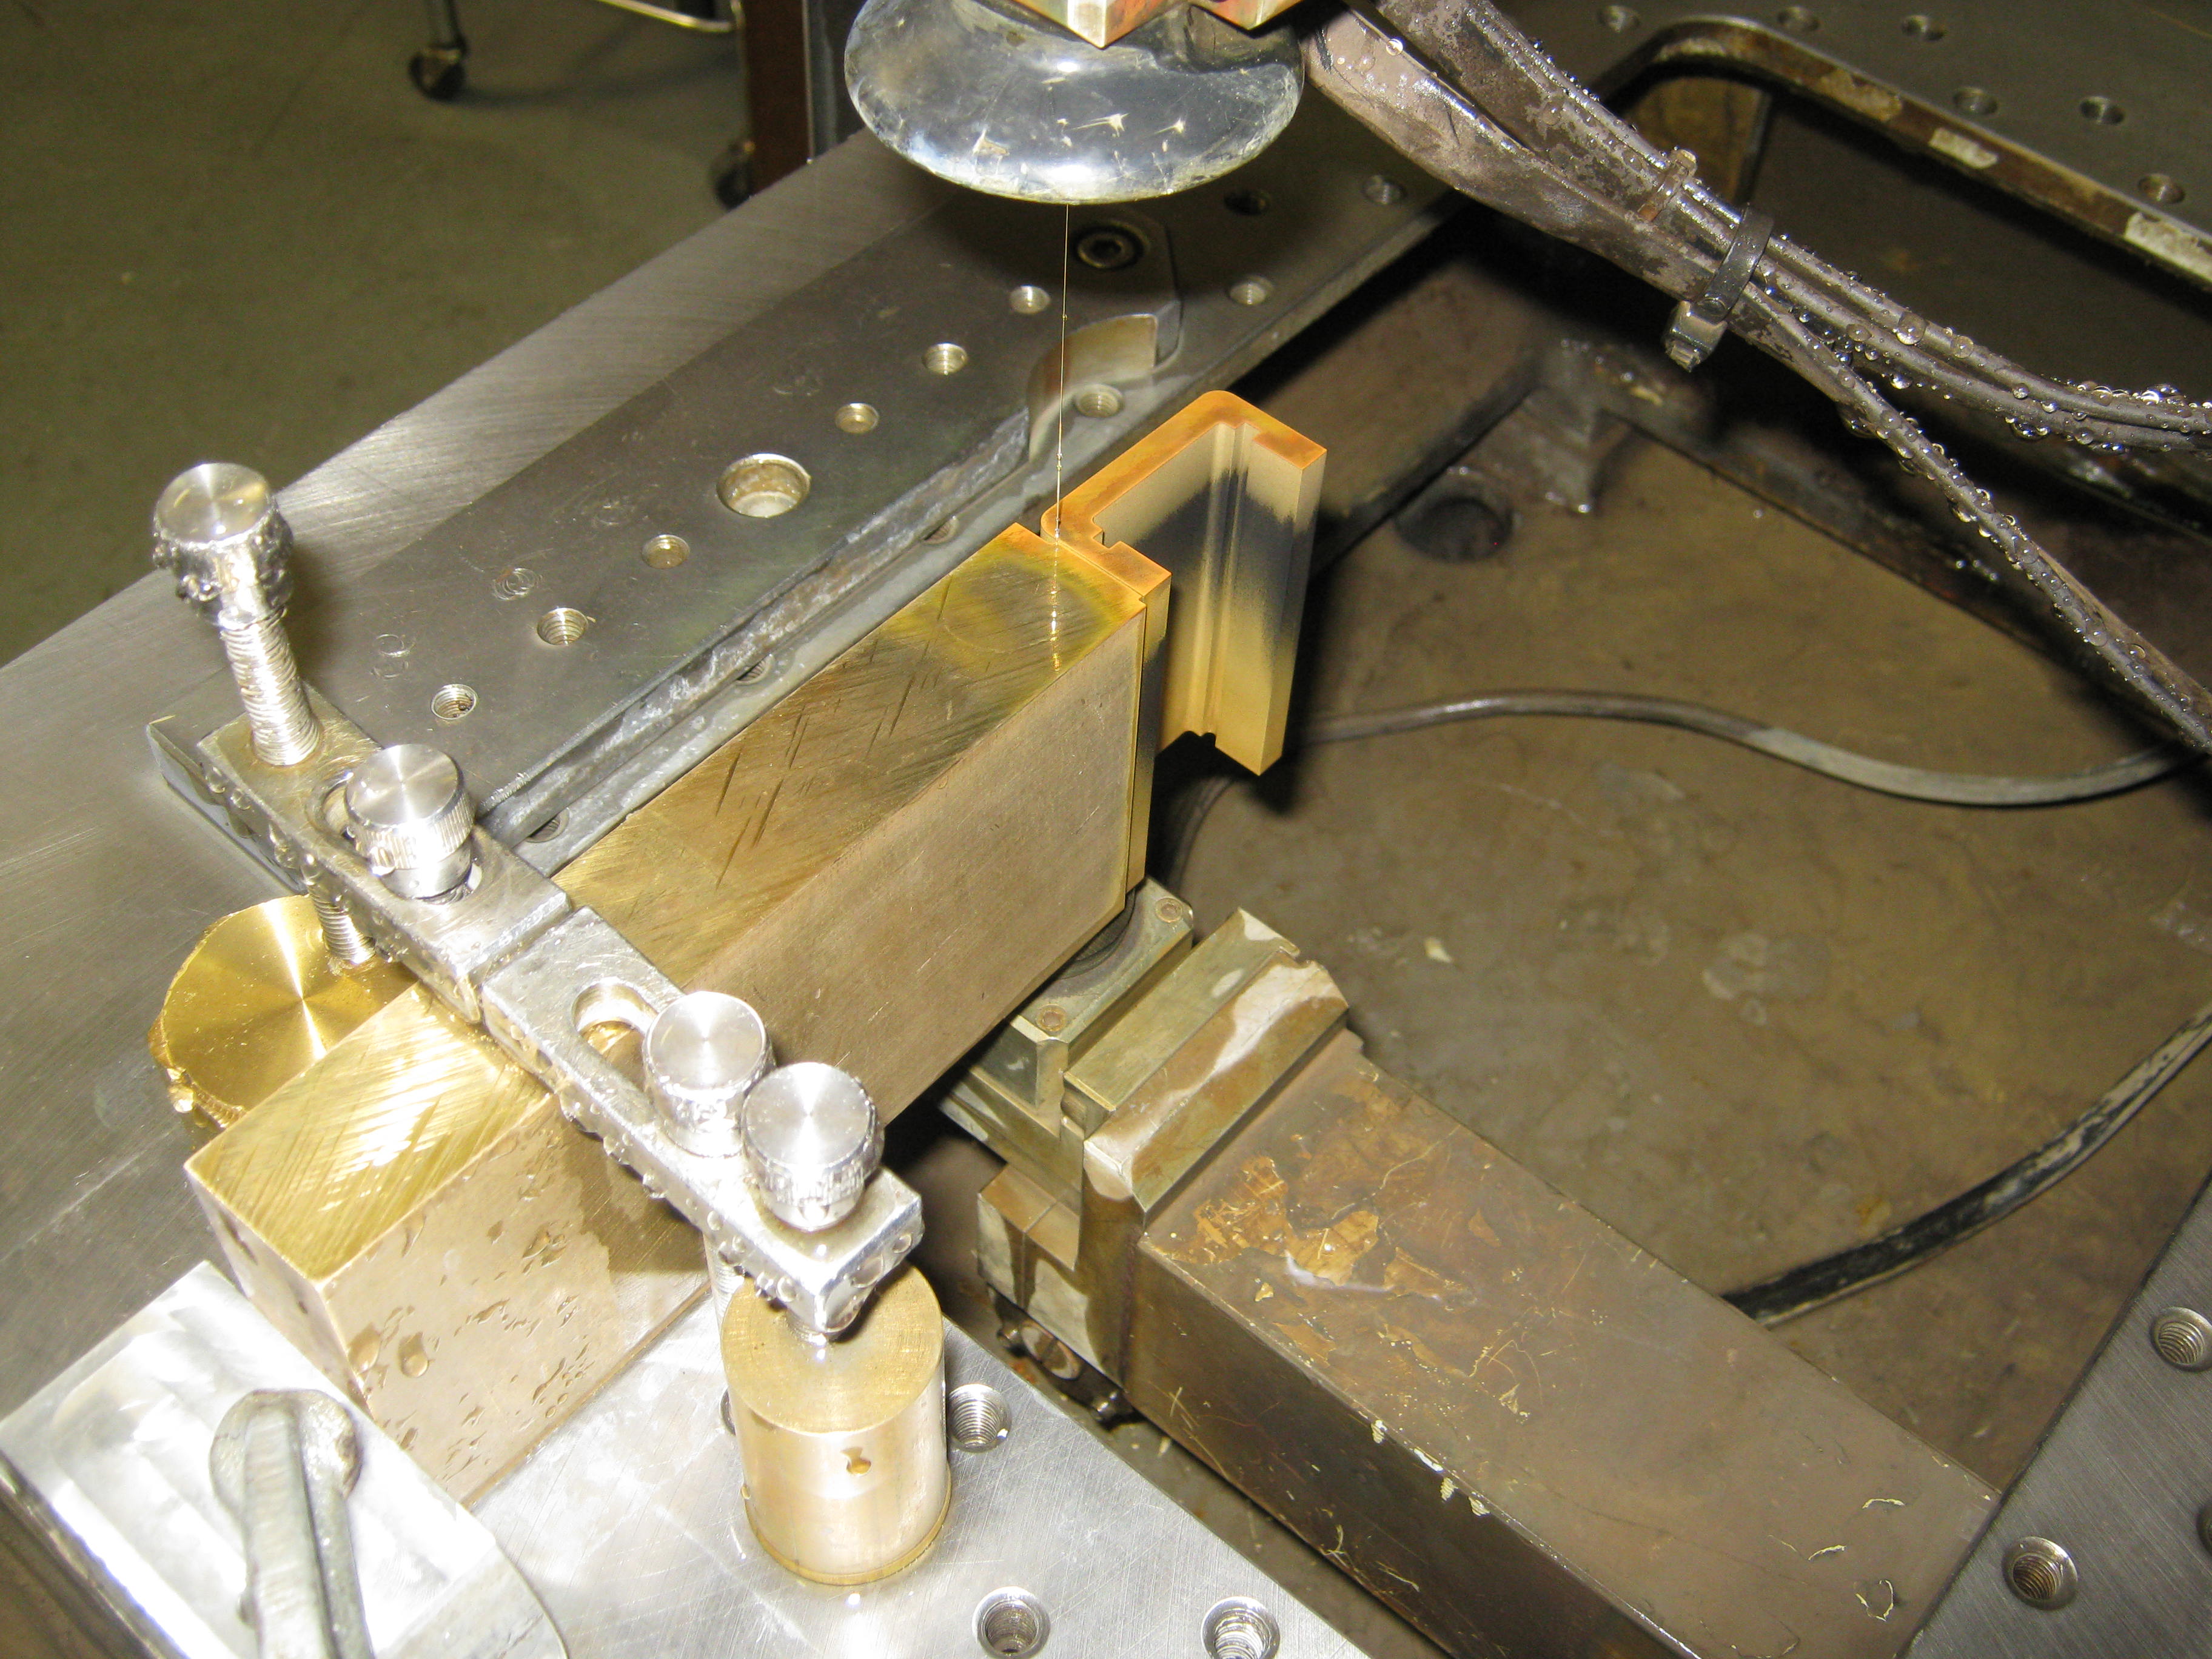
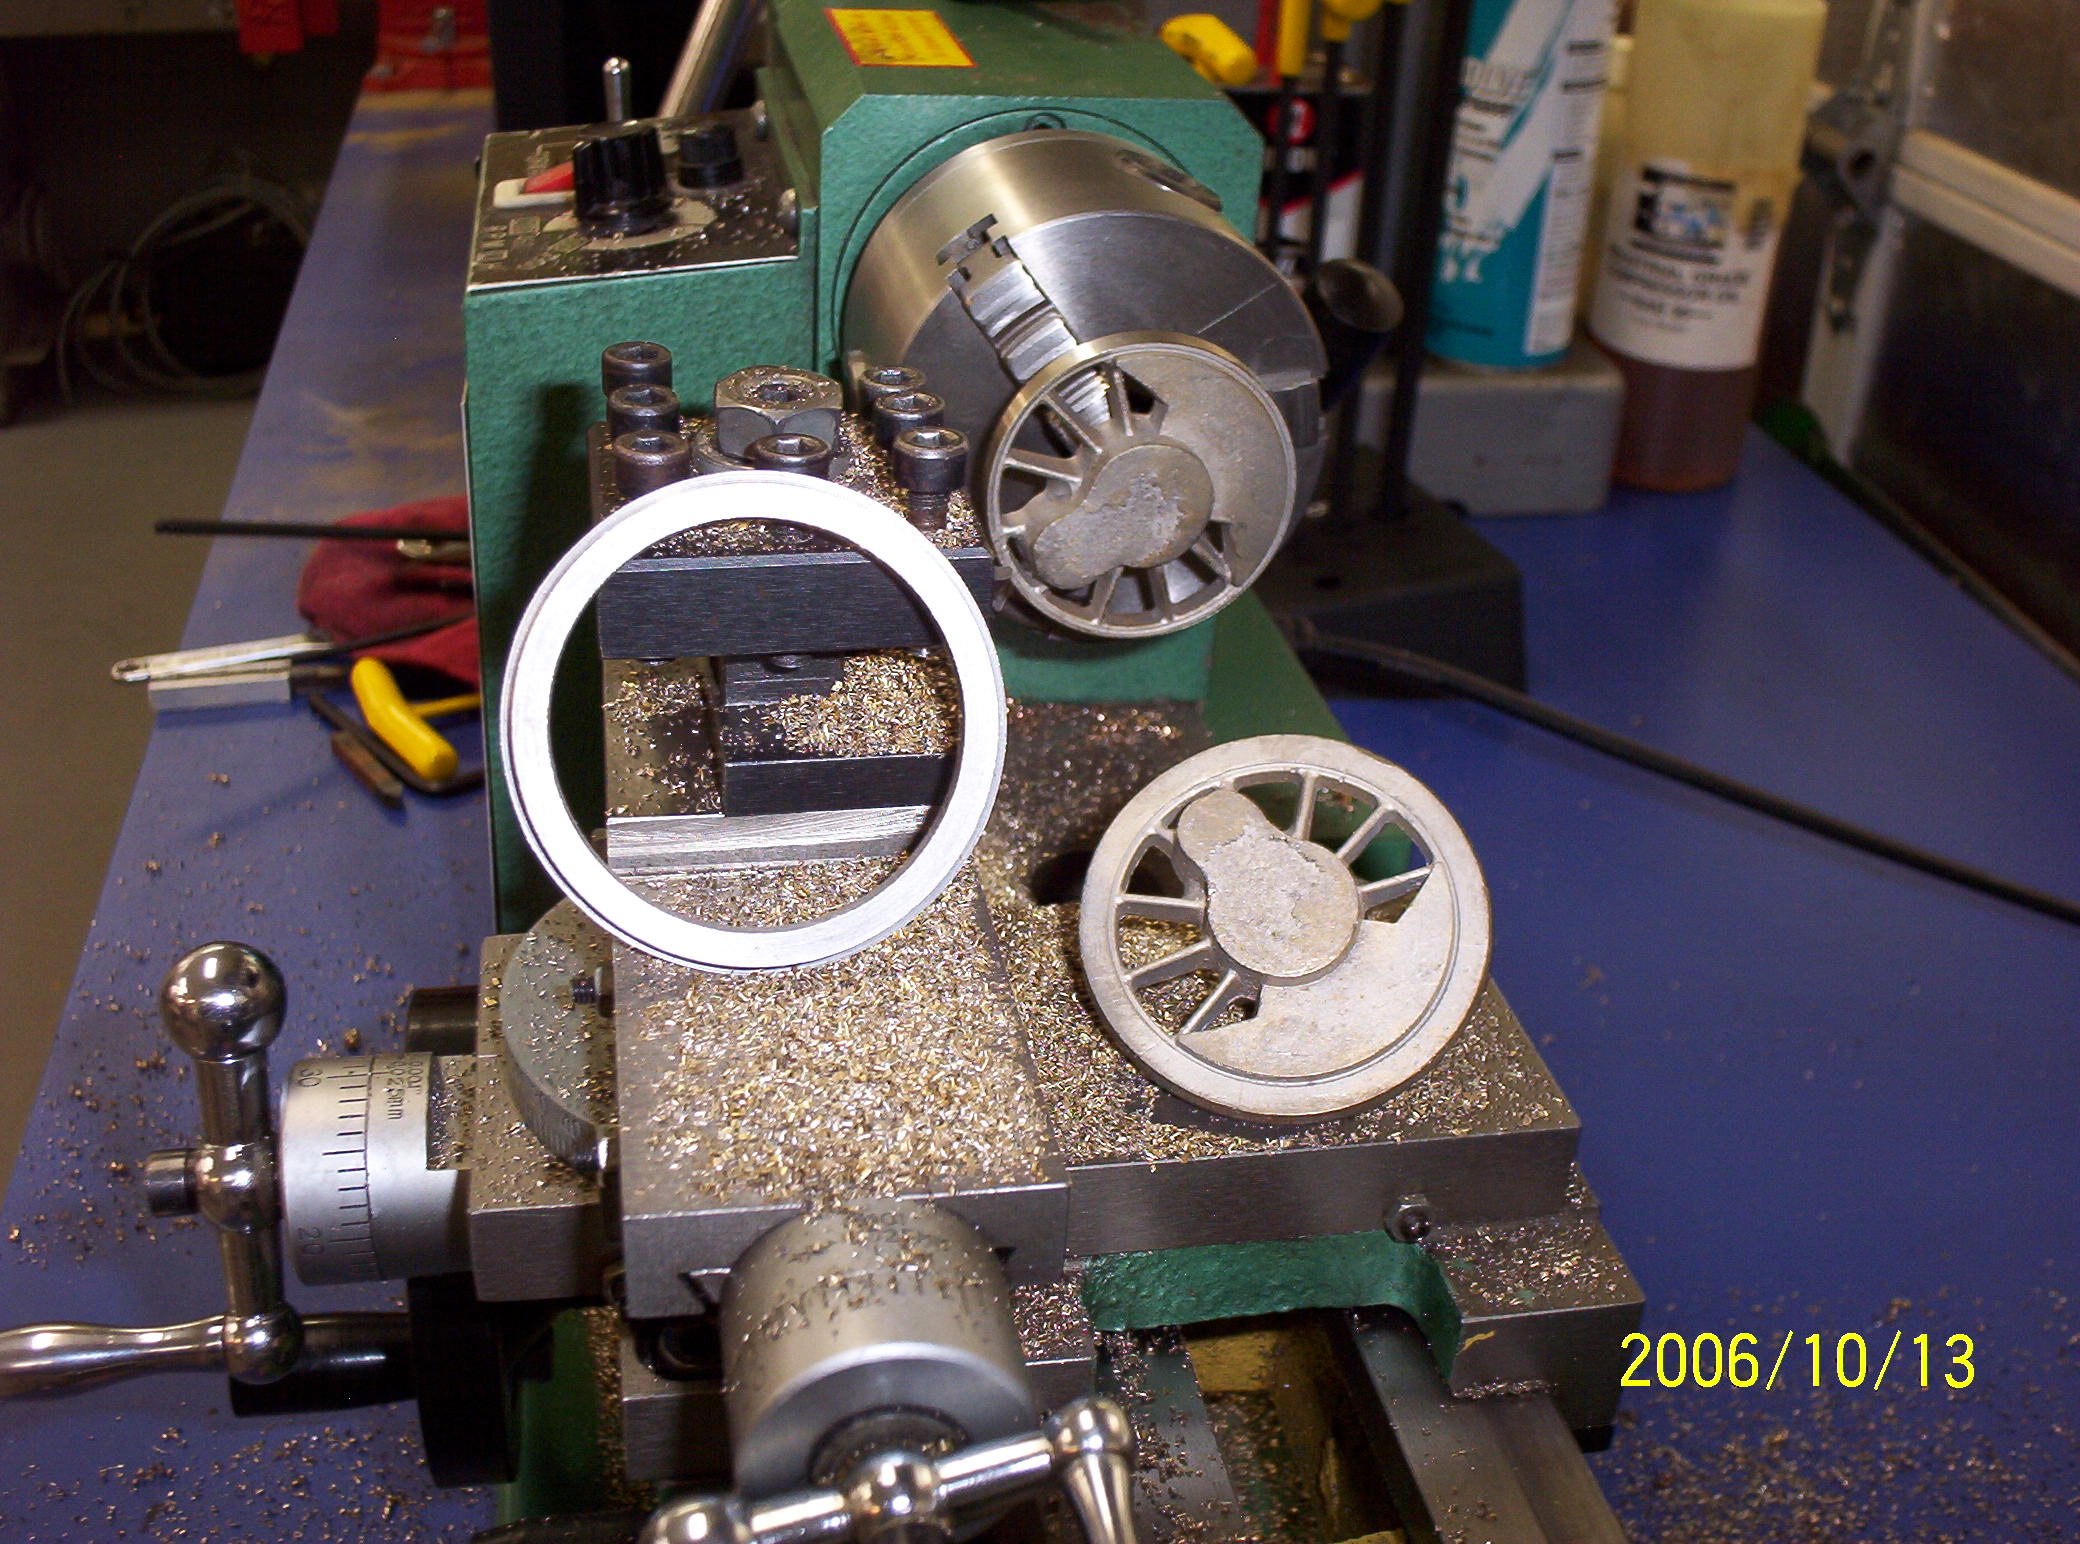
This was how I entered into the clunker stage--looking for bargains in the used machinery market and coming away with tools which I got for scrap prices--because they actually were headed to the scrap yard or should have been. This was the case with a Clausing 12 x 36 lathe (above right) and a Mill-Rite knee mill (a Bridgeport competitor made originally in Cincinnati), both of which I got for scrap value in 2004 and both of which needed no small amount of work to bring them up to speed once again--doable but time consuming. With some work, these machines could have been cleaned up and rebuilt; but one of the kickers with respect to old iron is that it often takes machine tools to repair and/or make new parts for old machine tools--and functionally I did not have either. I certainly did not have the experience. So these items were sold in the fall of 2009 in order to make way for some new-to-me old iron which would actually run--and run well--taking my shop to a whole new level. Wire EDM in a Home Workshop An exception to the clunker stage was the Japax LU3B wire EDM (at right) which I picked up at auction in 2004 from Pellissippi State when Tennessee's Board of Regents decided to change the curriculum for their technical colleges, adding more liberal arts class hours to their associates degree at the expense of technical course hours (go figure?). As a result the EDM portion of Mechanical Engineering Technology at Pellissippi State fell victim to the Board of Regents such that Pellissippi's loss became my gain. Admittedly the Japax represents early 1980s technology but there are still plenty in service today, and though slow compared to contemporary wire EDMs, the Japax is perfectly suited to what I do. It was also my first CNC machine.
In industry, wire EDM is used for the cutting of extrusion dies, graphite and copper electrodes, and many other small fiddly parts which otherwise might not be machinable using traditional cutting tools. In operation, aside from the whine of cooling fans and pumps used to spray a column of distilled water around the wire, which shields the arc and removes chips from the cut, the Japax sounds a lot like a can of soda pop fizzing or somebody gargling. Being slow, it is not for production work. But being accurate, it is well suited in my shop to producing steam locomotive frames, main and side rods, lead truck components, and brass patterns for lost wax castings (such as the archbar trucks above). In tandem with my manual knee mill, I probably use the Japax as much as or more than any other machine tool in my shop. For cutting oddly shaped, intricate parts or where high accuracy is required, it's a winner. |
| Next Stop: Dave's Current Shop Layout |
|
Last update: 27 November 2011
|
|
Copyright 2004-2011 CumberlandModelEngineering.com. All Rights Reserved |
.JPG)
.JPG)
.JPG)
.JPG)
.JPG)
.JPG)

.JPG)
.JPG)
.JPG)
.JPG)

.JPG)
.jpg)
%20039.jpg)
.jpg)
.JPG)
.jpg)


.JPG)