.JPG)

"Your source for standard gauge modeling in 1:20.3"
|
|
|
"Your source for standard gauge modeling in 1:20.3" |
|
|
.jpg) |
"Work with your own hands … that you
may walk properly toward those who are outside, and that you may lack
nothing" My workshop began at my Dad's place in a 12' x 24' portion of his three car detached garage (the "lower garage" as we call it, one of three outbuildings at my parent's home). In middle and high school it had housed my HO gauge layout--heated in the winter, but as hot, humid and buggy as a Georgia swamp in the summer. After my wife and I were married, the shop occupied a good portion of the basement of our rental house in Kingsport, Tennessee. Since moving back to Knoxville in 2001, I initially moved my equipment back into Dad's "lower garage" while the wife and I lived in an apartment. The lower garage was where most of the Gauge 3 freight cars pictured elsewhere on this site were built just before I made the switch to F scale. In 2003 we
moved into the rental house (at left) which we bought in 2005. I began
working on the detached garage which at that point was just the shell of
a building, with exposed stud walls, no ceiling, no insulation and one
15 amp circuit off the house for electrical service. That's all changed
now. And after several years of on again, off again work, Dave's
Workshop is 575 square feet of model building comfort. But see for
yourself below. |
|
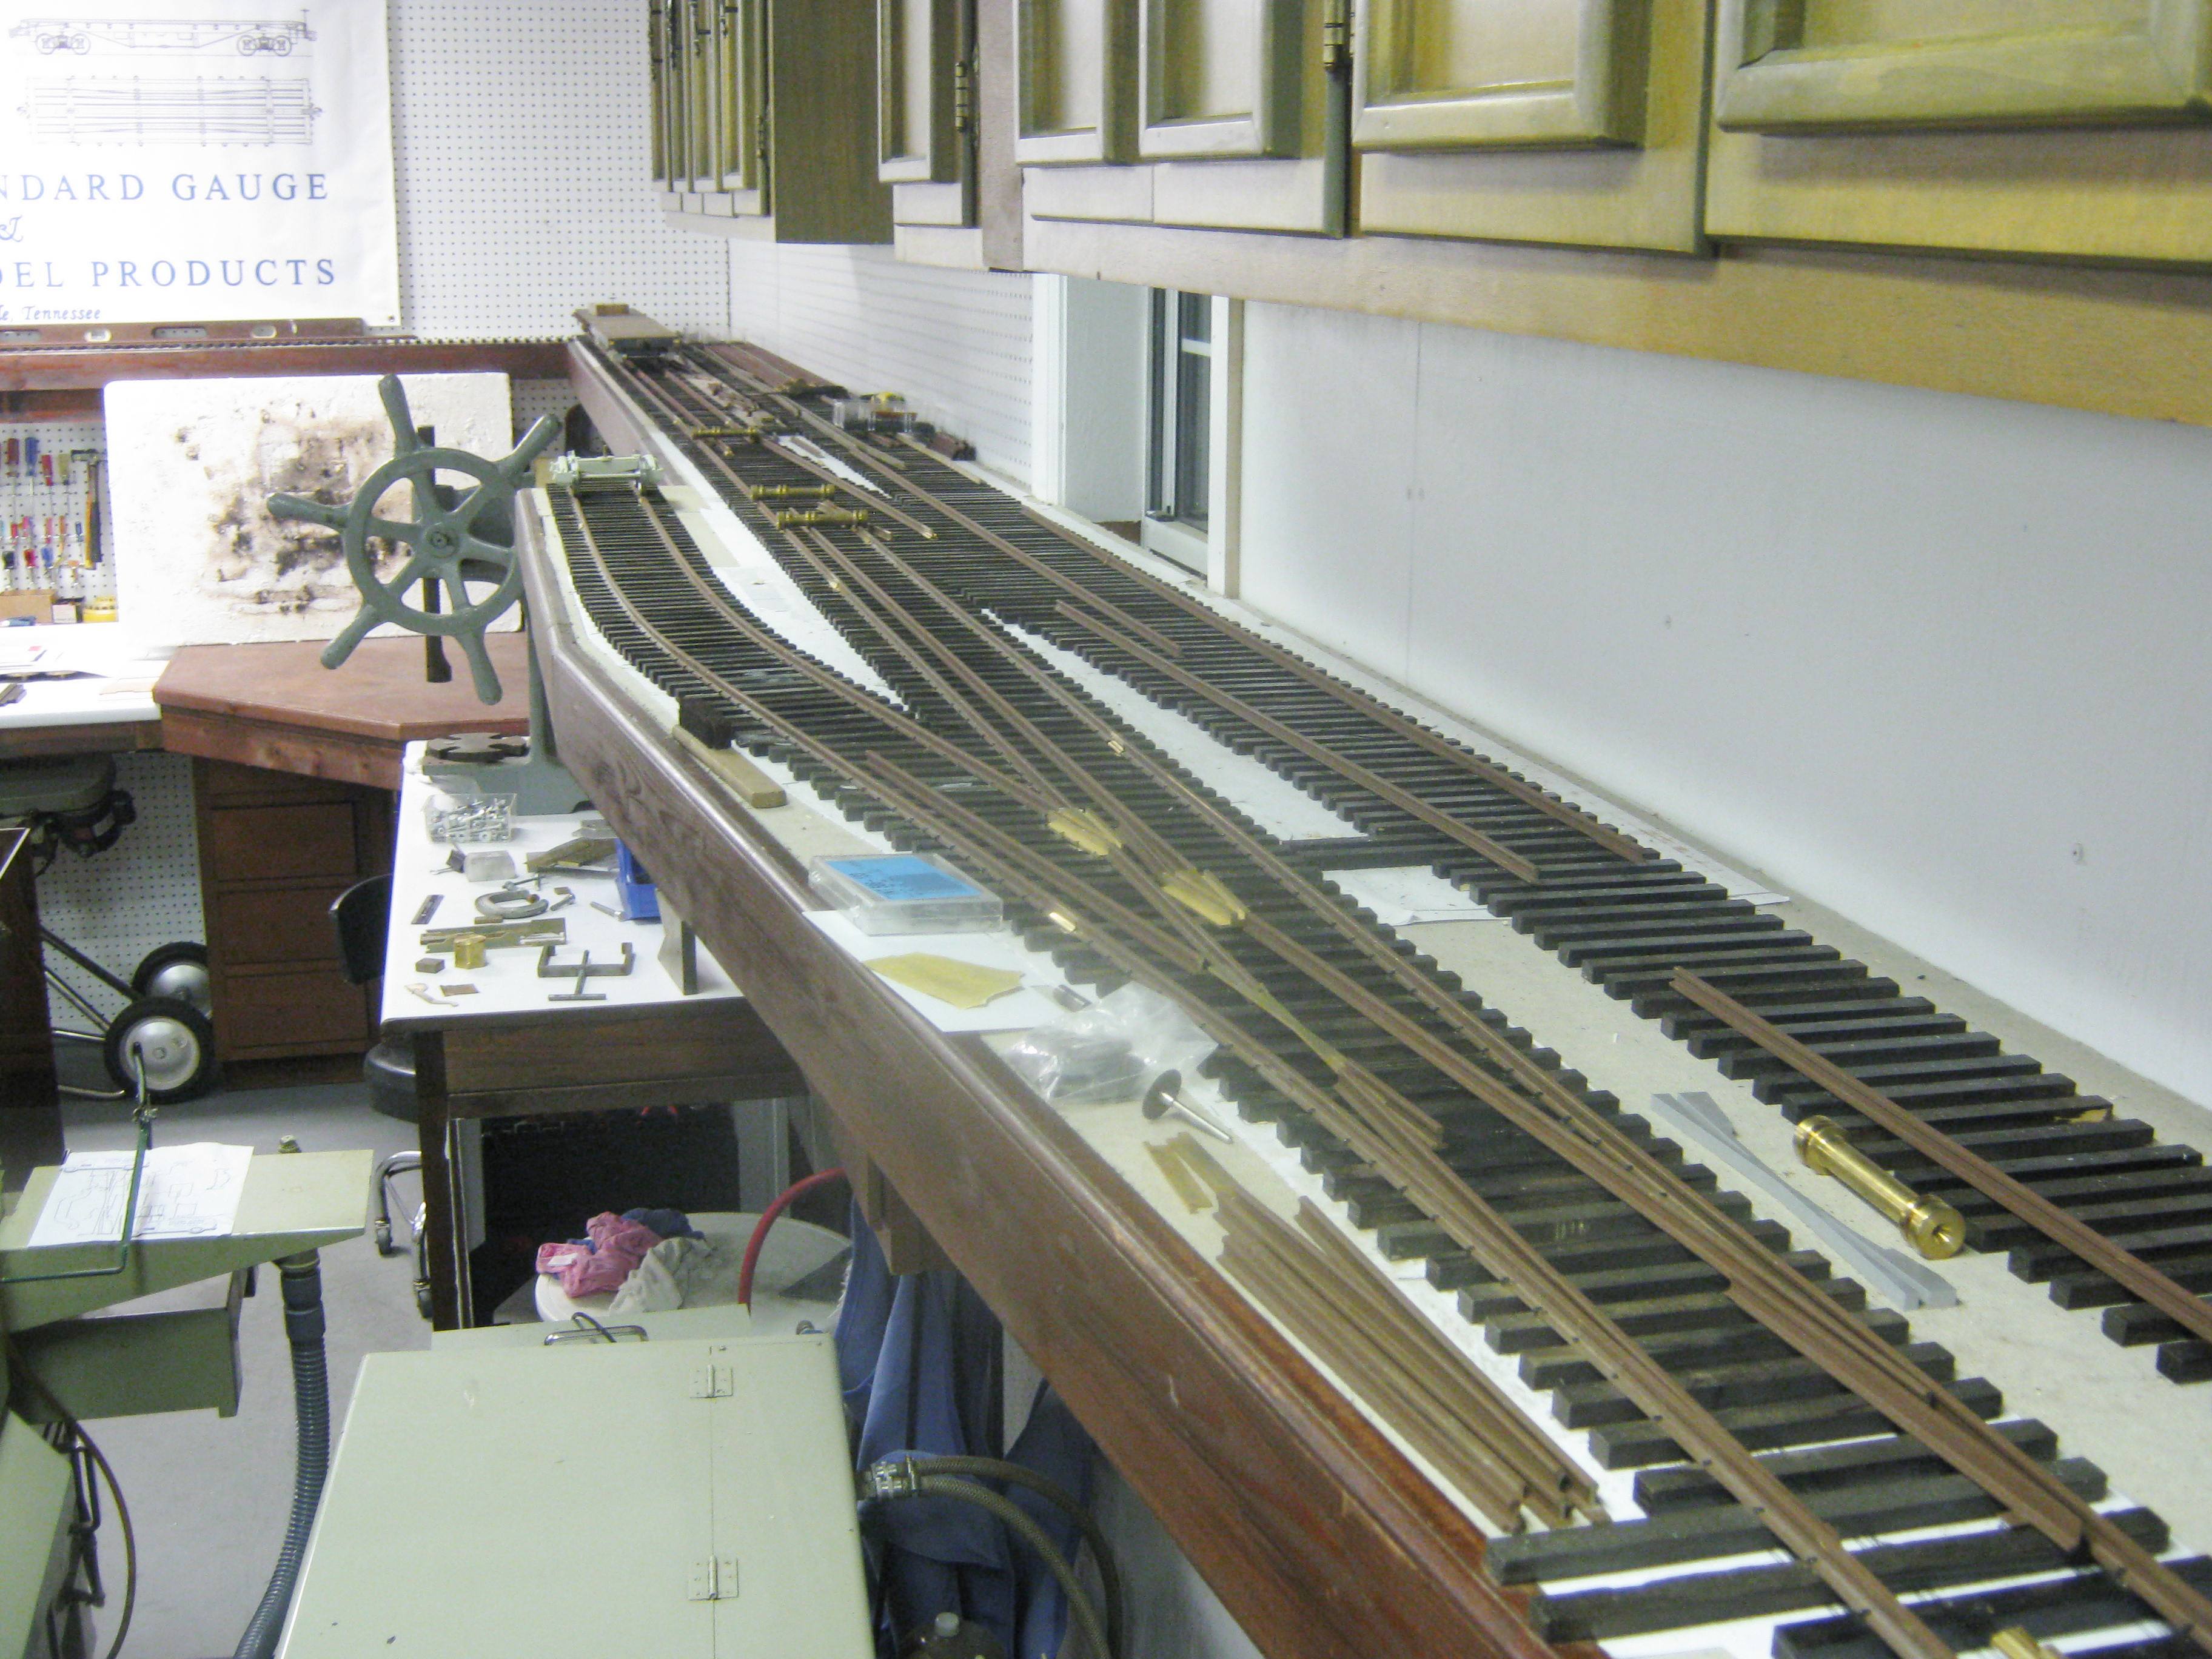
Shop Layout
(as of 3-17-11)
|
.jpg) .jpg)
|
|
|
Cumberland Model Engineering now has the capabilities of a small machine shop such that I am equipped to undertake most any train or model related project, up to and including 1.5" scale live steam; however, my focus remains upon developing standard gauge modeling in 1:20.3 scale, or as the NMRA designates it, F scale. Here is a thumbnail sketch of my shop's tools and their capabilities: |
||
.jpg) • Wire EDM
Cutting • Wire EDM
CuttingThe best way to describe the capabilities of my mid-1980s Japax LU3B wire EDM is to think of the machine as a electronic band saw able to cut any conductive material (brass, steel, aluminum, carbide) up to 6" thick with controlled arc of electricity. The accuracy achievable is phenomenal: down into the ten thousandths of an inch range if necessary. Table travel is roughly 8 x 14 inches, however the cutting of longer parts is possible with some creative repositioning. Typical uses include: (1) Locomotive Frames & Frame
Spreaders (2) One-piece cylinder blocks (3) HSS and Cobalt
lathe form tools Since wire EDM is not a fast cutting method, the basic rule of thumb is that where a one-off part is required, the part is small and fiddly, or extreme precision is called for, then wire EDM is most likely the way to go. If you can CAD it, then I can most likely cut it. |
.jpg) .jpg) • Laser Cutting • Laser CuttingThe newest tool in my shop is a Rabbit Laser USA model 1290 laser engraver / cutter. With its 34.5 x 47 inch work envelope and 120 watt CO2 laser tube, the Rabbit is good for cutting and etching both wood and plastic. I cut basswood and aircraft grade baltic birch plywood up to .400" as well as styrene and acrylic plastic in similar thicknesses. With its rotary attachment, the Rabbit laser also engraves glasses and mugs. So far (11-2011) I have been using the Rabbit laser to cut wooden parts for F scale freight car kits that I have in development, wooden puzzles for gifts & party favors, and to etch corporate logos as well as personal names onto wine glasses. Tolerances achievable by this grade of laser in wood are in the ± .005" range (on a good day). This particular laser is not powerful enough to cut metal (and usually brass is way too reflective to be cut even by high-powered metal cutting lasers), but again this is an effective way to produce non-metallic components for models, and lots of them! |
|
.jpg) •
CNC Milling •
CNC MillingIn the fall of 2009 I acquired this 1995 Milltronics Partner I CNC machining center with 12 tool automatic tool changer. The Partner I has better than 30 inches of travel in the X axis and about 16 in the Y axis. Intended uses are CNC milled locomotive frames, brass driver center casting patterns, and other locomotive components. At this point, I am using BobCAD-CAM version 24 as my programming package for mill. |
.jpg) .jpg) •
Manual Milling •
Manual MillingThere will always be a place for manual machine tools, and manual milling in particular. This mill is a Bridgeport "clone" imported from Taiwan in the early 1990s and upgraded with a 3-axis DRO (x,y & z on the knee) as well as a quill DRO. X axis travel is about 30 inches. It get used just about every week for odd jobs and some short run production work. For 1/20th scale trains, any model maker / scratch builder has got to have one! |
|
 .JPG) •
2D & 3D CAD •
2D & 3D CADI use both 2D and 3D CAD packages on a weekly, and at times, daily basis. For 2D work I use AutoCAD LT 2011. For 3D CAD I use SolidWorks 2015. For CAM software, I use BobCAD-CAM Version 24. Inventor LT 2011 also fits into the mix on occasion. Most of the work I do begins with CAD, which for the modern one-man shop is nearly indispensible. |
.jpg) •
Manual Turning •
Manual TurningHere's a WWII relic that I use weekly: a Monarch 10EE toolroom lathe, made in 1946, and largely rebuilt by my friend Julian Morrison. It's a toolroom lathe in that it is high precision (the Monarch 10EE was, and still is known, as the Cadillac of manual lathes), with a relatively small work envelope (12x20 inches), but rock solid--weighing in at over 3,000 lbs! Tolerances of one-half thousandth are routinely achievable. Speed control is infinitely variable through a rheostat, controlling a DC spindle motor. DC current is created by the Monarch's motor-generator drive which converts 3-phase AC to DC current, along with an exciter for the DC spindle motor. Your shop cannot have a more affordable, precision lathe than one of these old Monarchs! |
|
.JPG) • Pattern
Making • Pattern
MakingAs a job shop focused upon model trains and one-off models, I spend a good deal of time working on patterns and prototypes, especially patterns for both investment casting as well as spin casting. Our capabilities include fright car trucks, steam locomotive driver centers, rods, and more. The driver centers at right were CNC machined by my friend Randy Gordon Gilmore based upon my CAD drawings. More photos of pattern work can be found on the News Page. |
After spending way too much time fiddling with an arbor press or trying to adapt a drill press to function as a jig for assembling wheelsets and steam locomotive drivers, squarely and in quarter, the need for some precision tooling to do these tasks repeatedly and accurately became apparent. Here are the results at right: a gang of specially modified arbor presses. To paraphrase Goldfinger's remarks to Oddjob, your drivers have a pressing engagement. |
|
|
Last update: 20 February 2015
|
|
Copyright 2004-2011 CumberlandModelEngineering.com. All Rights Reserved |
300.jpg)
.jpg)
.jpg)
.jpg)
.jpg) Current
Shop Capabilities
(updated 8-20-13)
Current
Shop Capabilities
(updated 8-20-13)%20002.jpg) •
Quartering & Assembly of Steam Locomotive Drivers
•
Quartering & Assembly of Steam Locomotive Drivers