.JPG)

"Your source for standard gauge modeling in 1:20.3"
|
|
|
"Your source for standard gauge modeling in 1:20.3" |
|
|
.JPG) |
Who can find a virtuous wife? For her worth is far above rubies.--Proverbs 31:10 Many of us have heard the horror stories our fellow model-rails tell of wives who roll their eyes at the thought of their husband's hobby or of negotiating "trackage rights" through the laundry room. Of course, the flip side of the coin is those husbands who have effectively abandoned their wives and kids in order to go play trains: Not all monks live in monasteries. I, however, am very privileged to have a wife who not only tolerates my fascination with trains, but positively supports it. For instance, most of the riveting on the freight cars below is the work of my wife Helen. She can even hand spike track twice as fast as I can. But since 2002, she has had three other "little" projects, both in 1:1 scale. A Friendly Reminder: Gauge 3 ≠ F Gauge; "G" Scale ≠ F Scale; 1:22.5 ≠ 1:20.32 |
|
Initially, from about 1993 through 2002, I modeled in 1:22.6 scale, Gauge 3--which is just a wee bit smaller than standard gauge modeling in 1:20.3 scale (at 63.5mm between the rails, Gauge 3 is not the same as F Gauge, the latter measuring 70.6mm). But let me explain. I was
first exposed to large scale modeling about 1989 at a NRHS
convention in Asheville, North Carolina when I came across some
of the early Aristo-Craft (then known as REA--Railway Express
Agency) freight cars. Not long after that I also encountered my
first copy of
Garden Railways
magazine. Having grown up with both Lionel and HO scale, there
was a definite attraction about the sheer physical size of the
Aristo-Craft products--what I call the "wow" factor of large
scale. But while physically "big", the Aristo cars in 1:29 scale
were nevertheless out-of-scale respective to their track gauge
and, at that time, somewhat toyish in appearance. I queried
Garden Railways editor Marc Horovitz about alternatives, and
he suggested I look into Gauge 3, an almost forgotten track
gauge from the earliest days of model railroading.
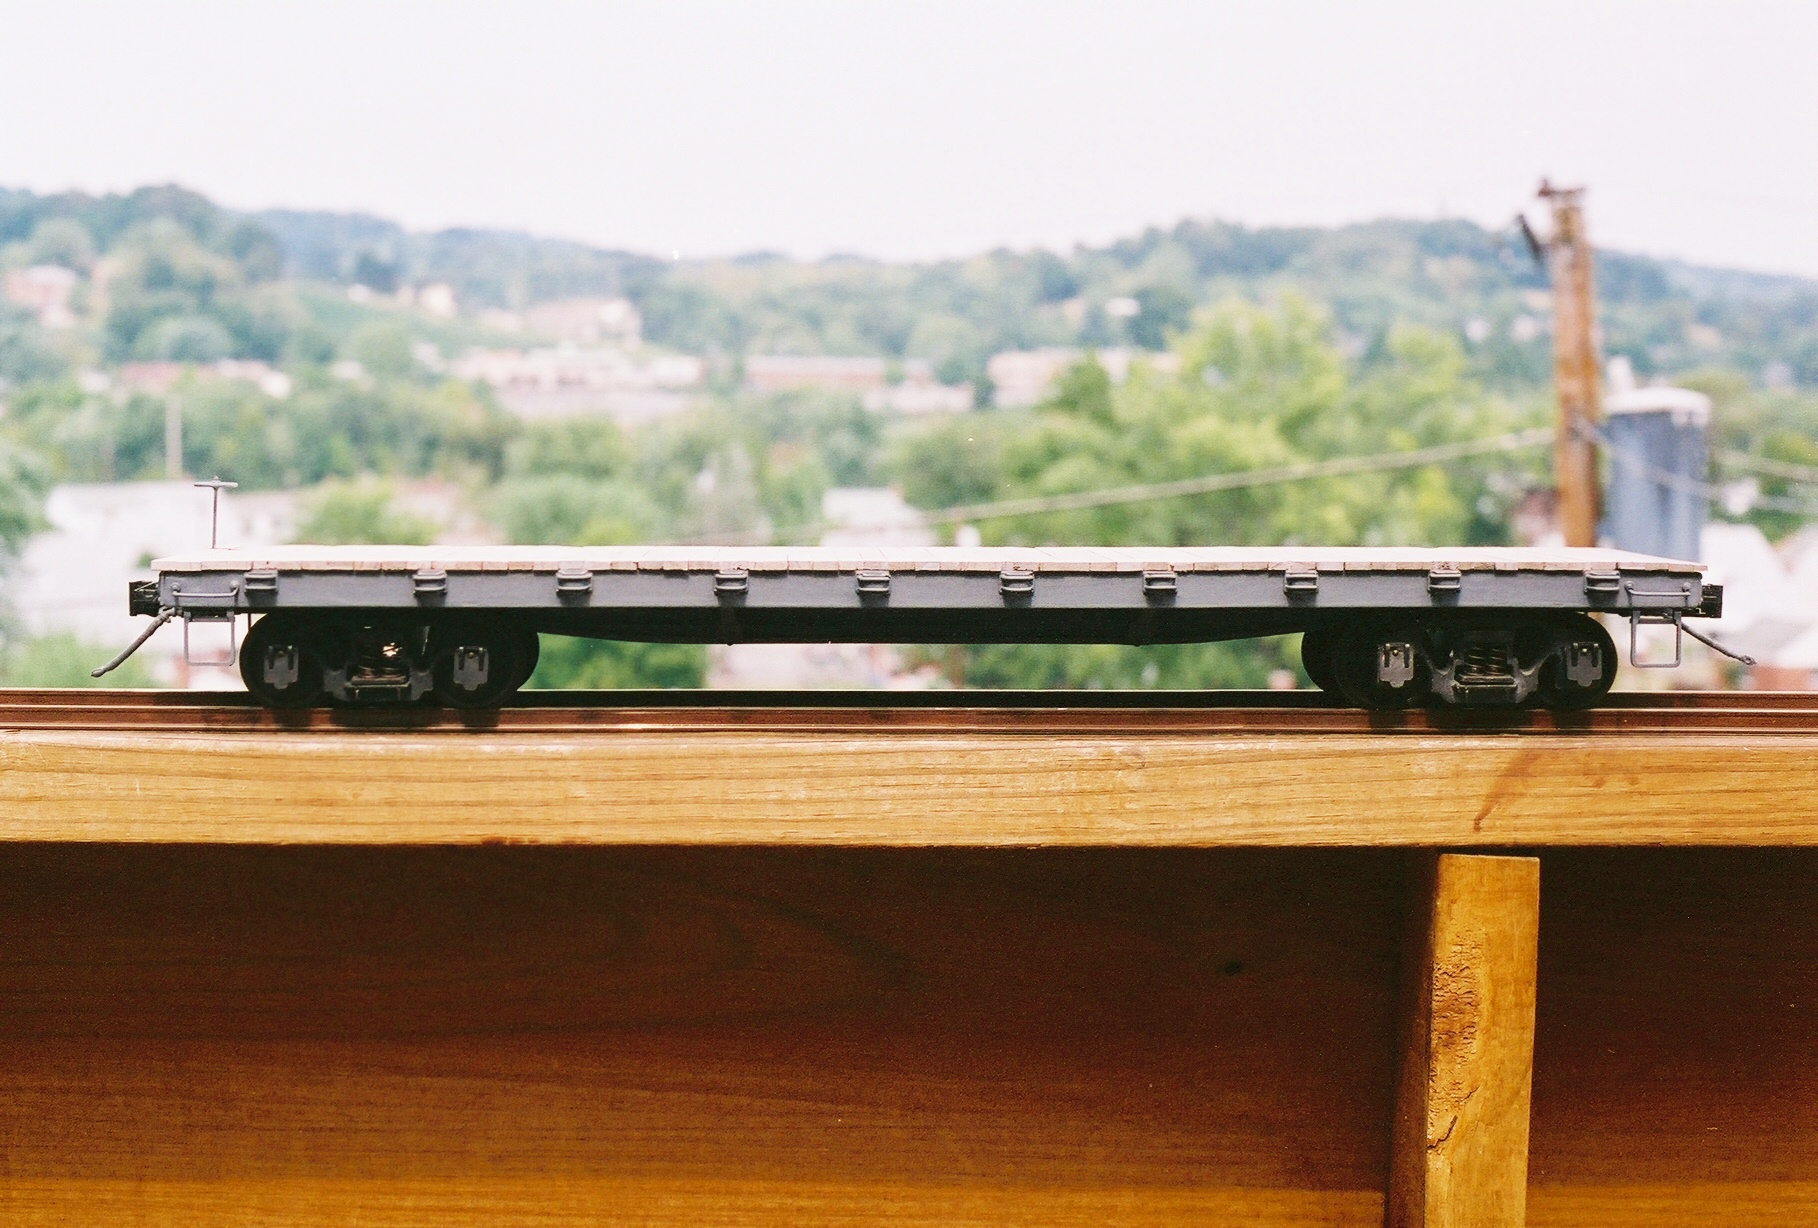
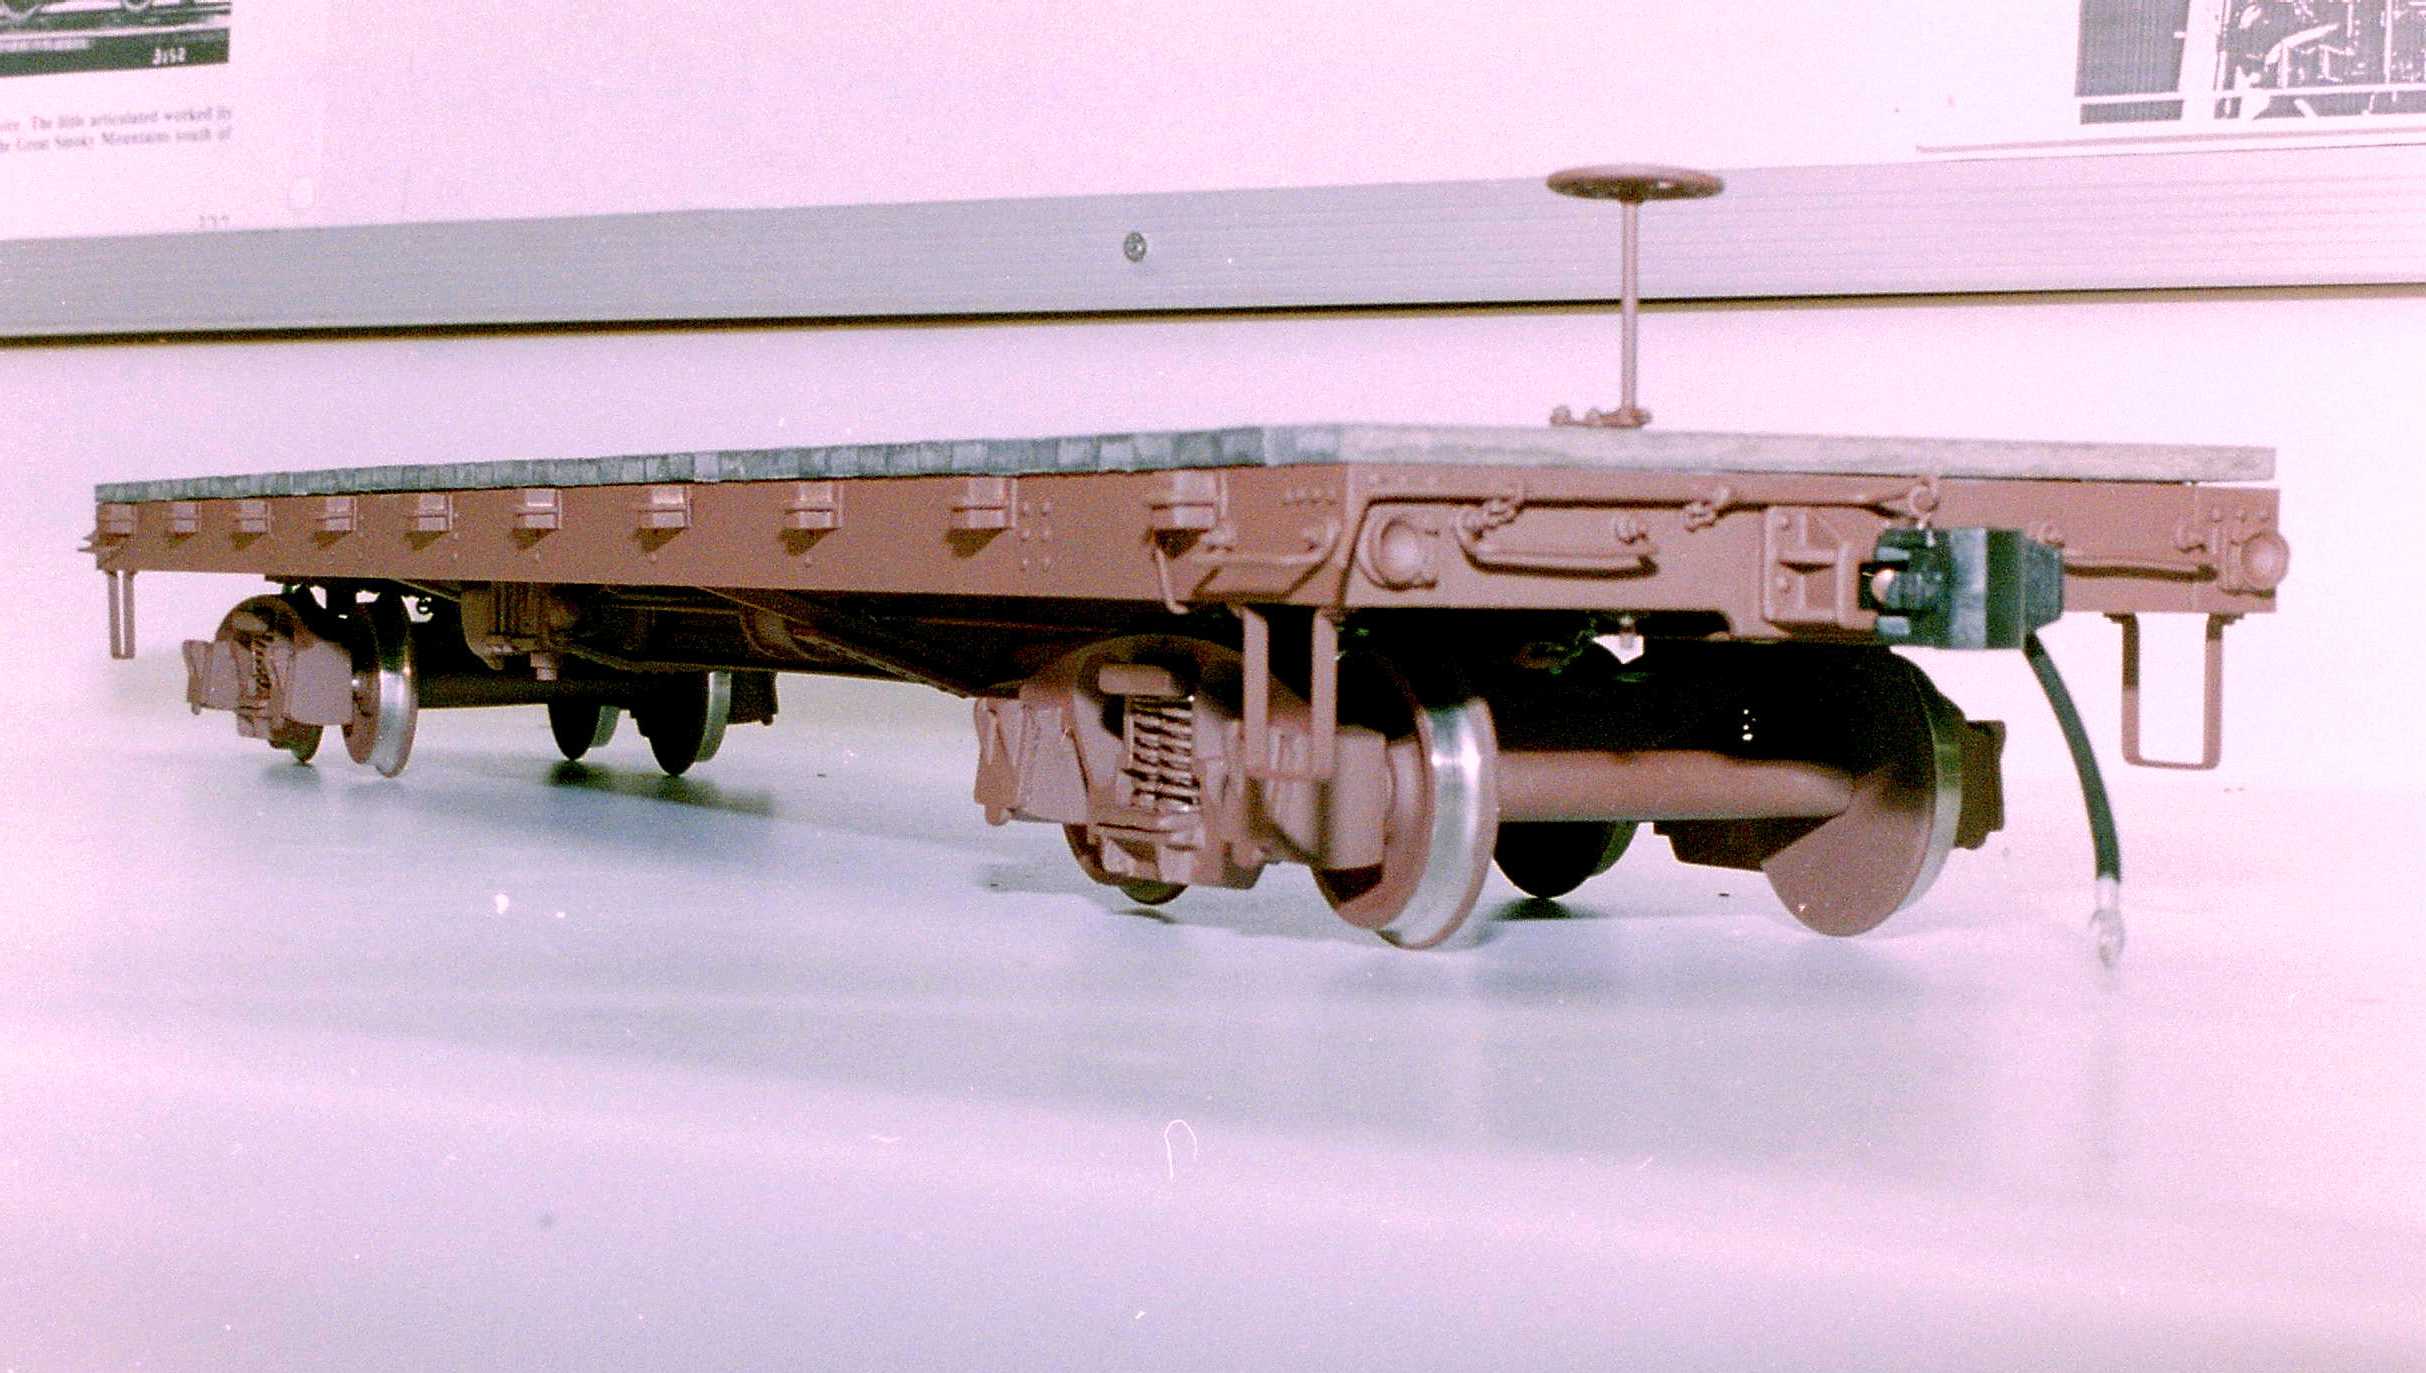
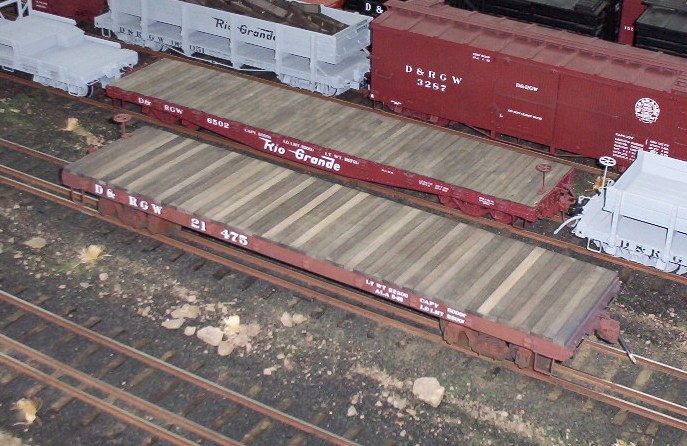
Julia Andrews once said that the beginning is a very good place to start. In my case it was on the dining room table of my apartment during seminary. I got the bug to build something, just anything, while still in graduate school. This 40' flat car, based upon a drawing published in Mainline Modeler magazine (thank you, Mr. Hundman, for 28 great years!), was the result--in basswood --riding on a pair of Marc Horovitz's Gauge 3 trucks. This is the first car I ever scratchbuilt--and it took me about four or five years to finish--between finishing seminary, teaching college in South Africa, getting married . . .
|
|
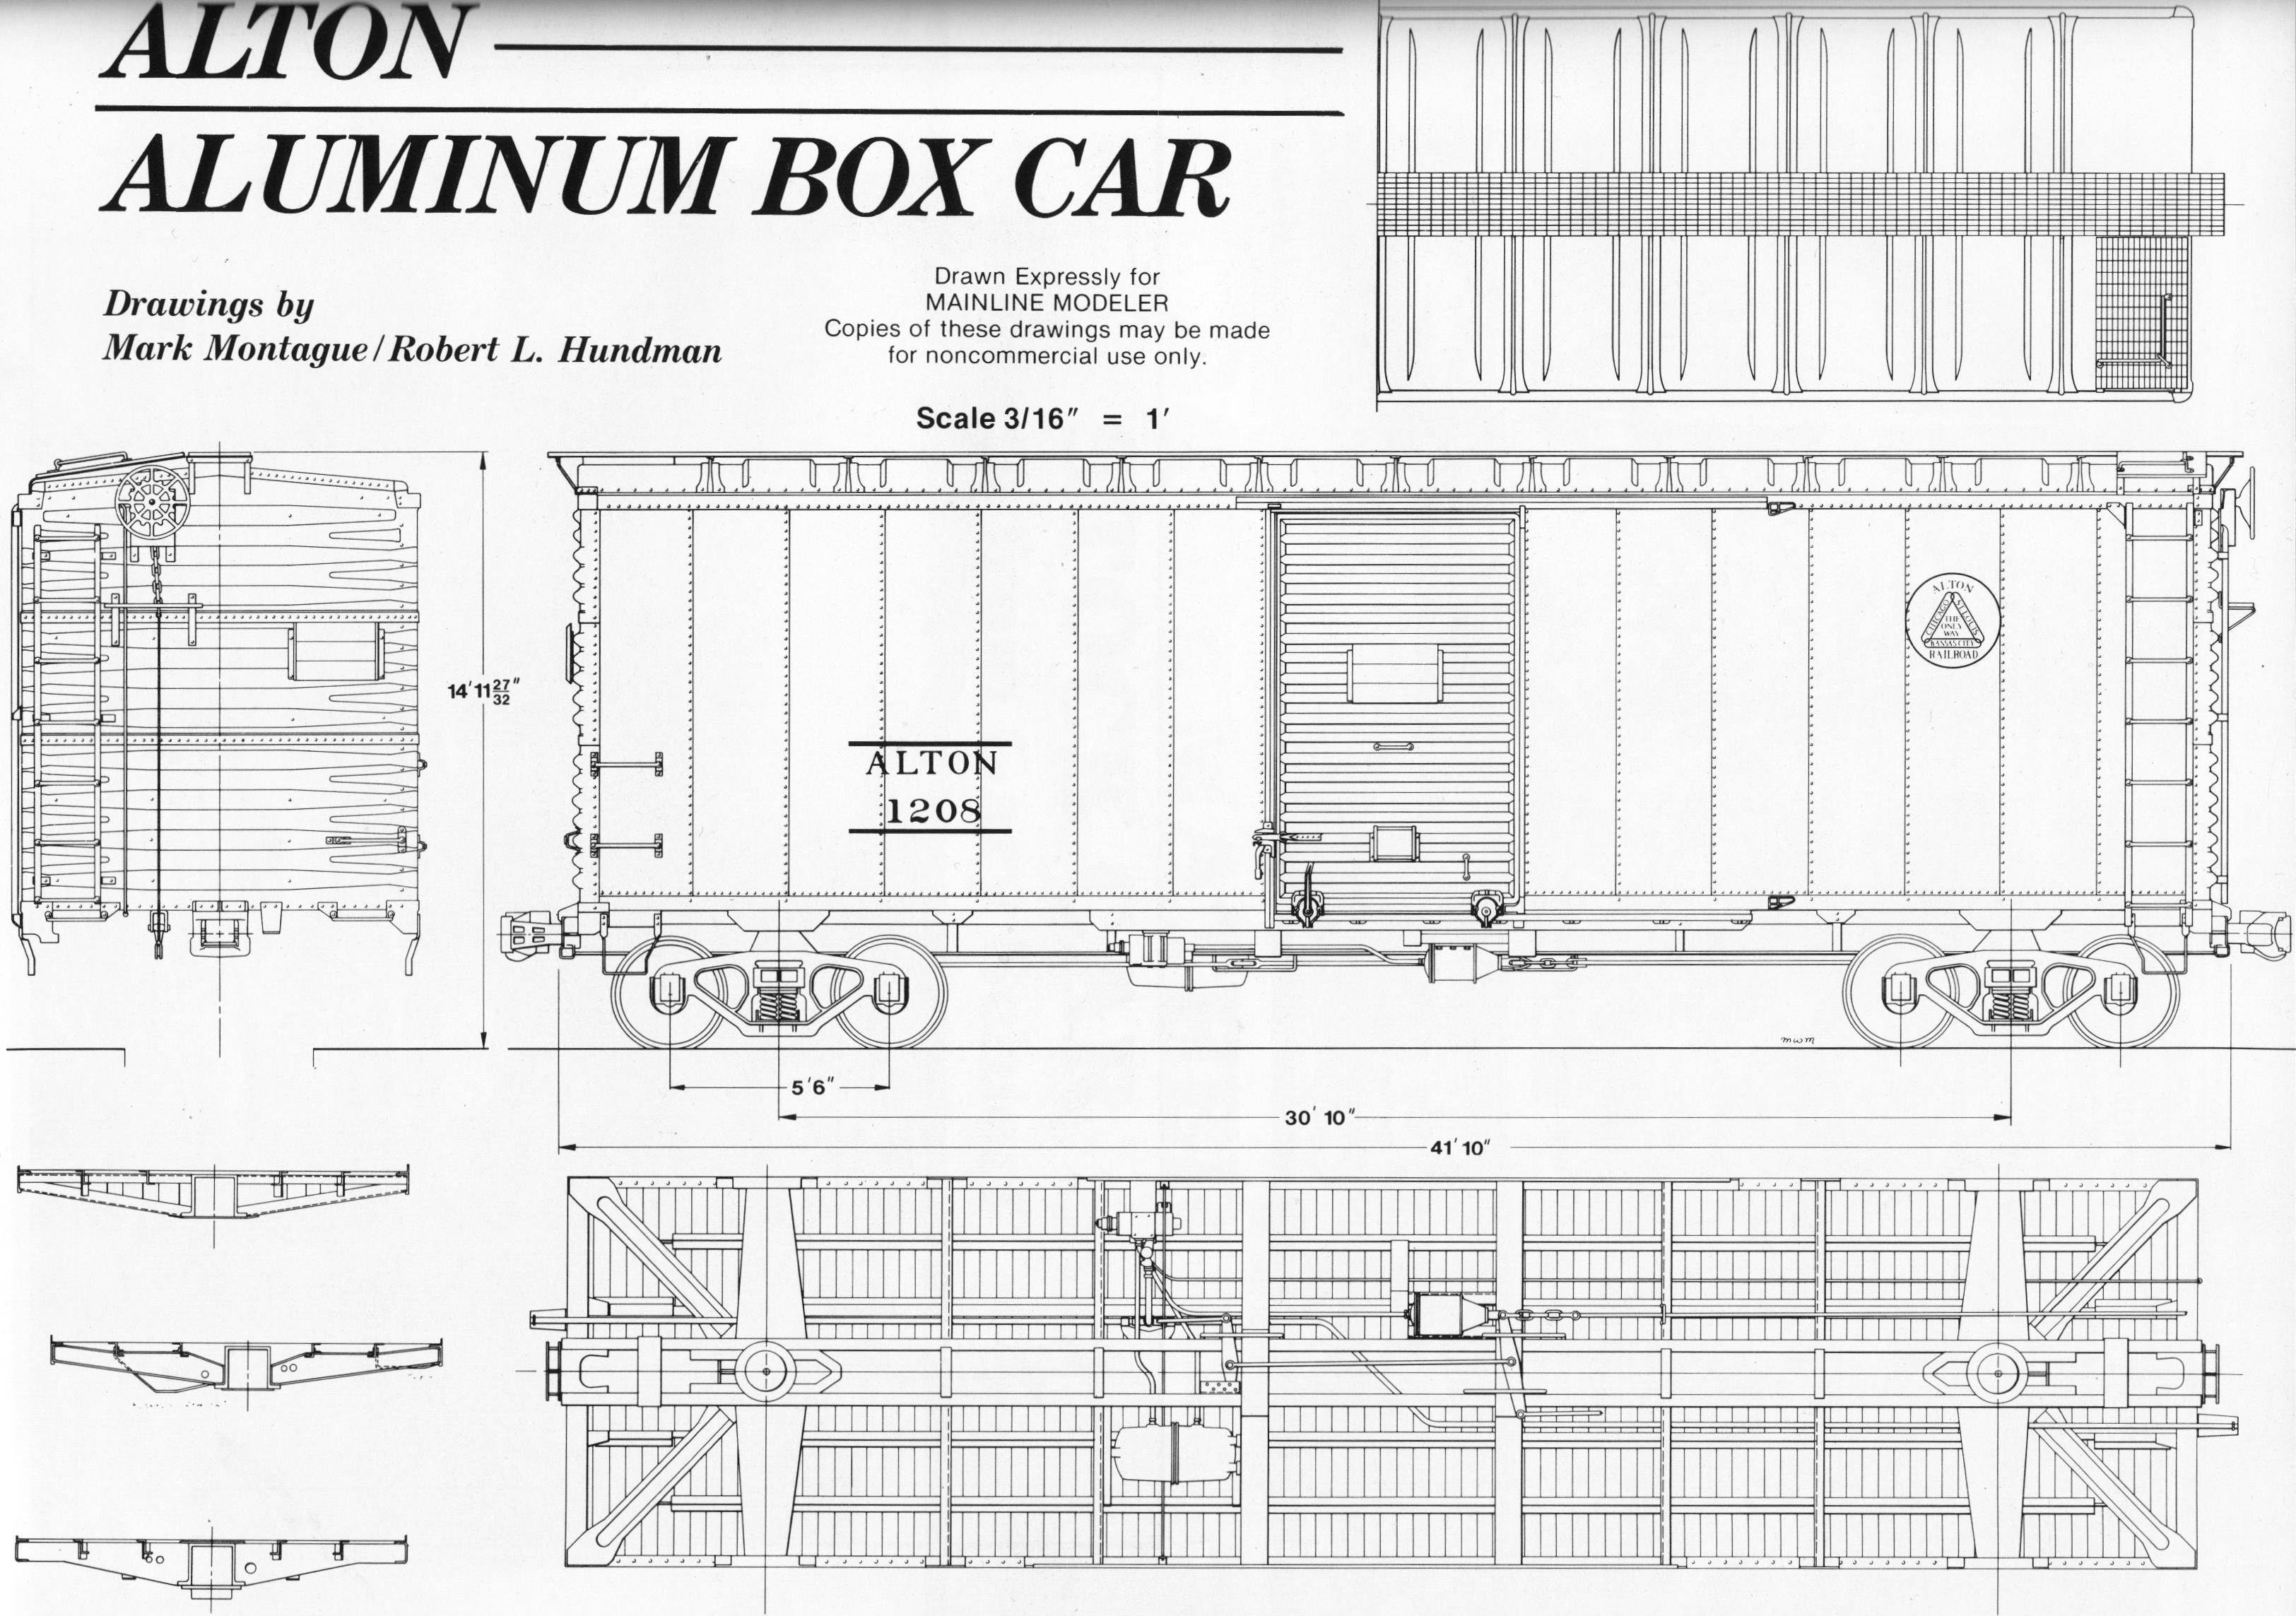
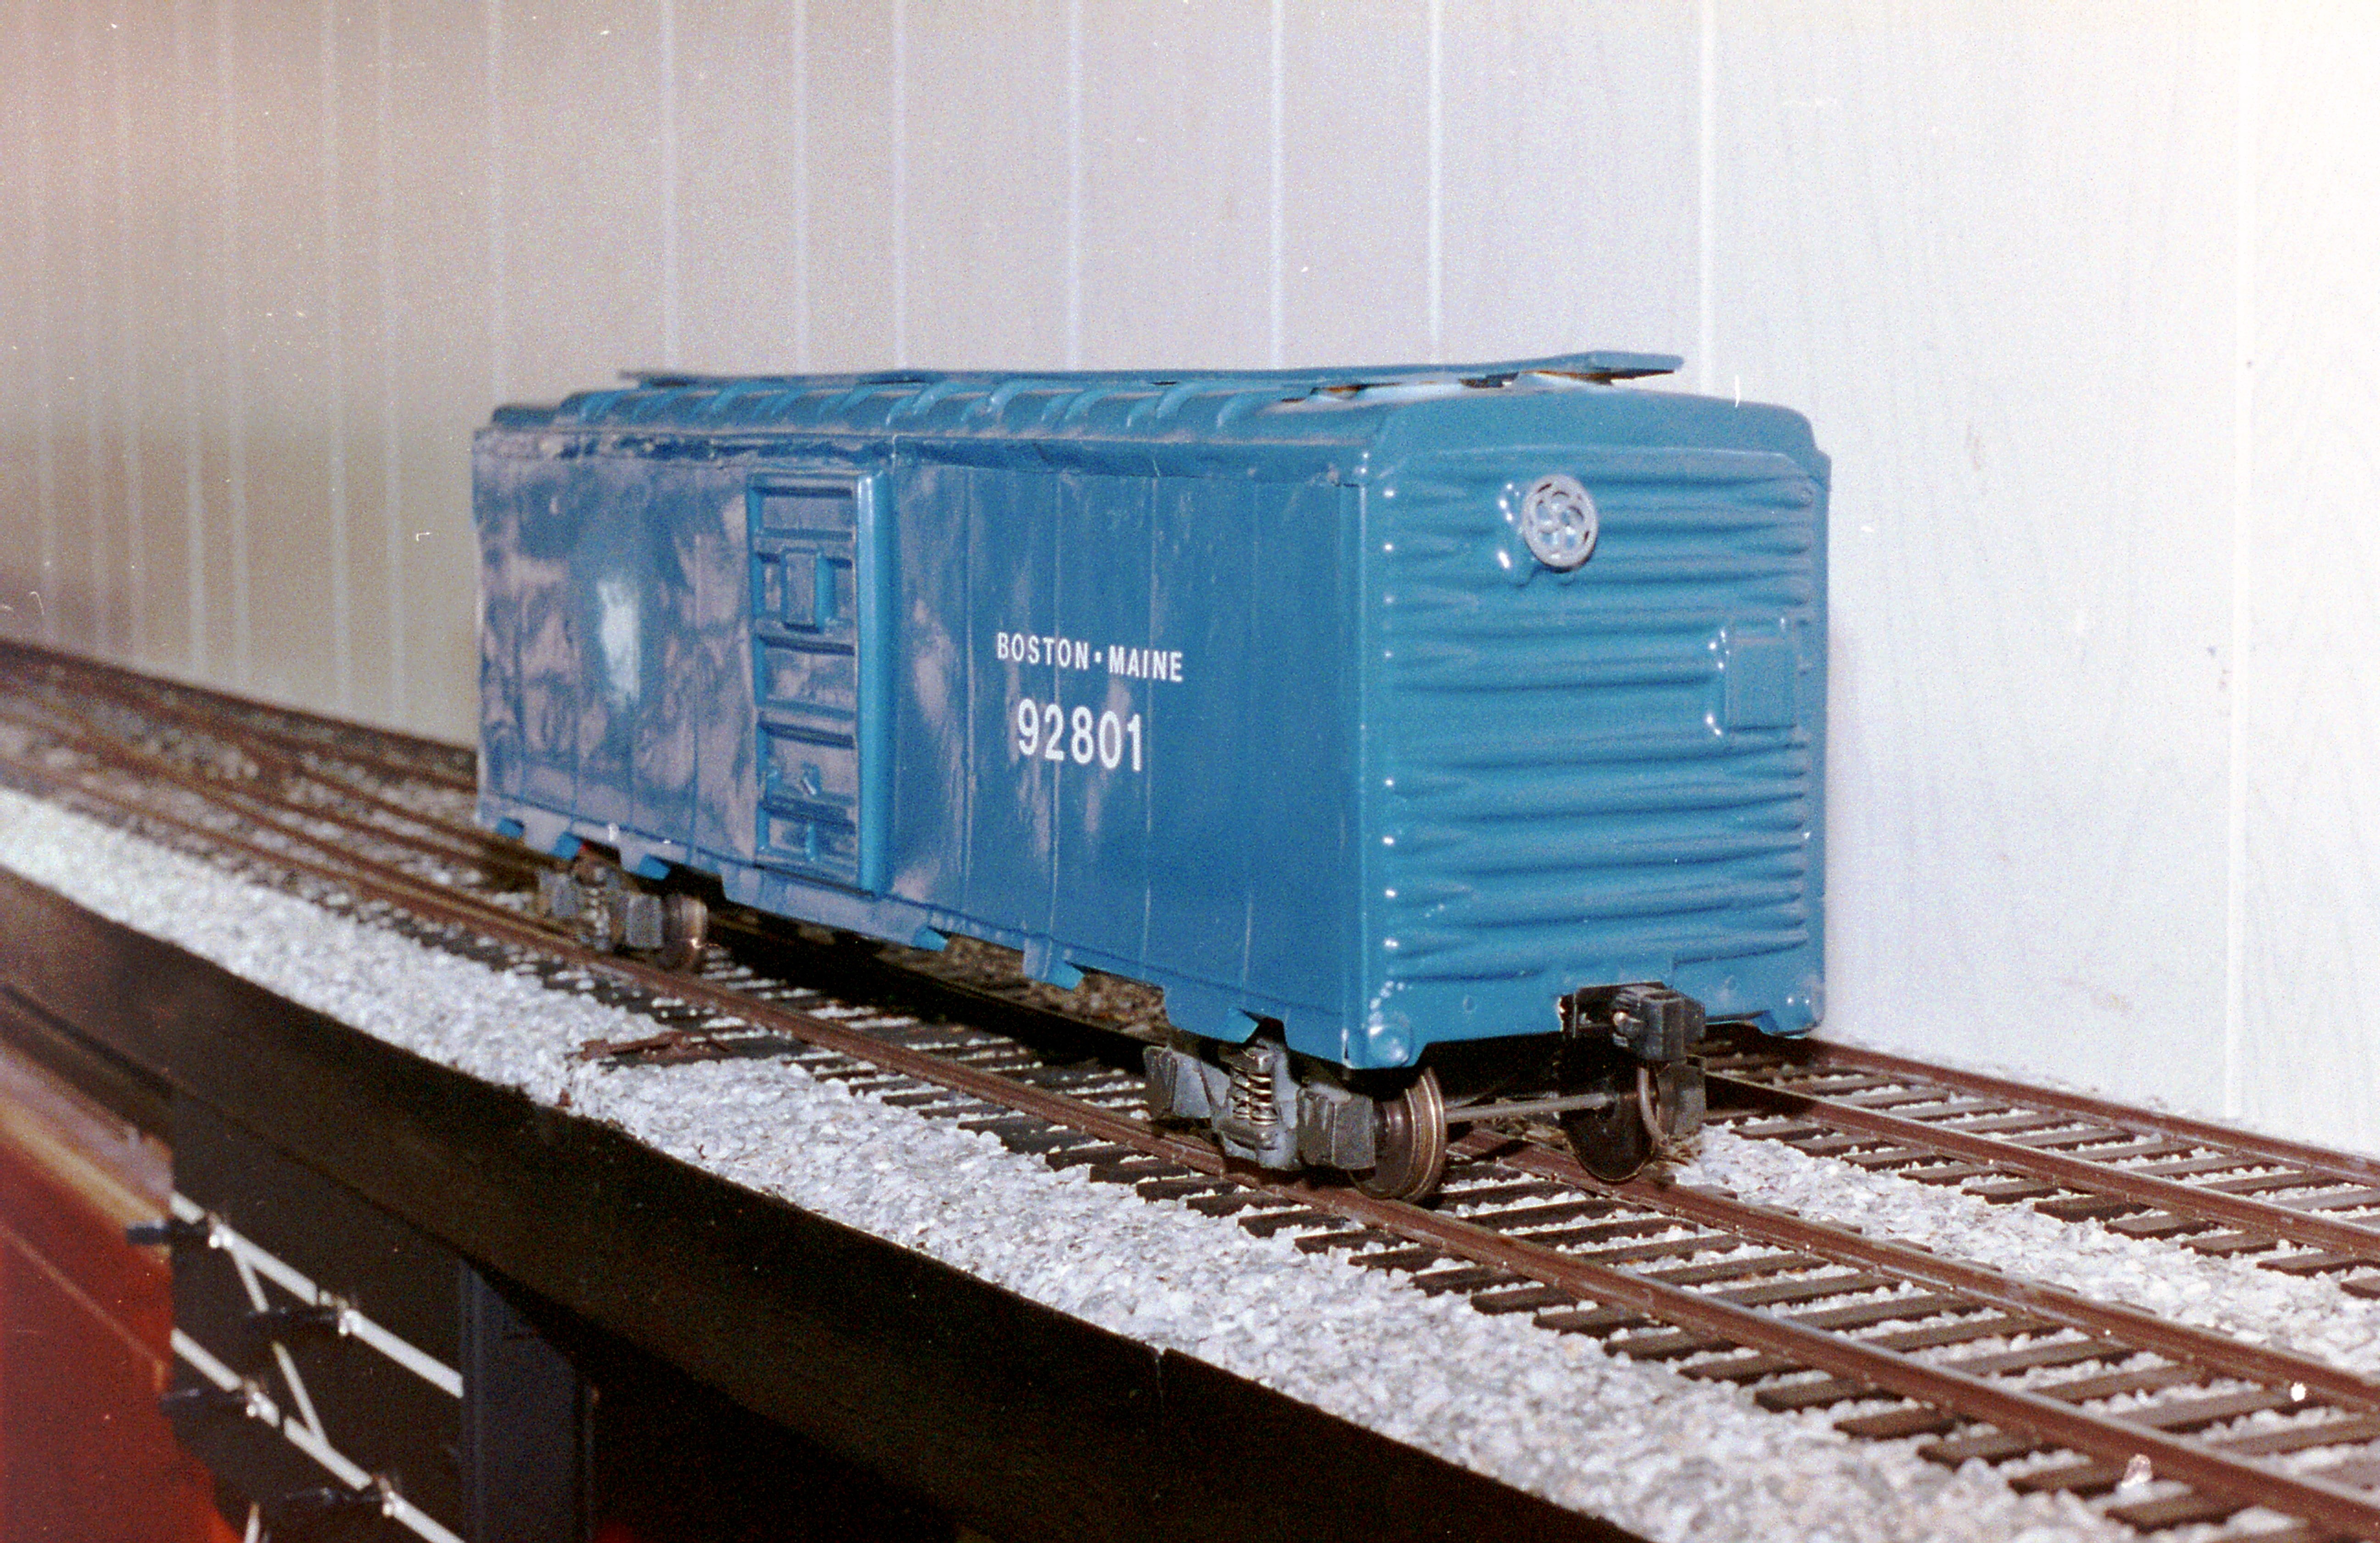
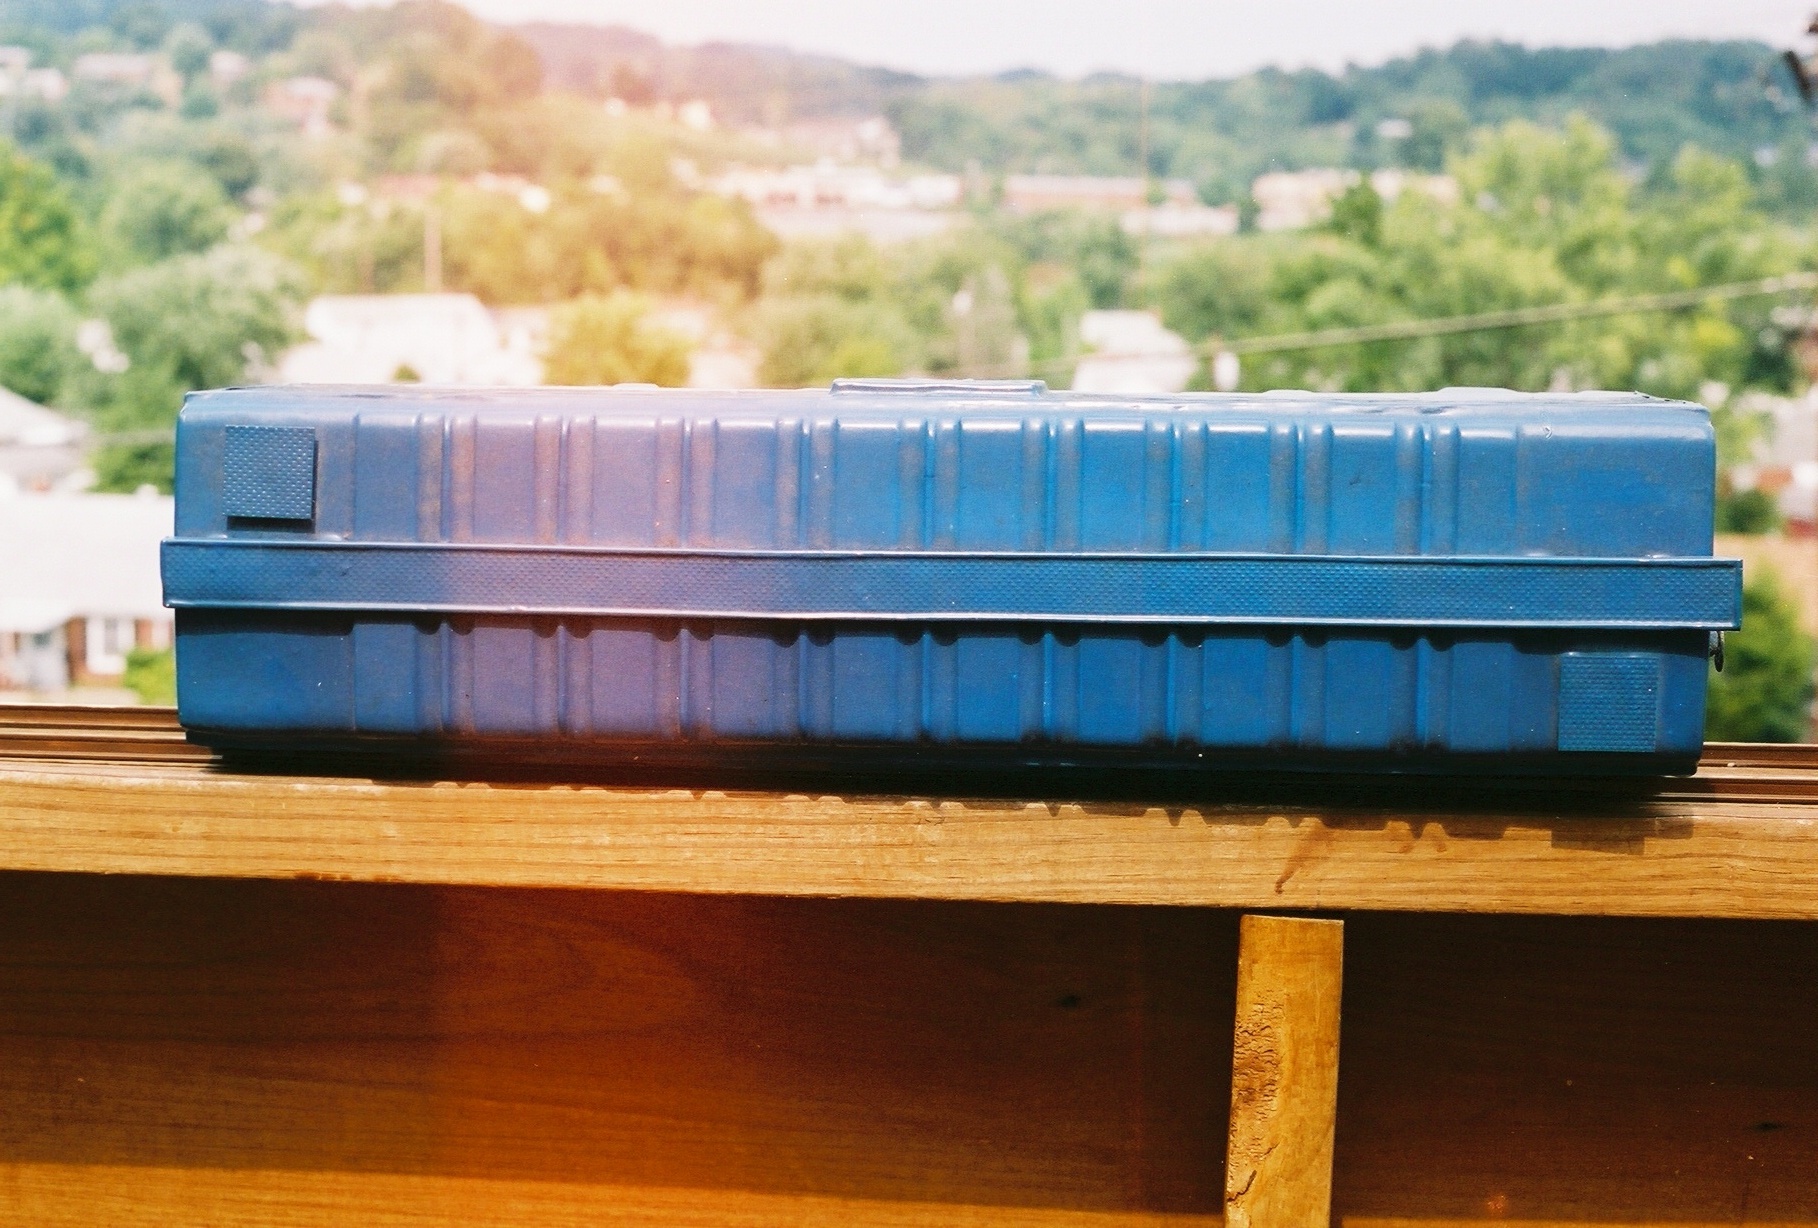
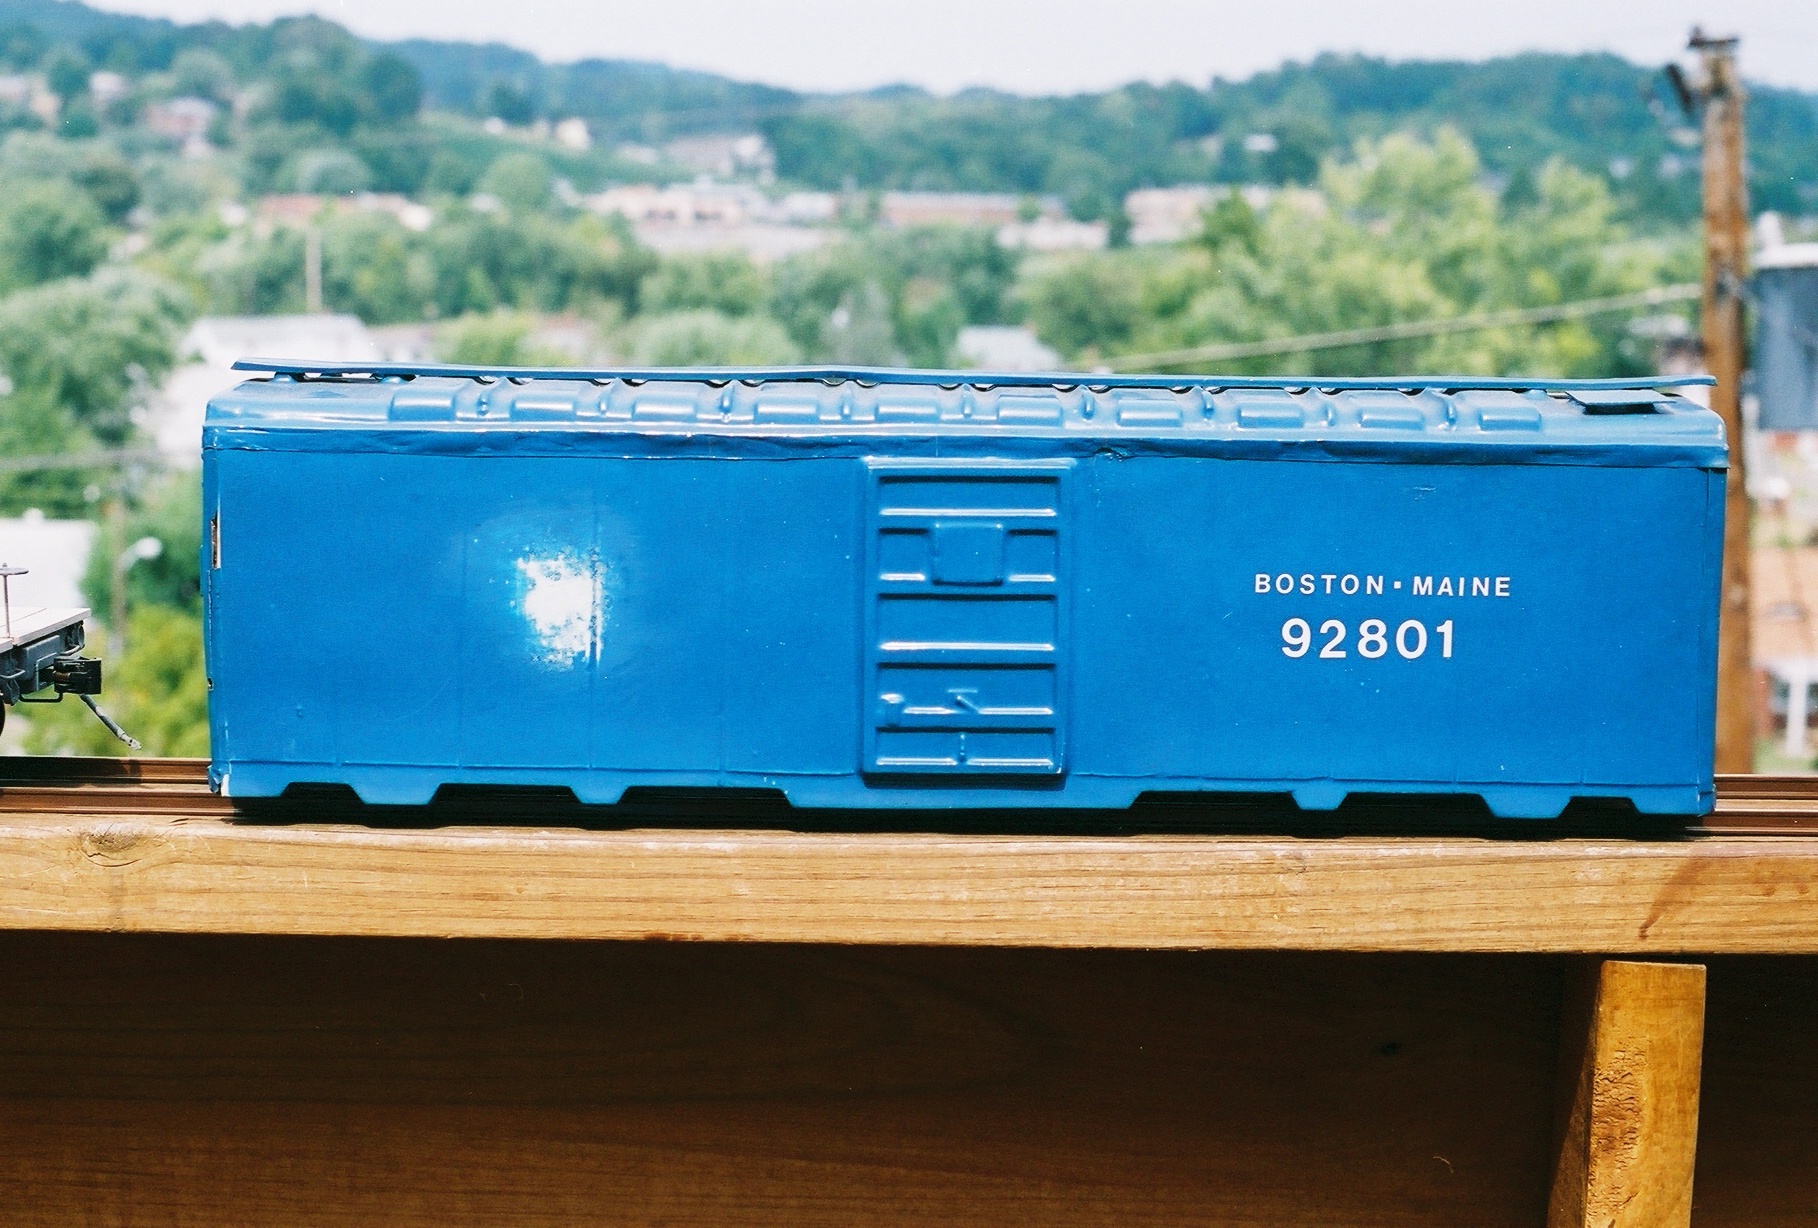
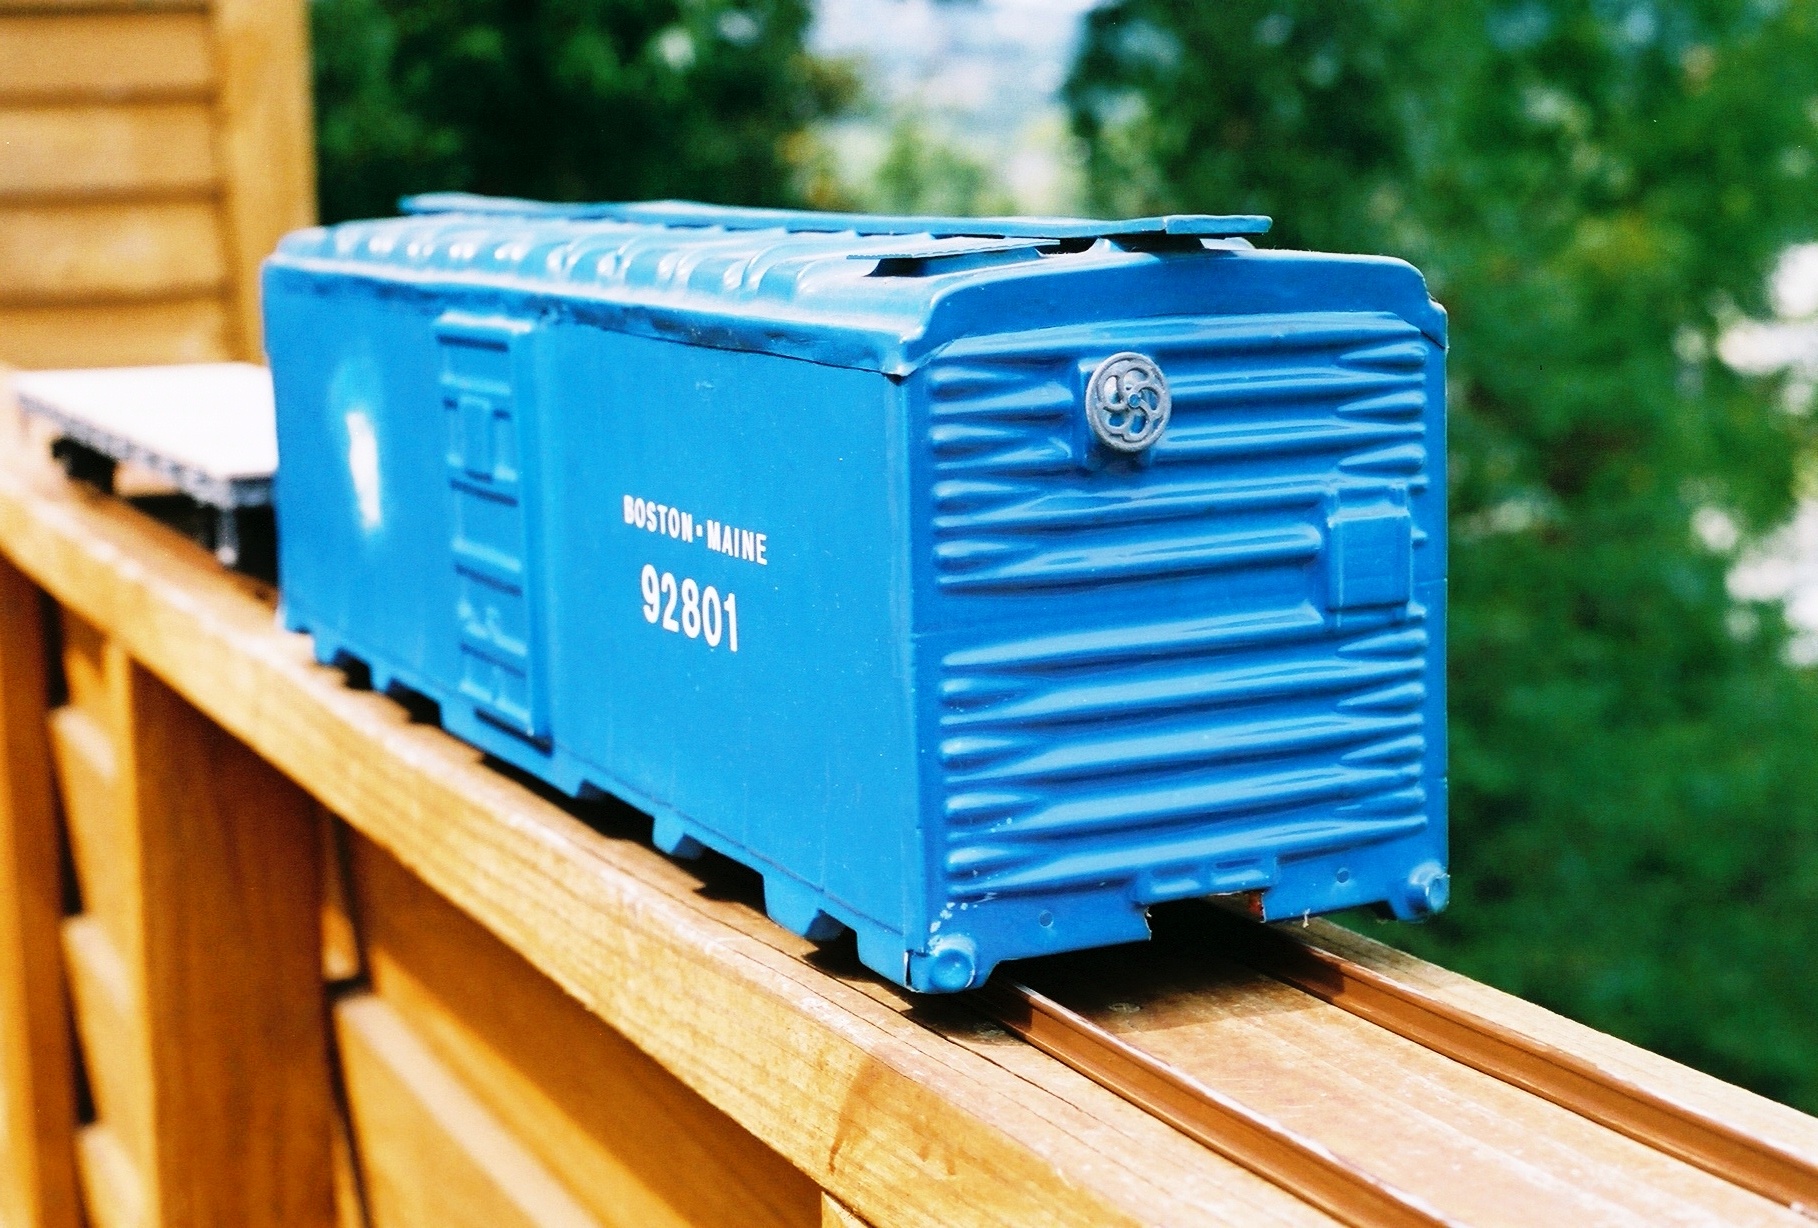
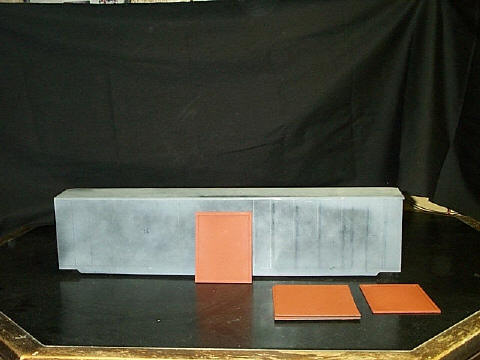
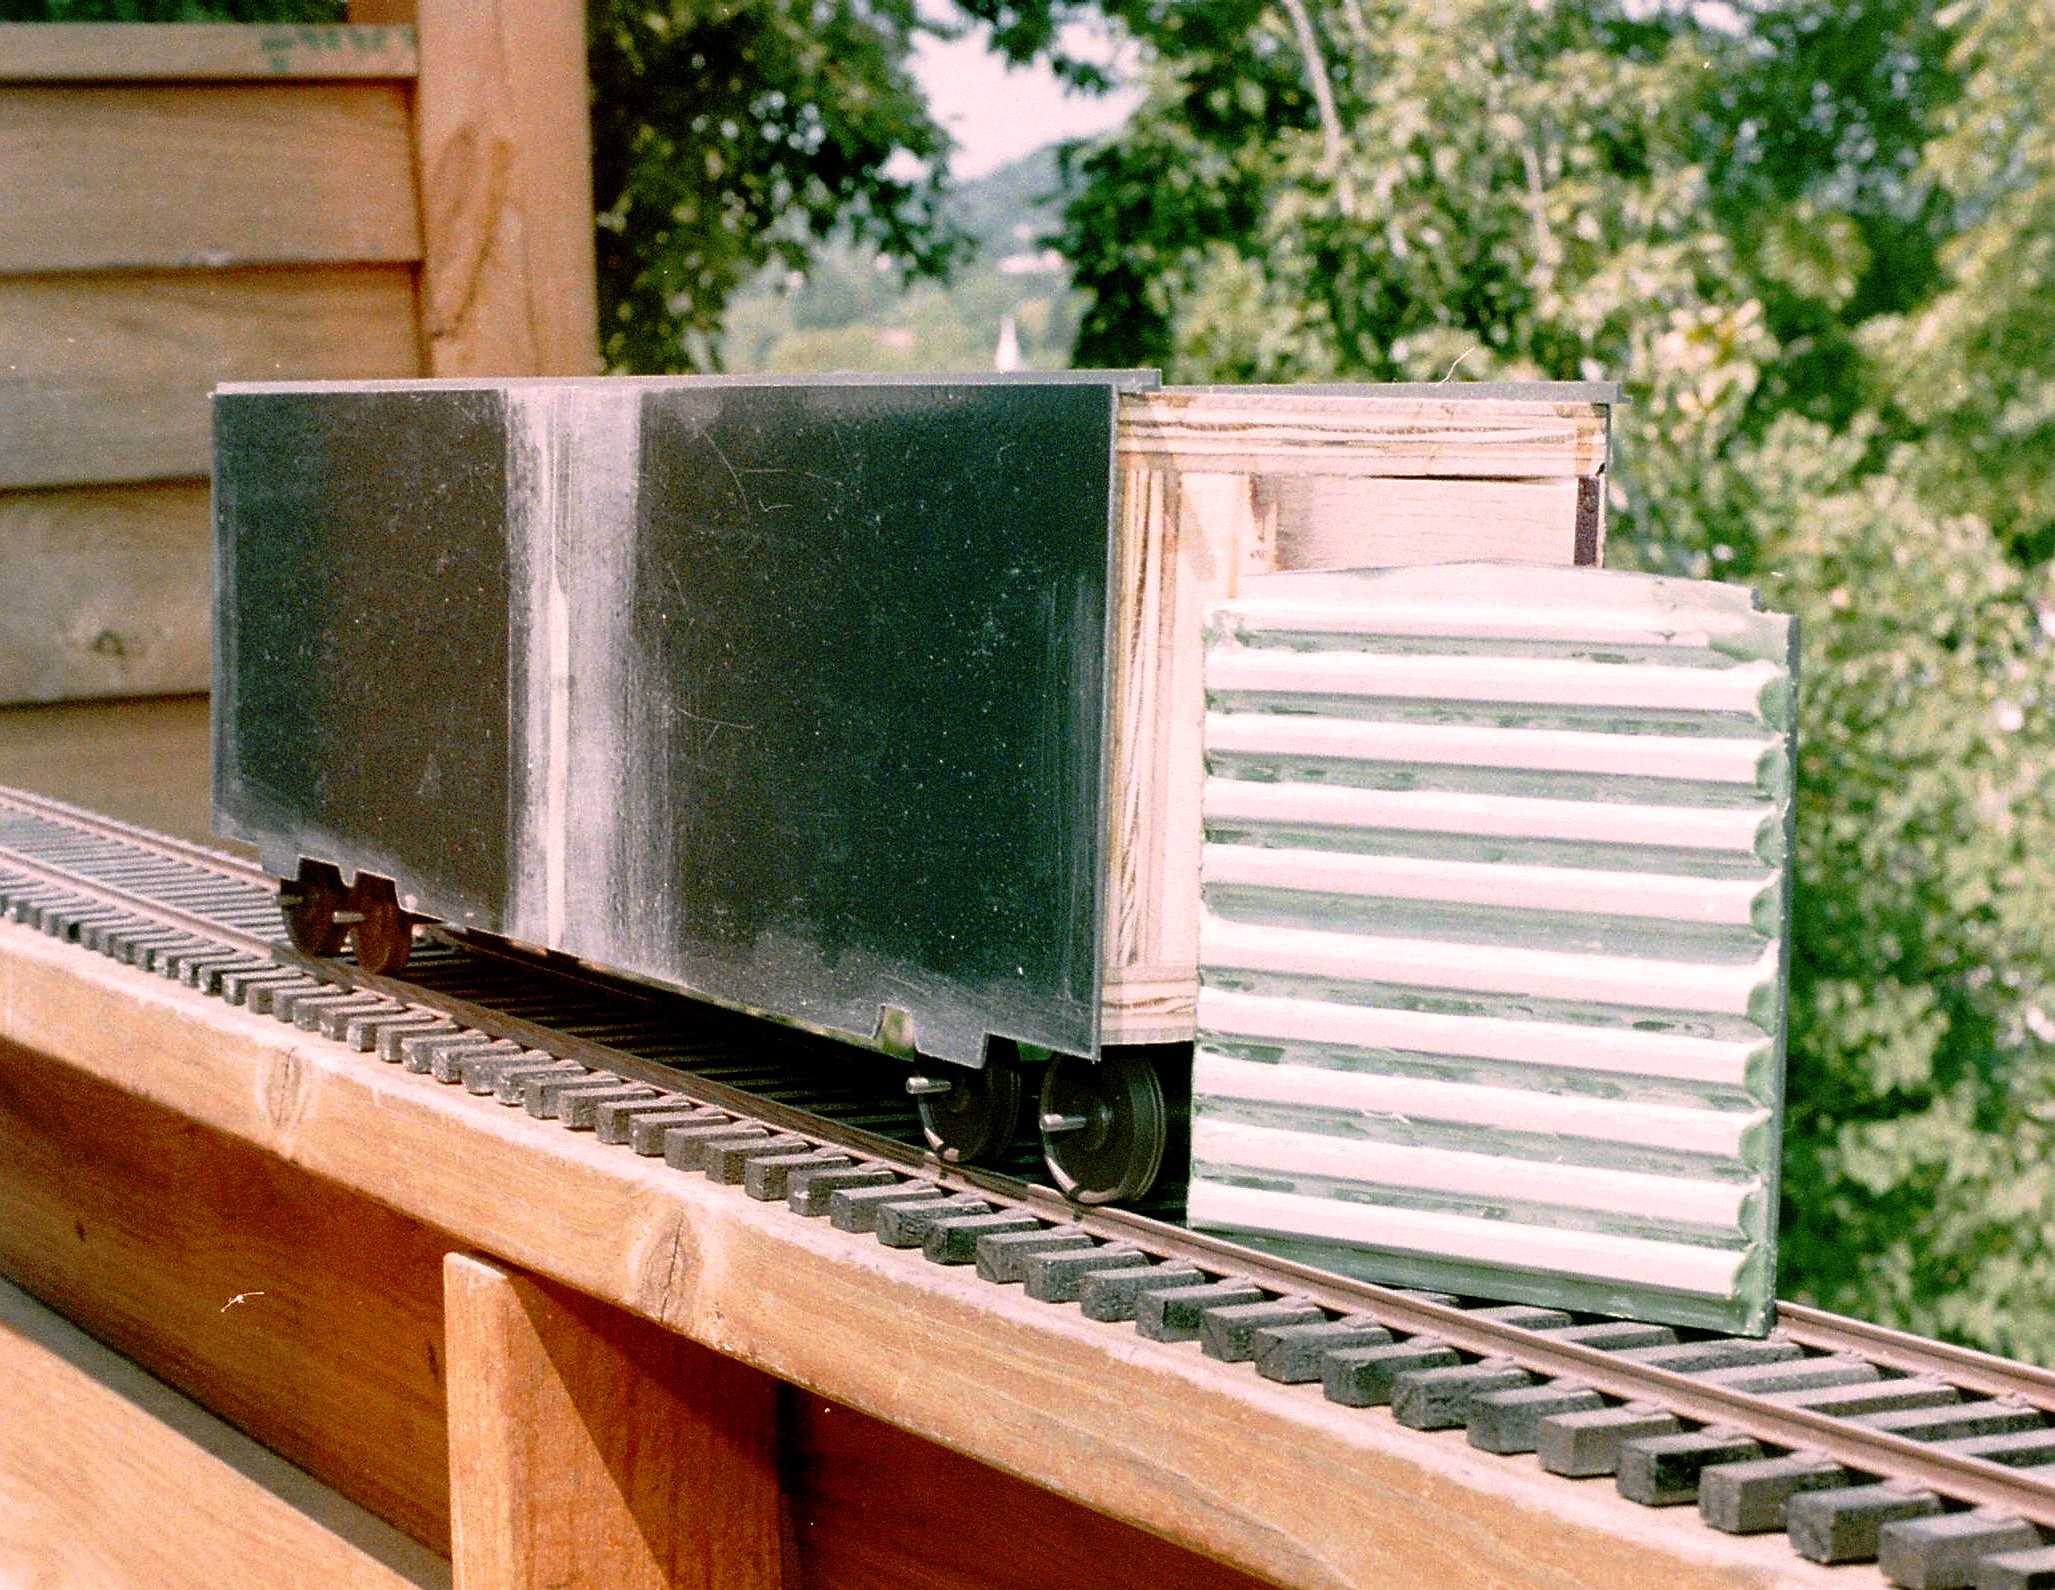
The "Canadia City" Boxcar (1993, 2000) When I began to hunt about for derelict Gauge 3 freight cars or locomotives, one of the most inspiring what-might-have-beens I came across was the story of Canadia City: a ˝" scale version of Legoland that went defunct in the 1950s. I ordered a reproduction car about 1993 from the caretaker of the vacuum plastic molds that had been used to build the 100s of cars once at Canadia City, and the blue boxcar body pictured at right below was what I received. Well, that was a long way from being a convincing scale model. So after discarding everything but the dreadnought ends and roof ribbing, a new car in styrene and brass was constructed using drawings (below) of an experimental Alton Railroad aluminum boxcar published in Mainline Modeler. All those little rivet heads are individual sequin dress pins . . . drilled and pushed home by my talented wife Helen. Cheers, Babe! Marc Horovitz's Gauge 3 "Andrews" trucks and Kadee "G" scale couplers completed the model.
|
|
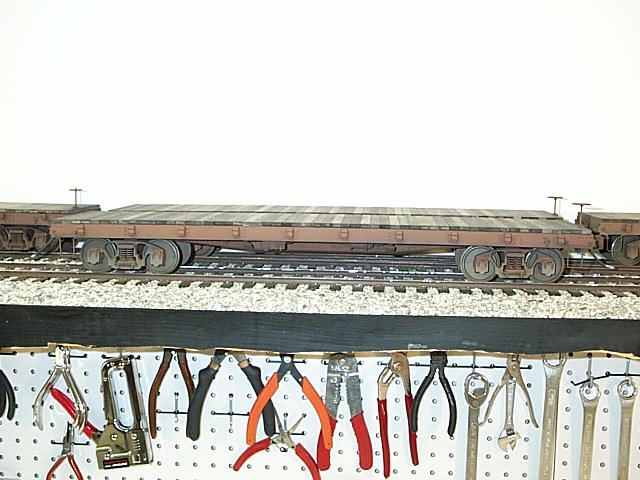
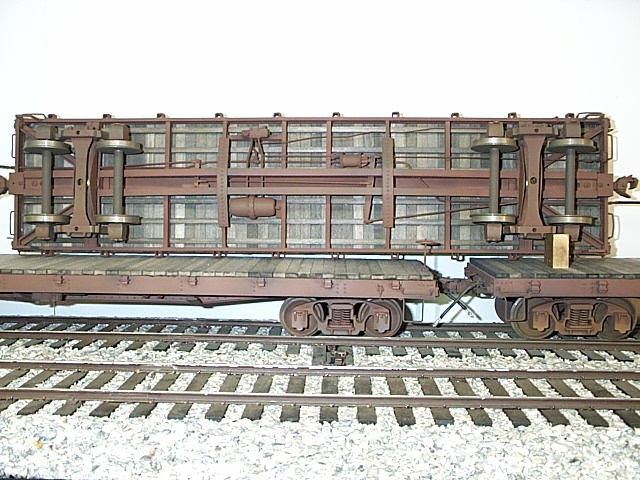
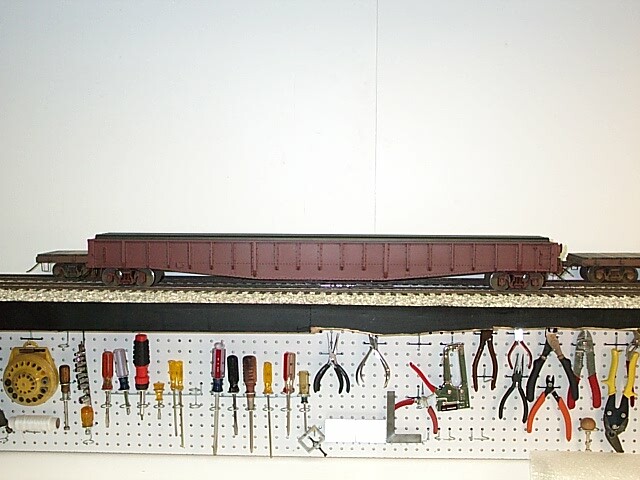
40' ACL Fishbelly Center Sill Flat Cars (1999-2002)
|
|
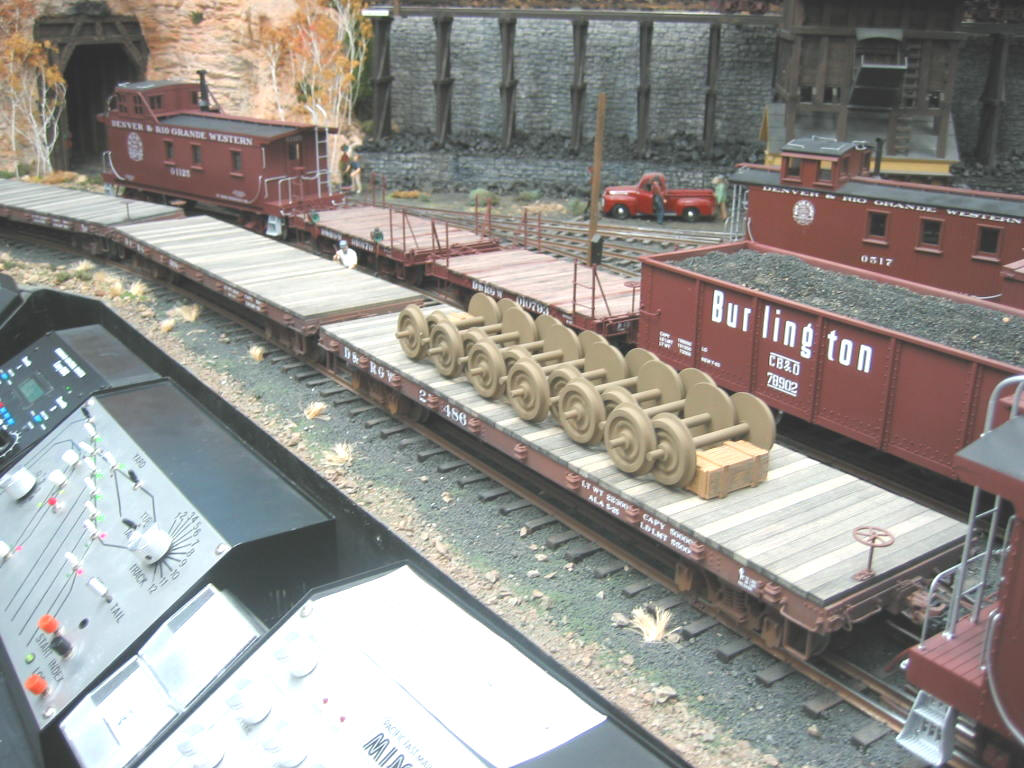
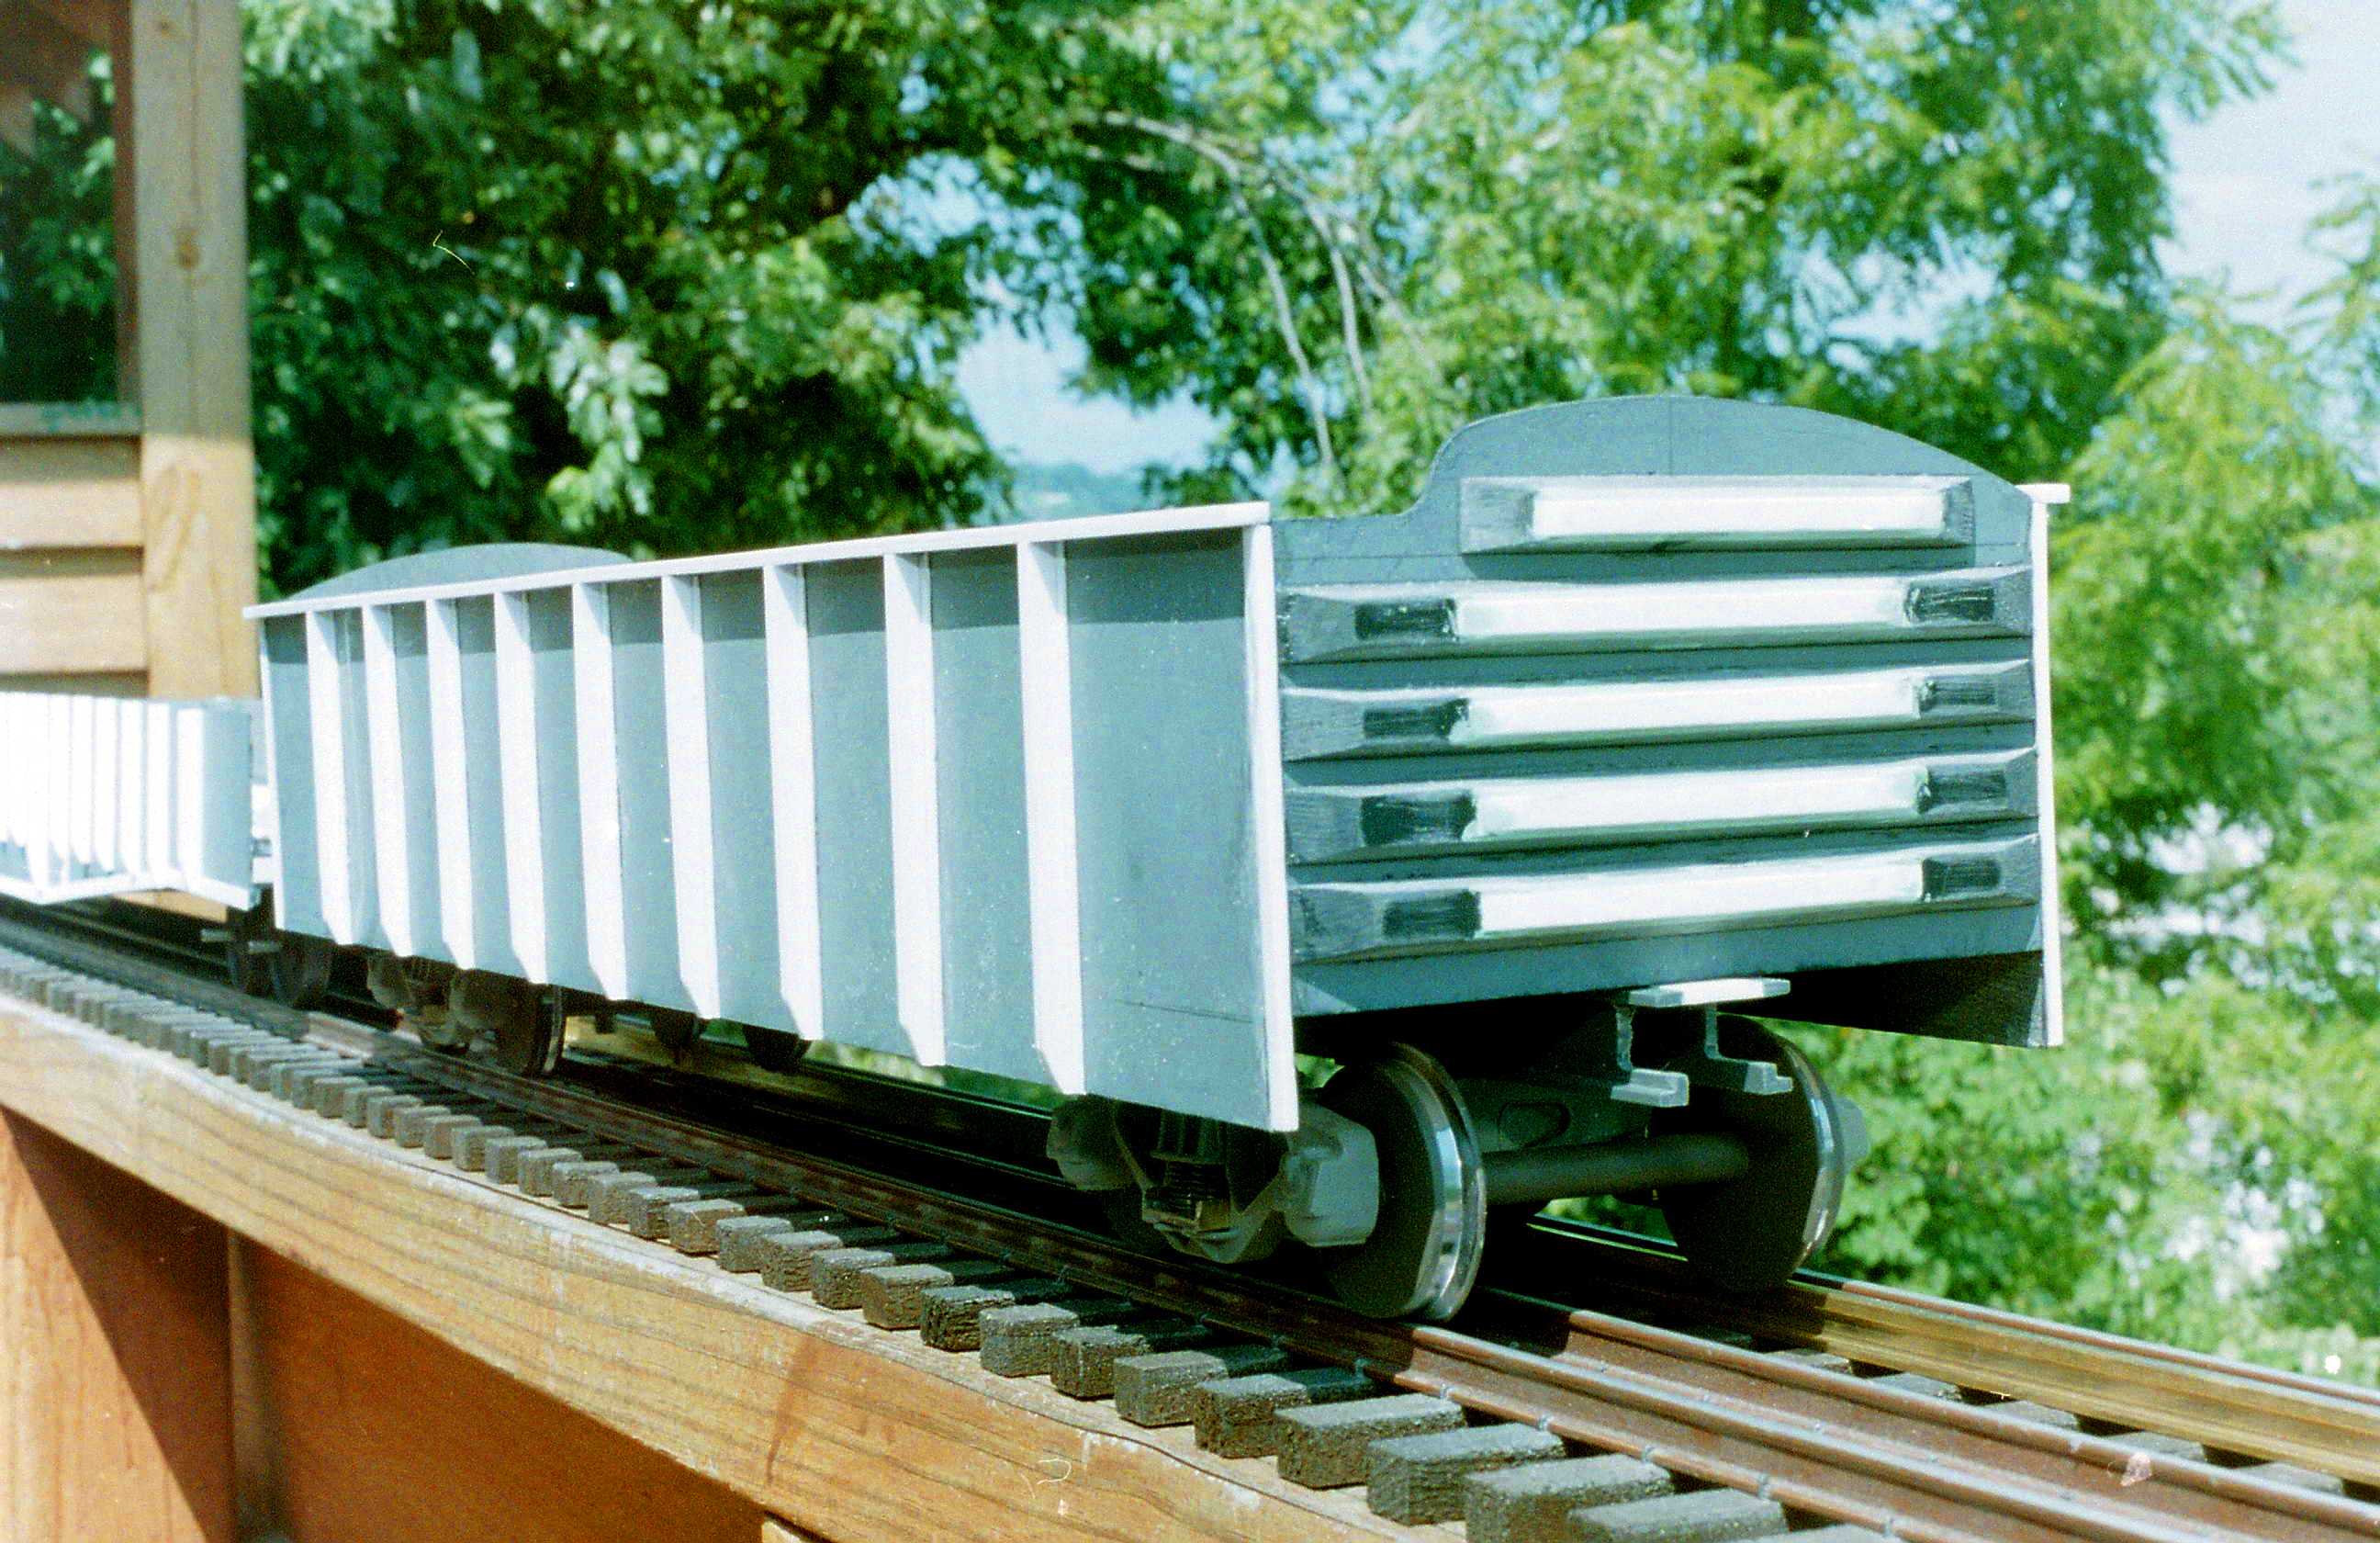
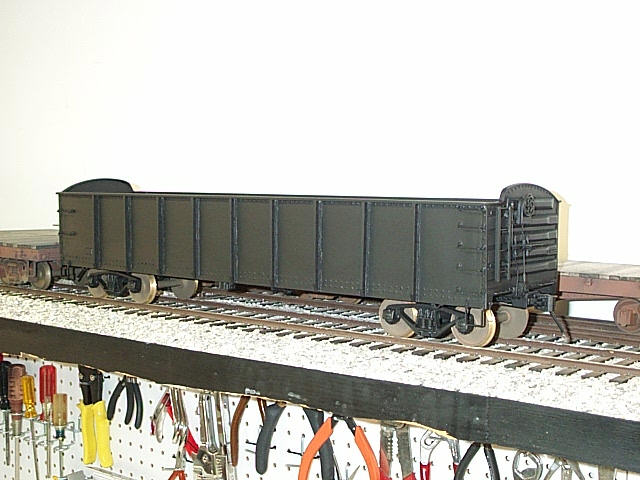
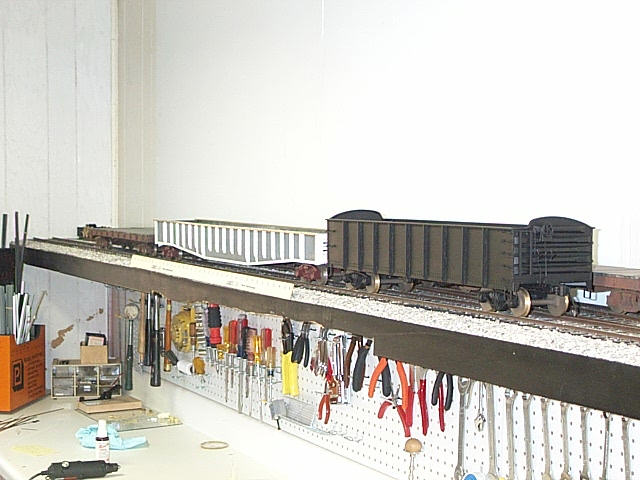
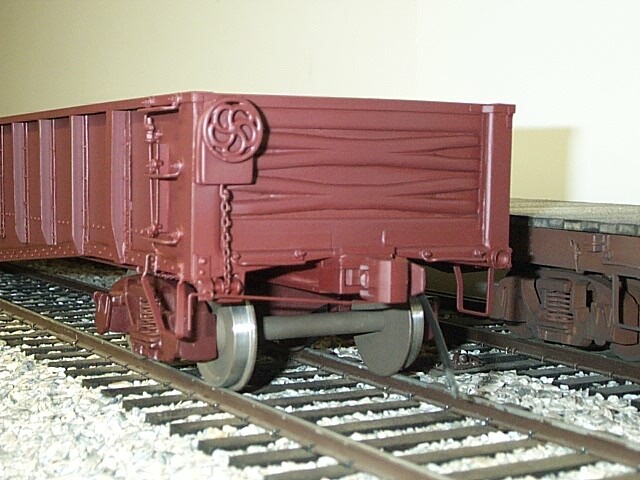
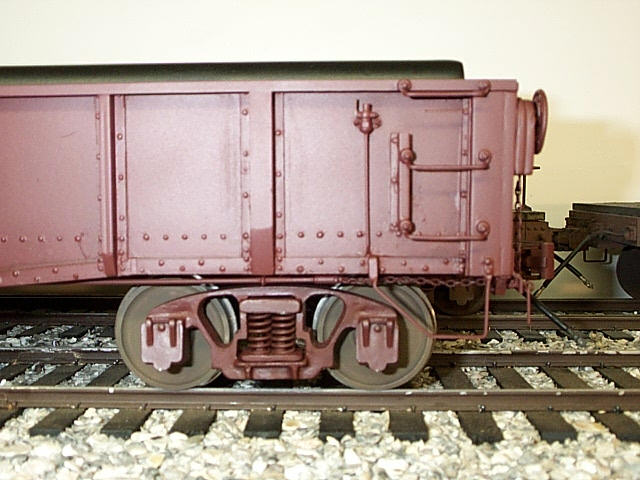
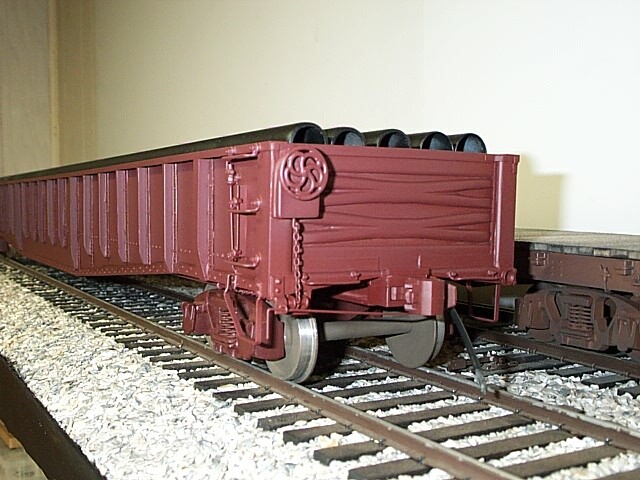
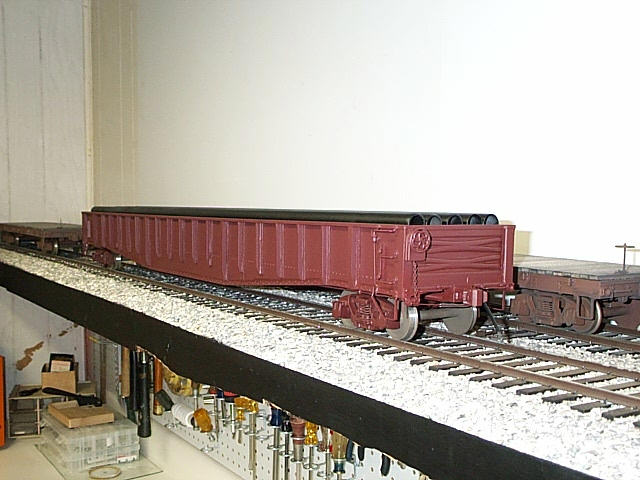
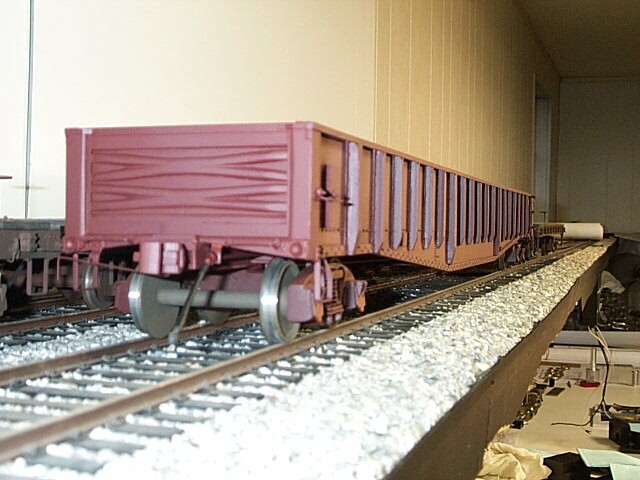
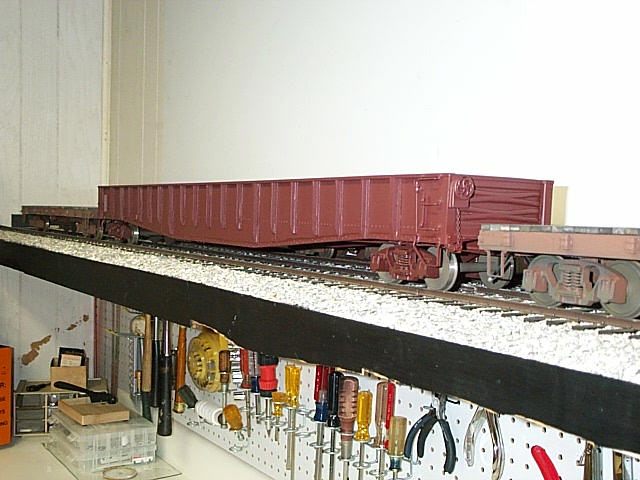
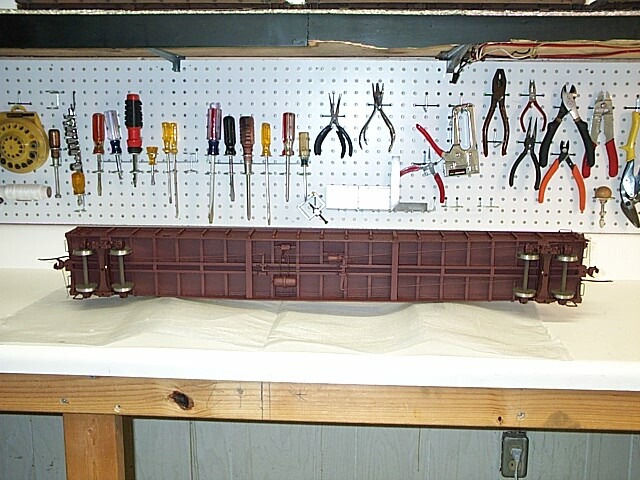
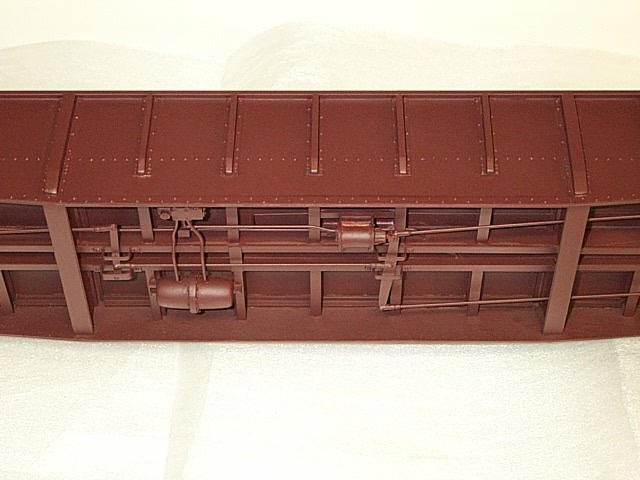
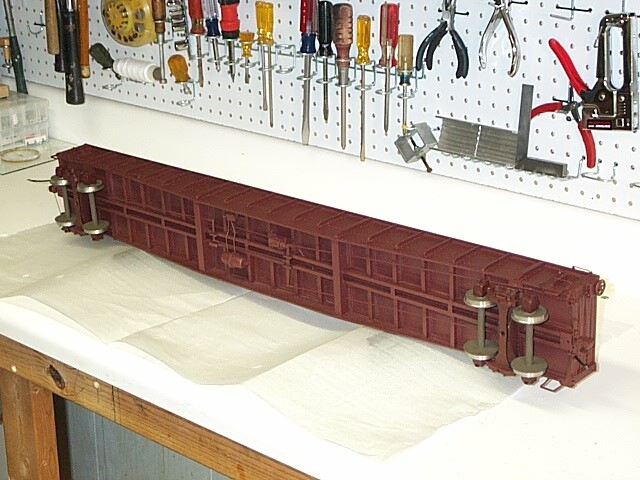
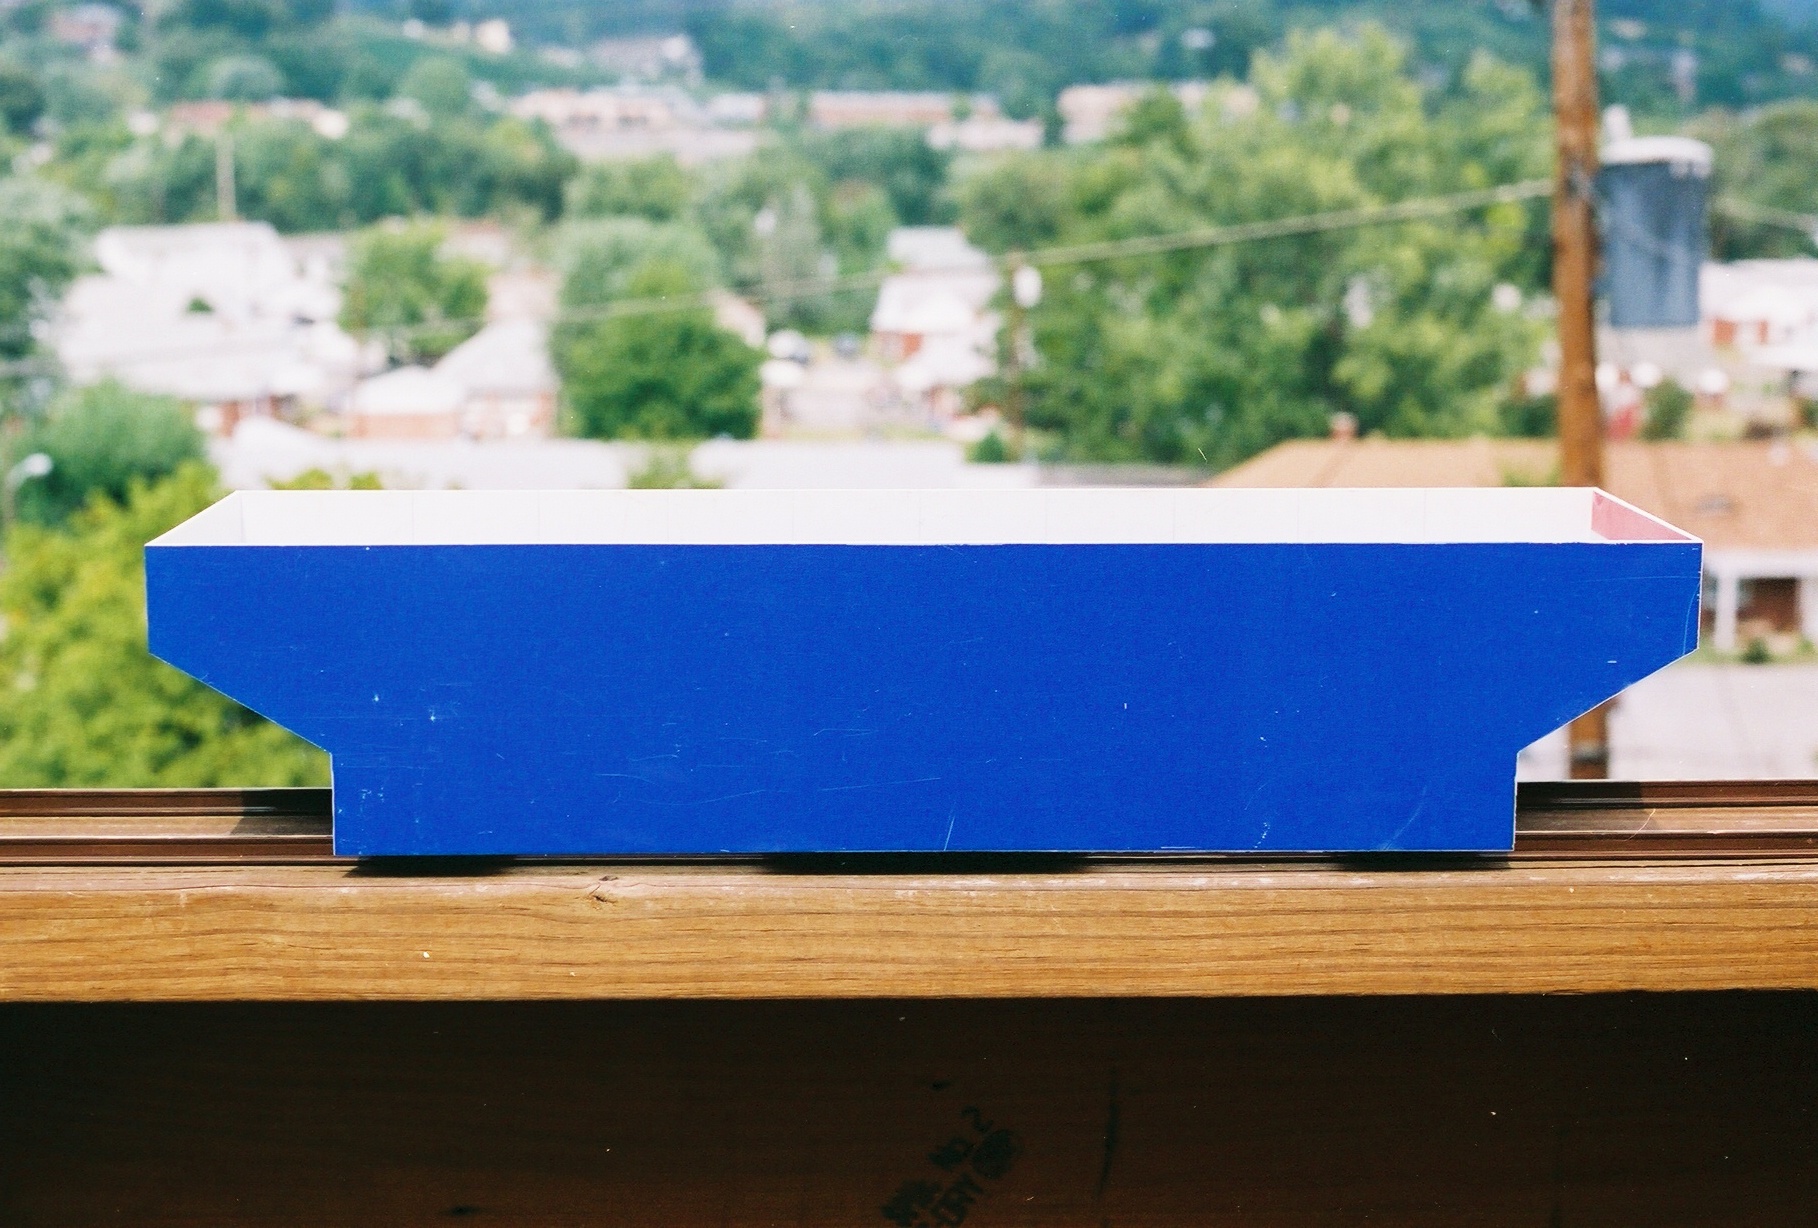
What next? As the flats neared completion I decided to build a one-off model of something completely different: a gondola, but in this case a coal service gondola distinctive to the C&O. Basically, another copy of Mainline Modeler arrived on my doorstep containing drawings of this unique car, and so, out popped another model. This car was unique in that rather than using Marc Horovitz's Andrews style Gauge 3 trucks, my friend Barry Bogs provided me with urethane copies of the white metal Bettendorf trucks Magnus applied to their rolling stock. The wheelsets I made up for these trucks used brass, rather than steel wheels, but the same 5/16" OD stainless axles I had been using to retrofit the spindly 1/8" ones supplied with the Short Line Car and Foundry Andrews trucks. Unlike the 40' ACL flats, the C&O coal gon, as well as the Pennsy mill gondola below, never made it out onto the road to be weathered. They were merely painted and sent to a display case near Columbus, Ohio.
|
|
|
| The Incomplete Projects: |
|
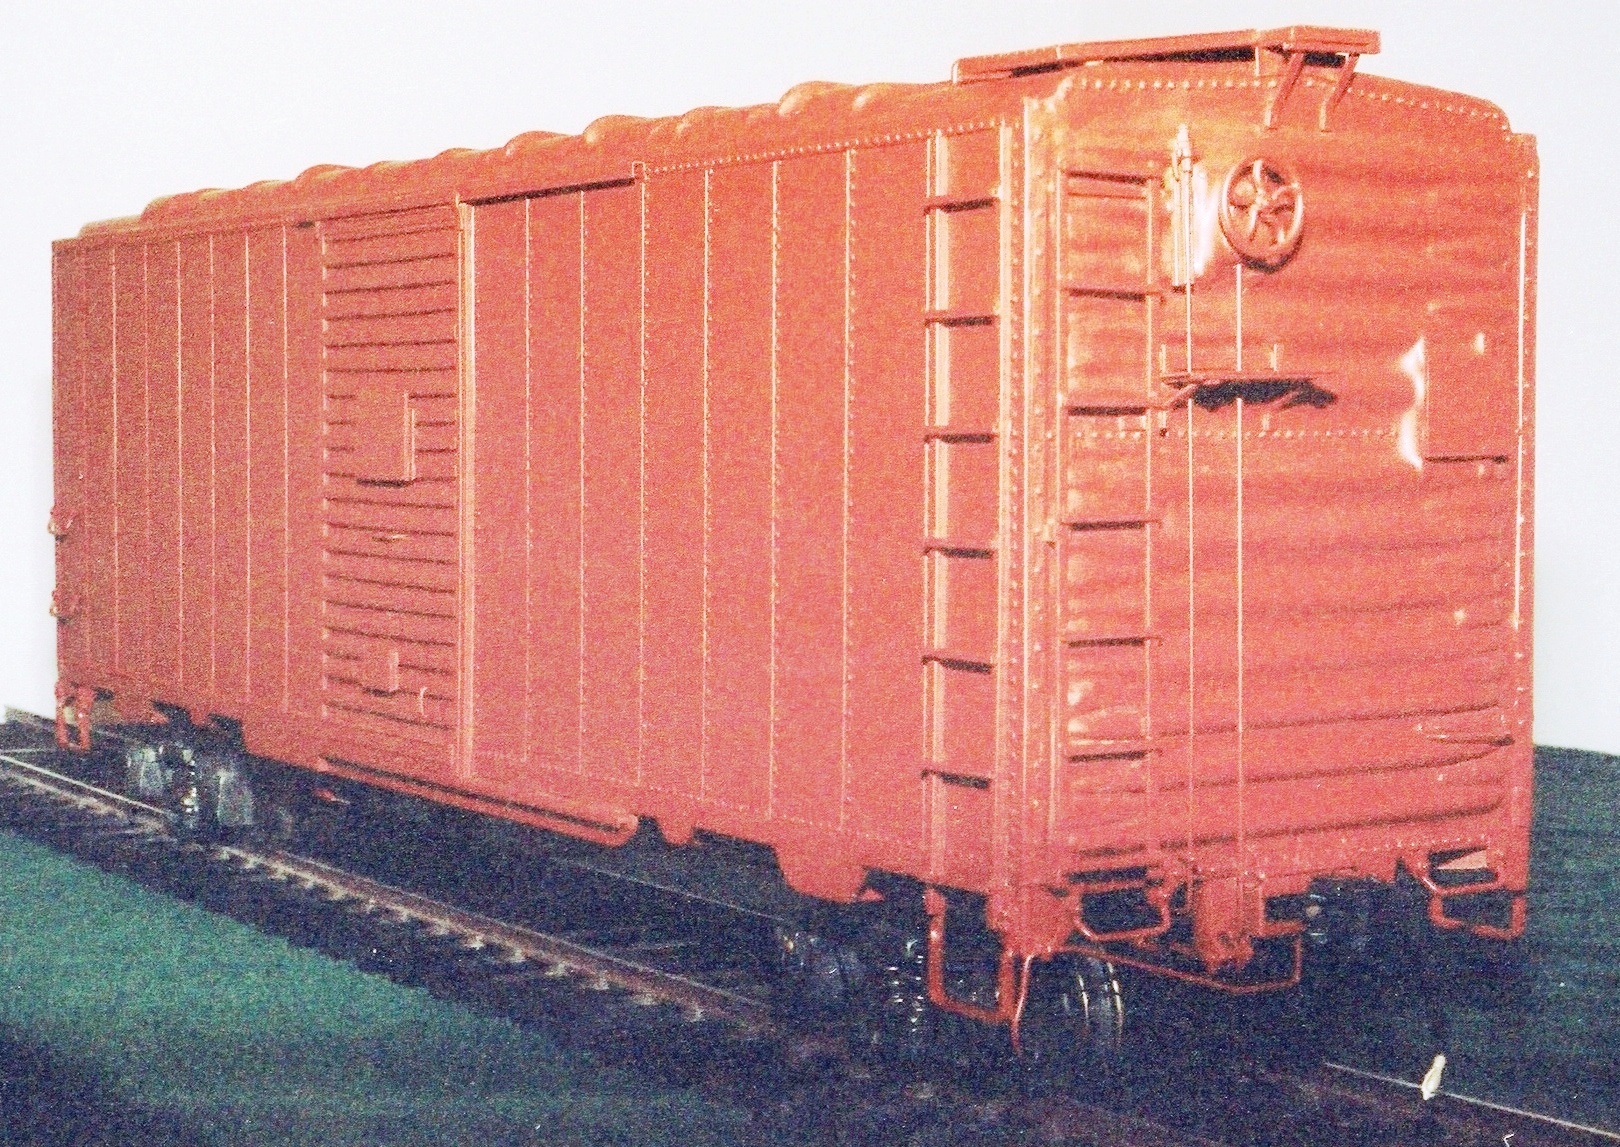
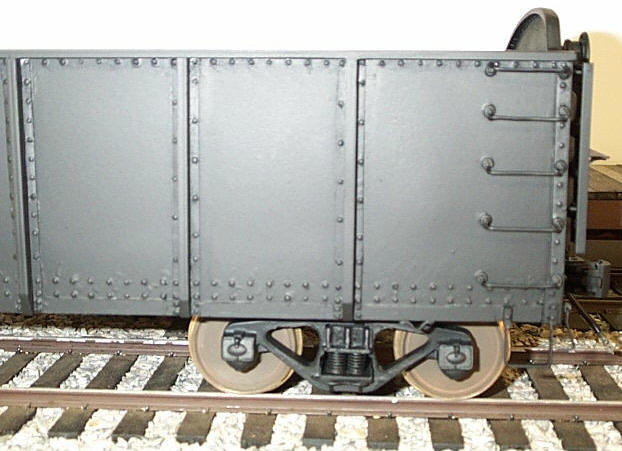
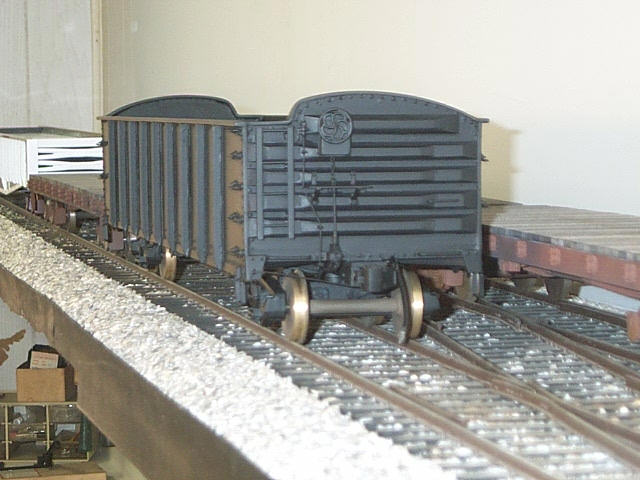
One of the projects which I undertook about the same time as the 40' flats was a series of boxcars, again using a fairly generic steam/diesel transition era car as the prototype. Several cars were begun but got only as far as clunky plywood bodies. The car pictured at bottom left was the exception and progressed to the point of having ABS plastic sheet laminated to the sides, a roof applied and casting patterns for both doors and ends made. The partially complete car now belongs to Jim Hadden in Utah. Once again Mainline Modeler provided scale drawings and further help came from HO scale versions.
|
|
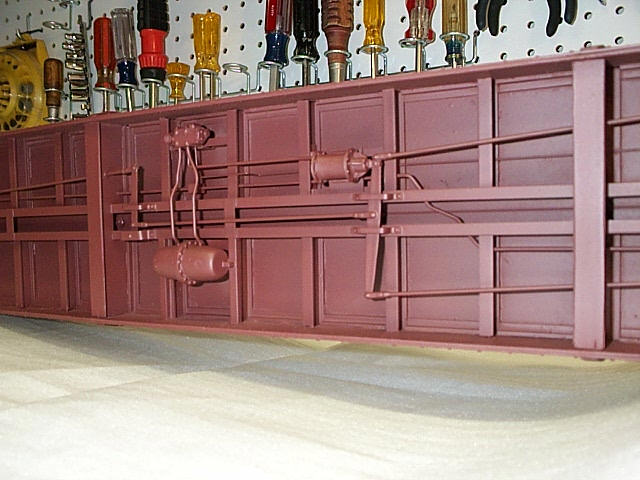
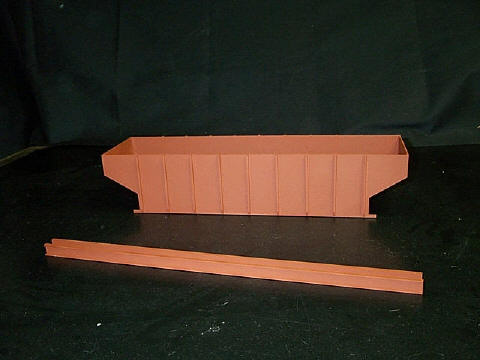
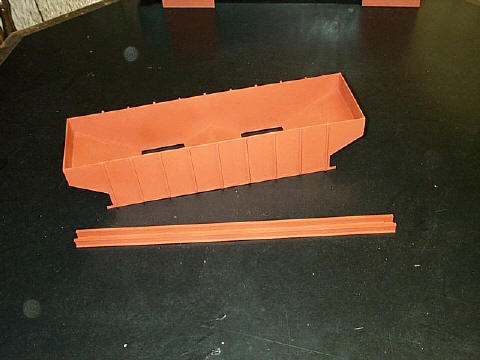
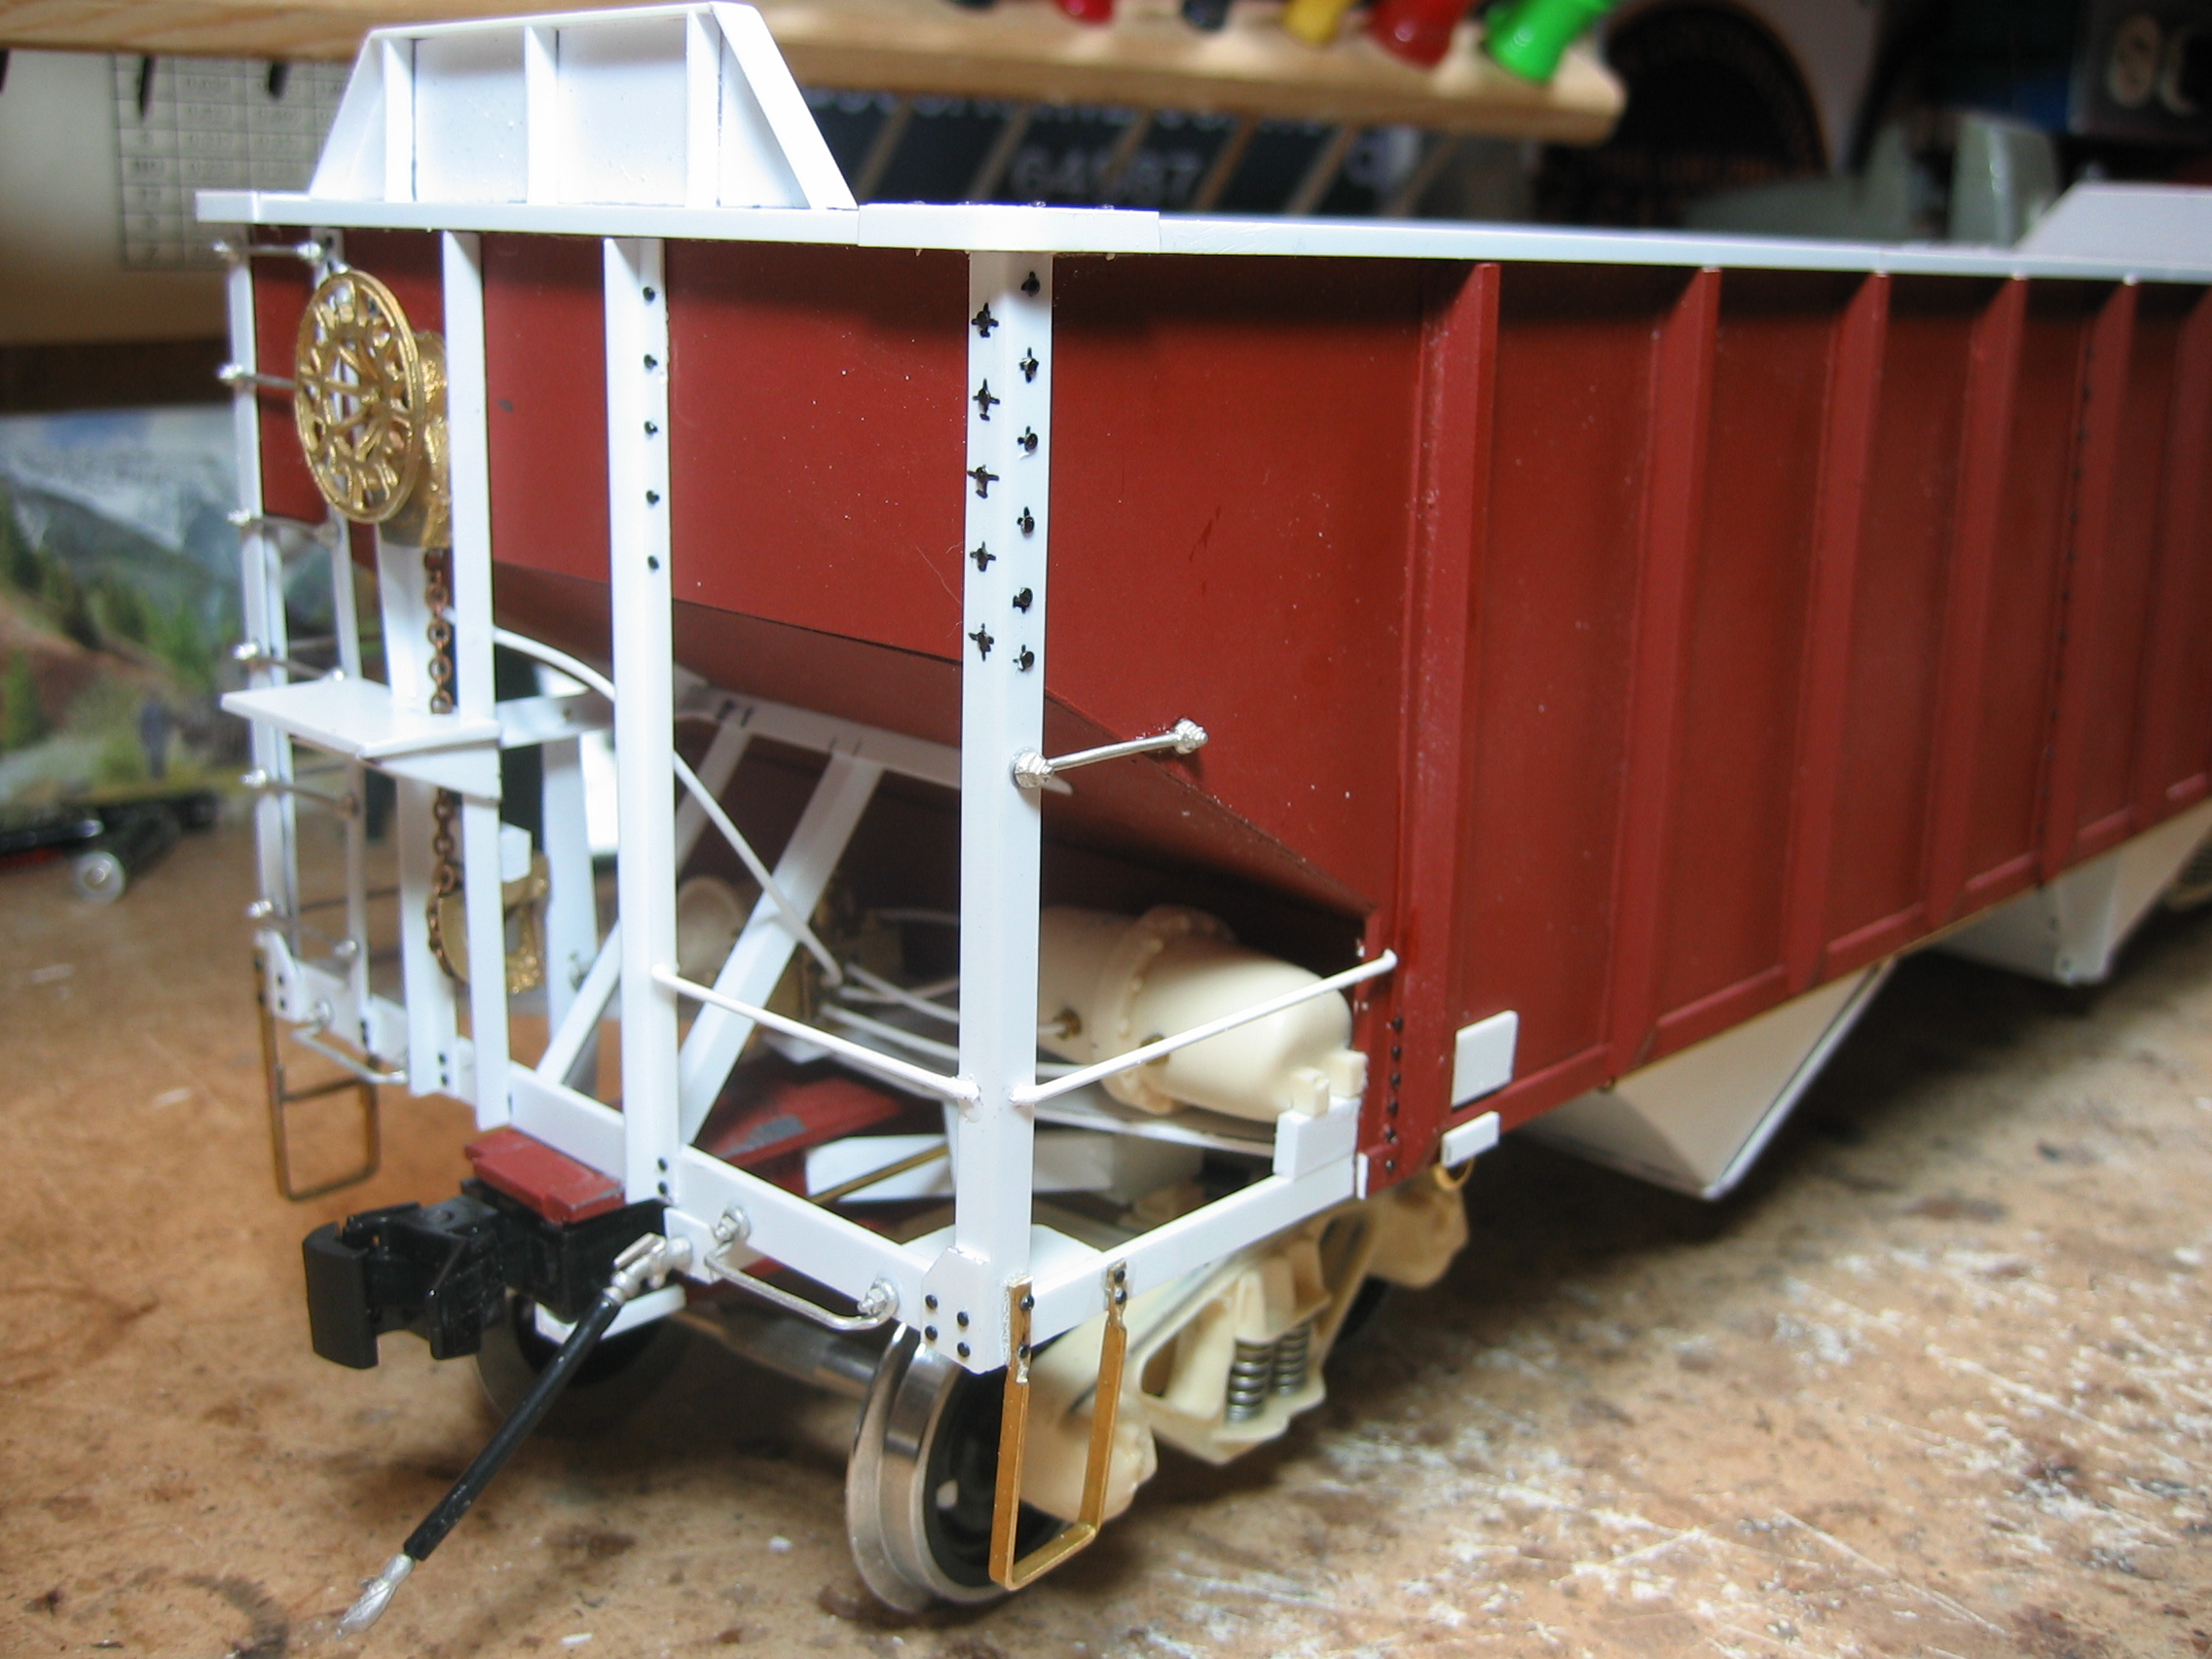
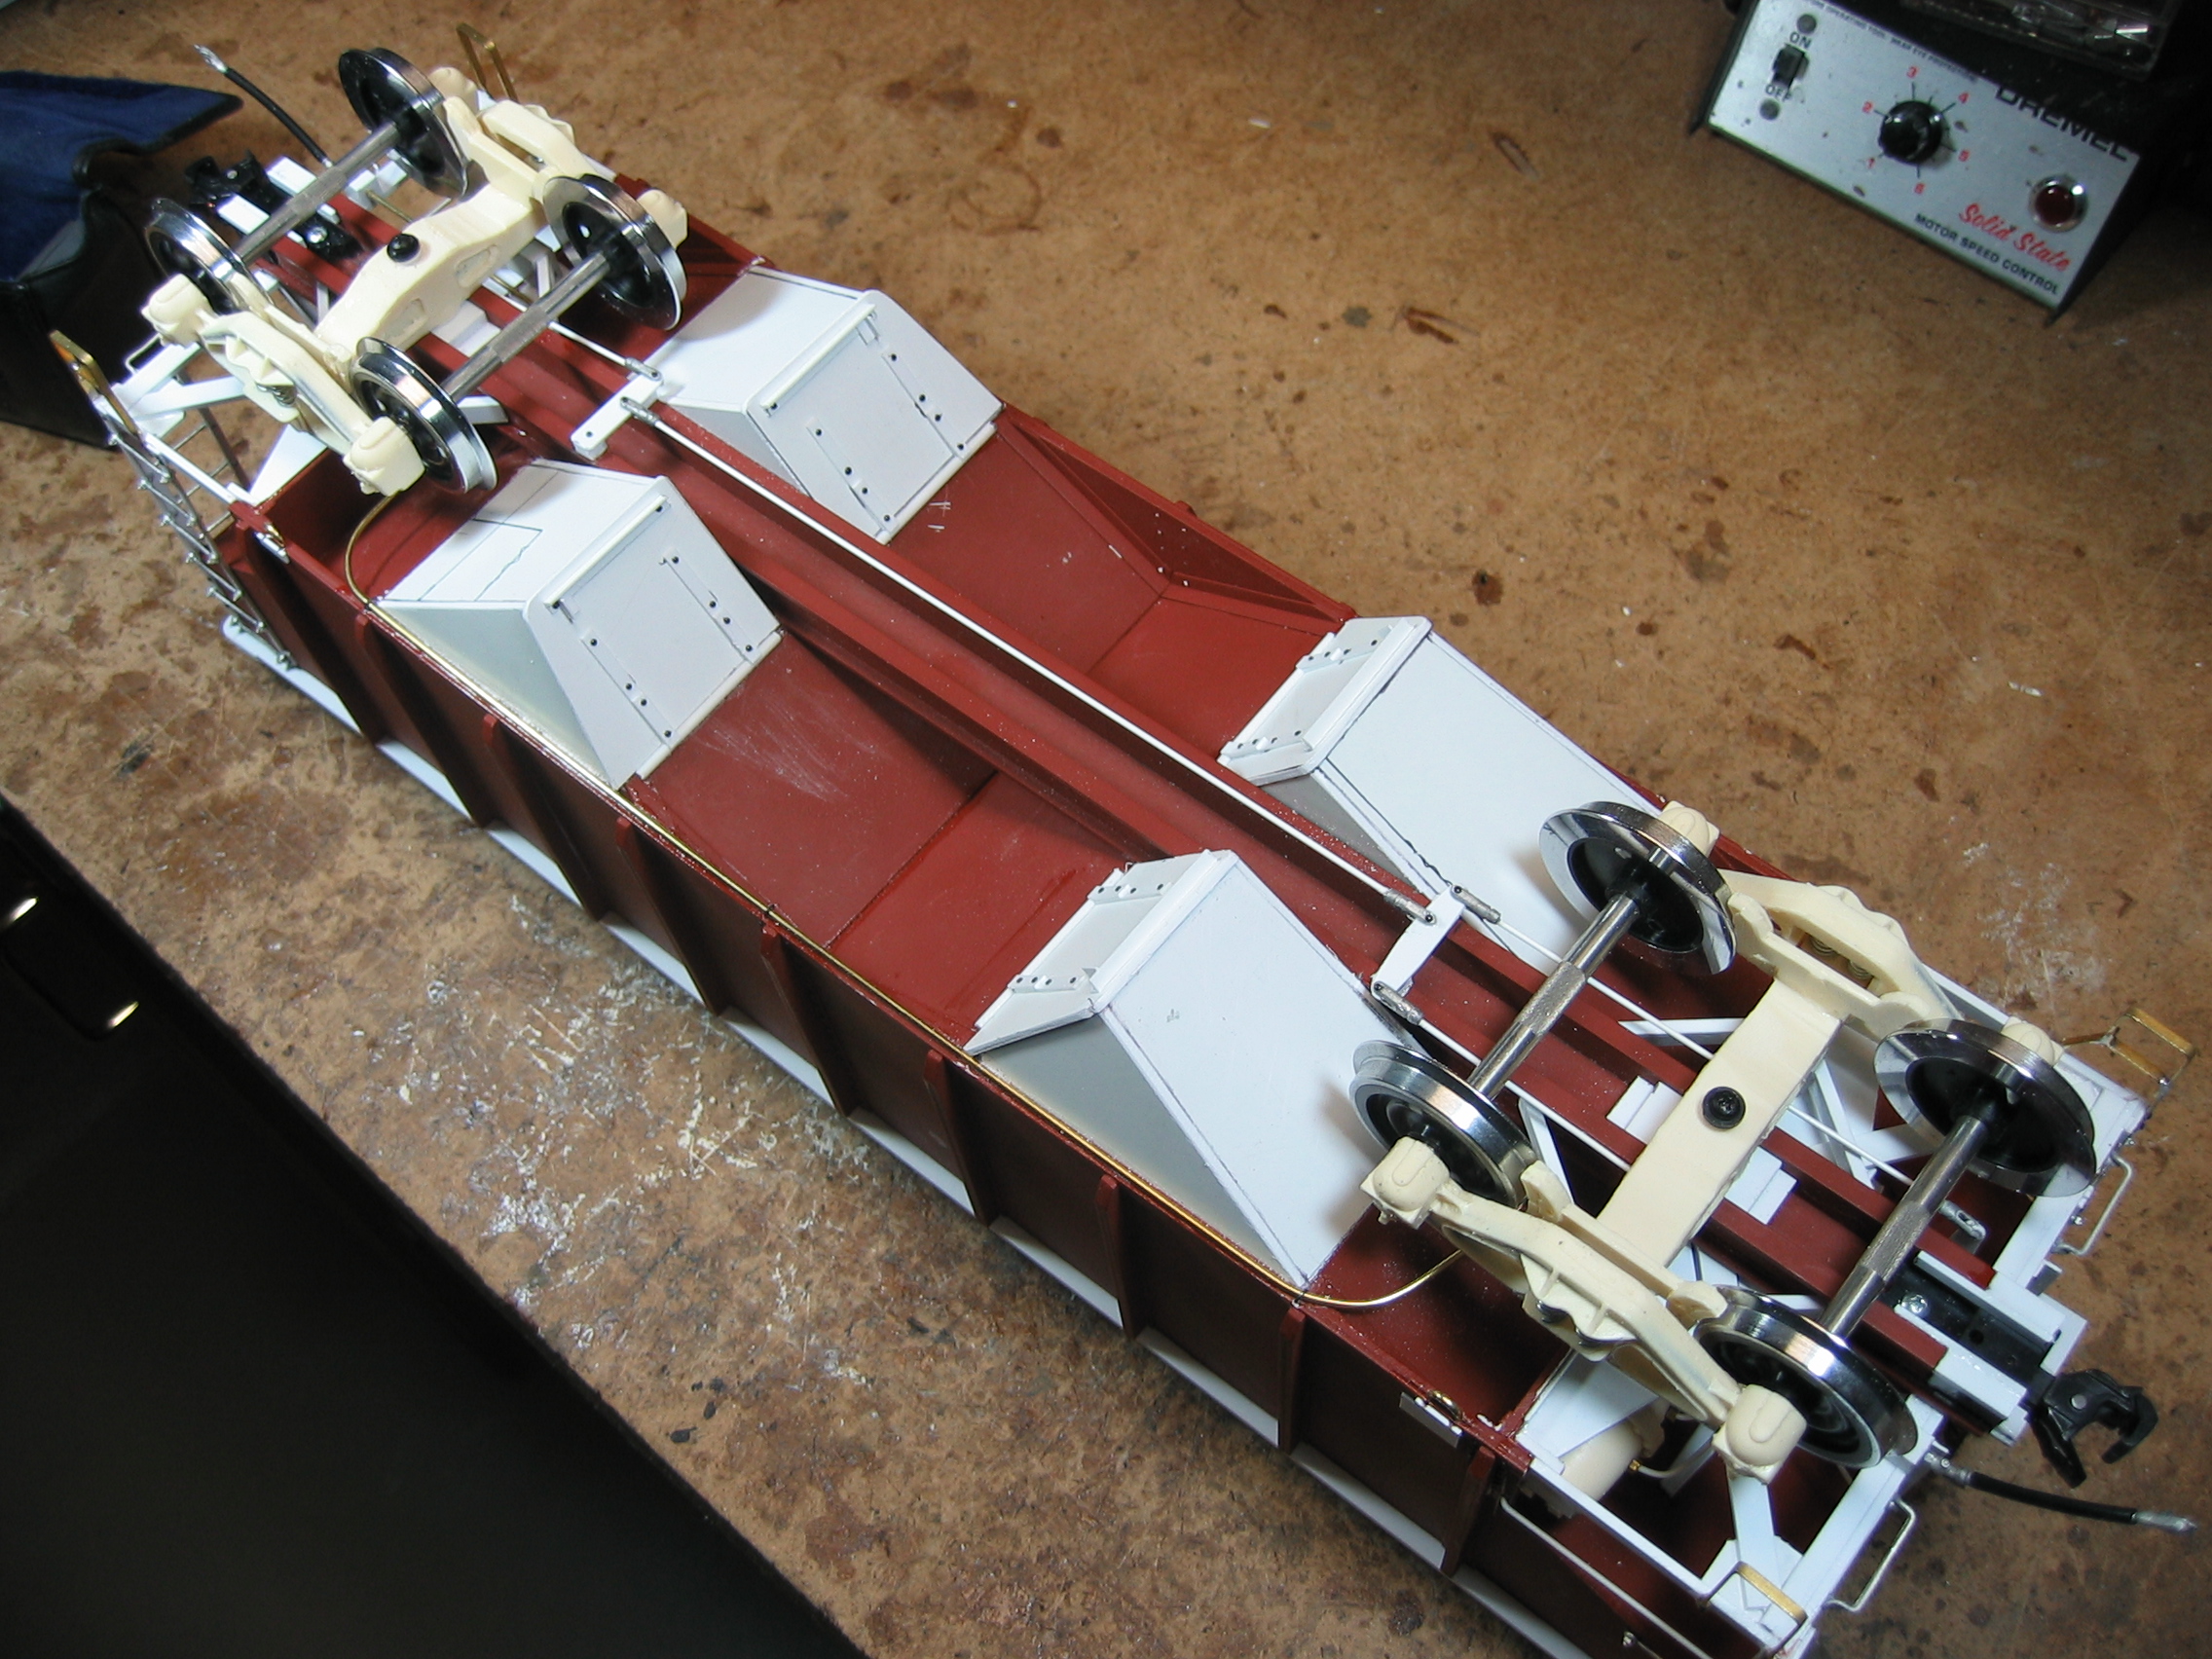
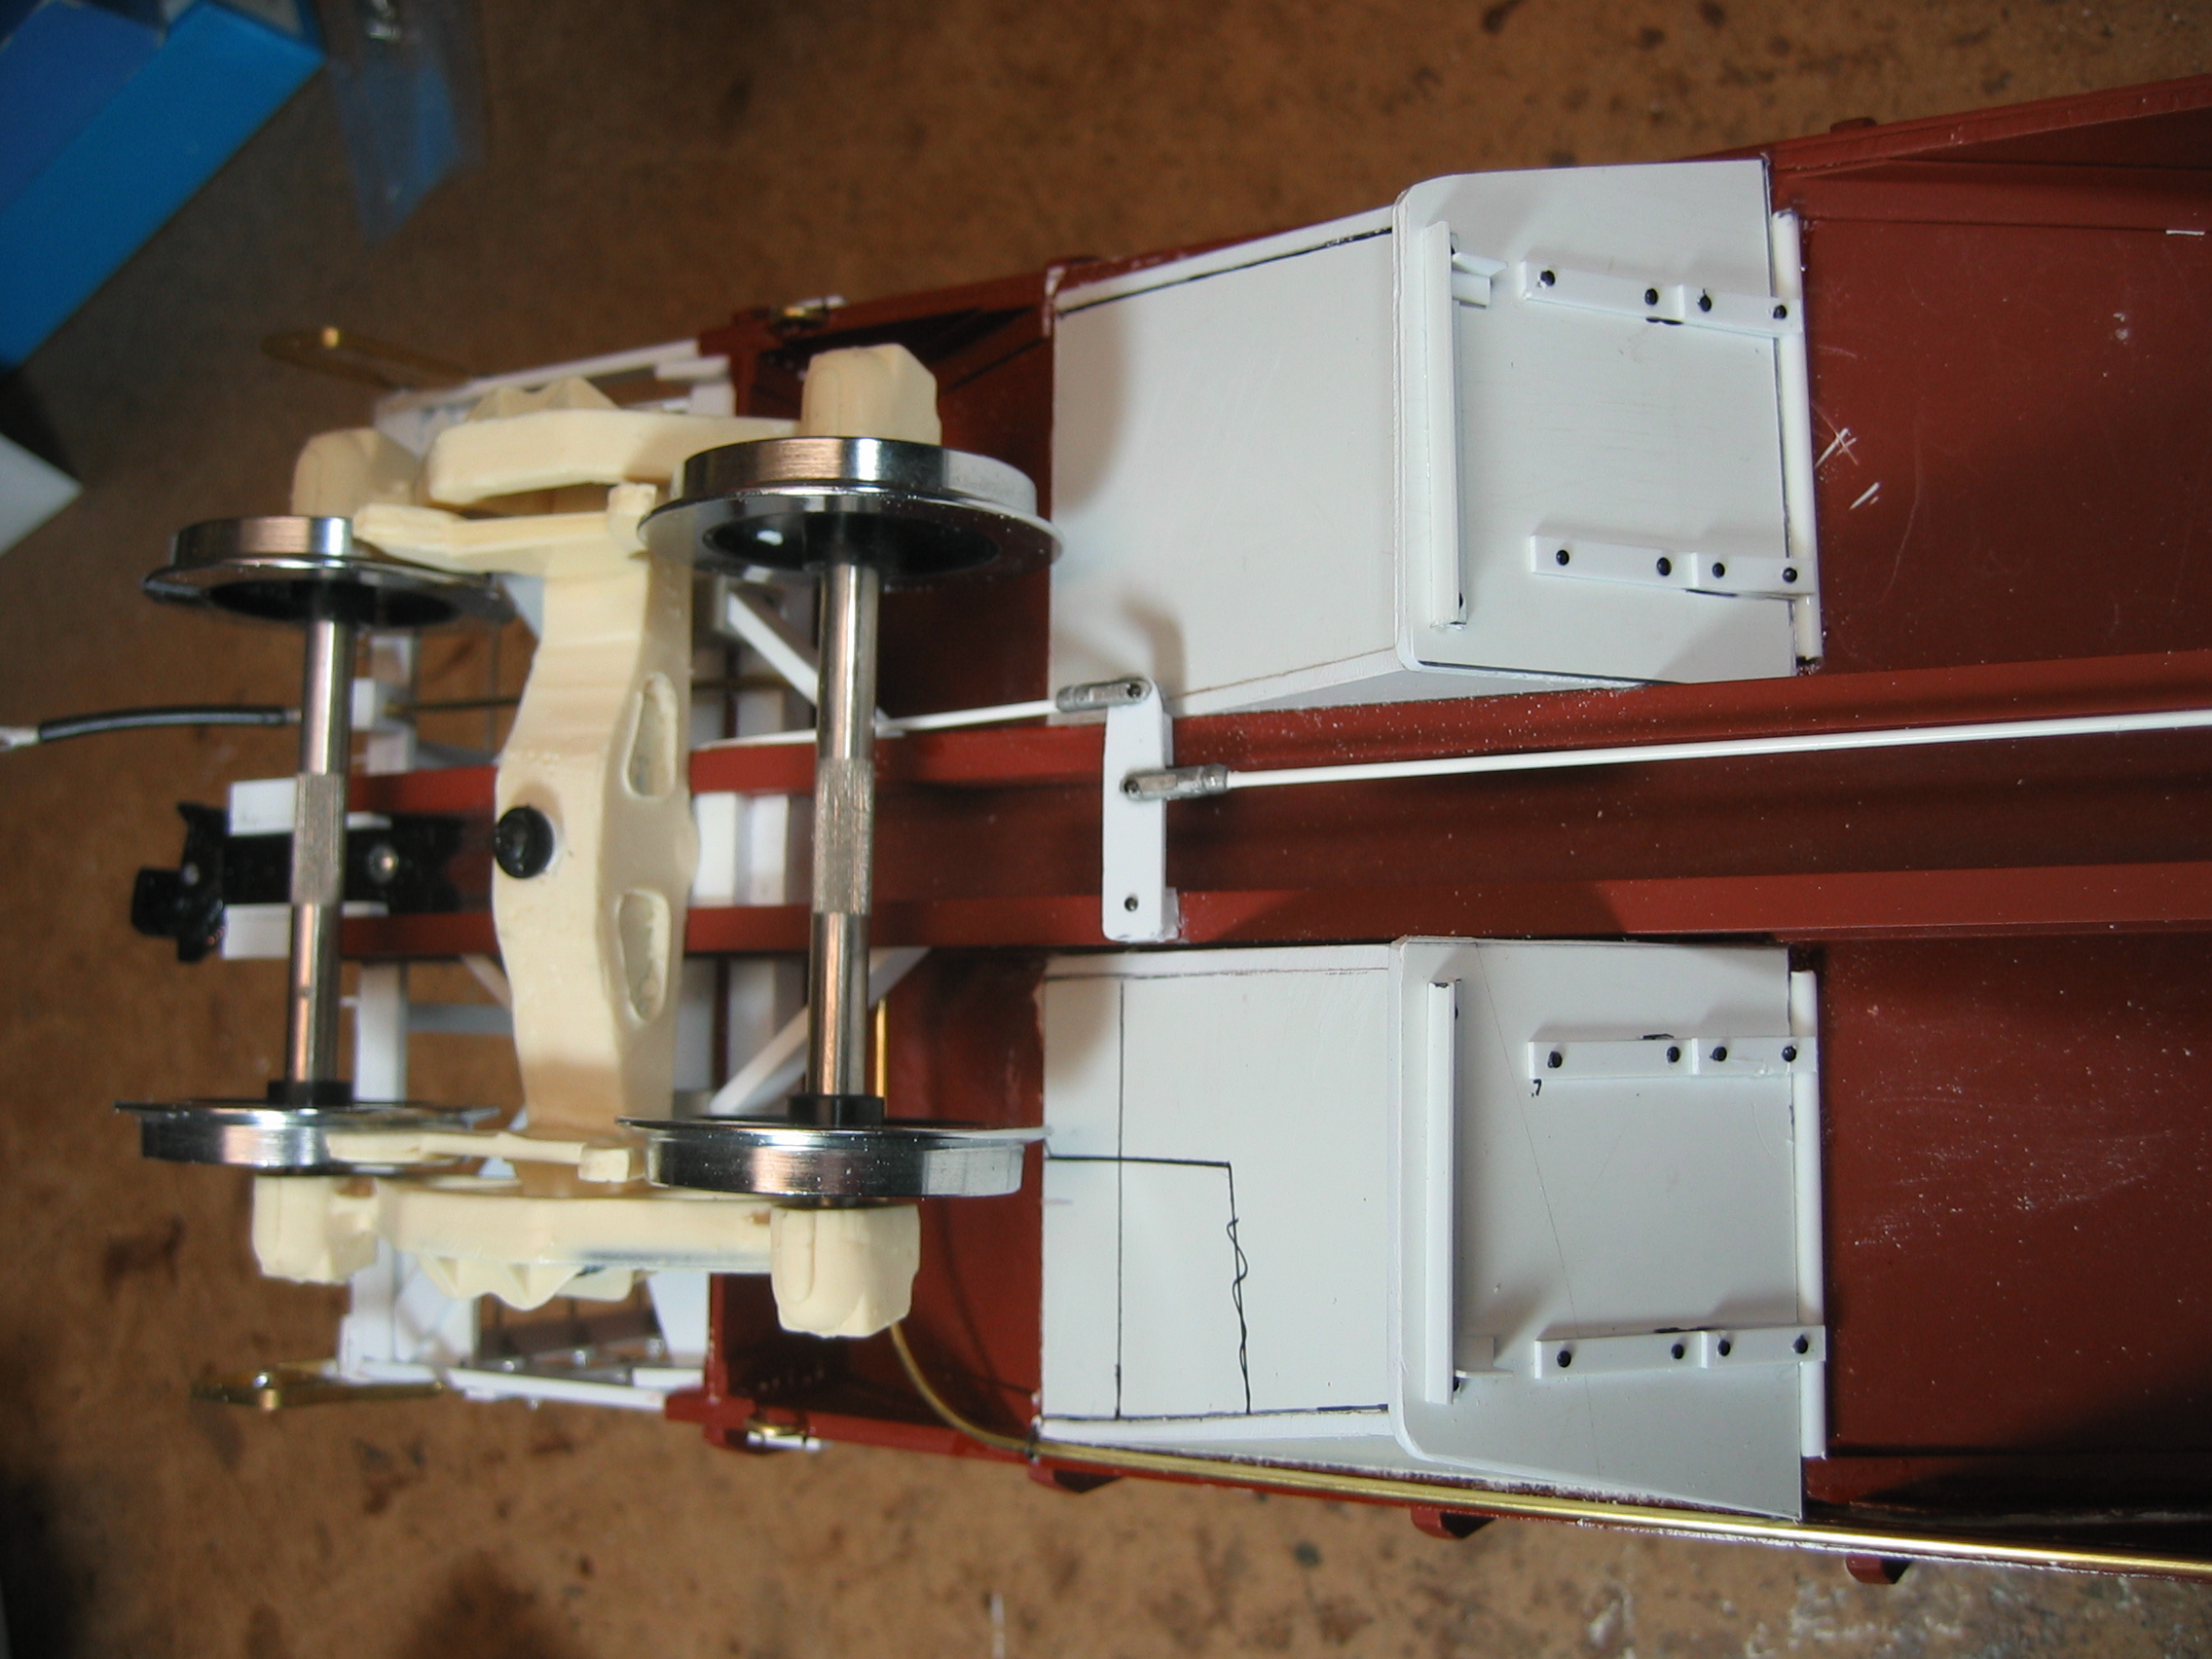
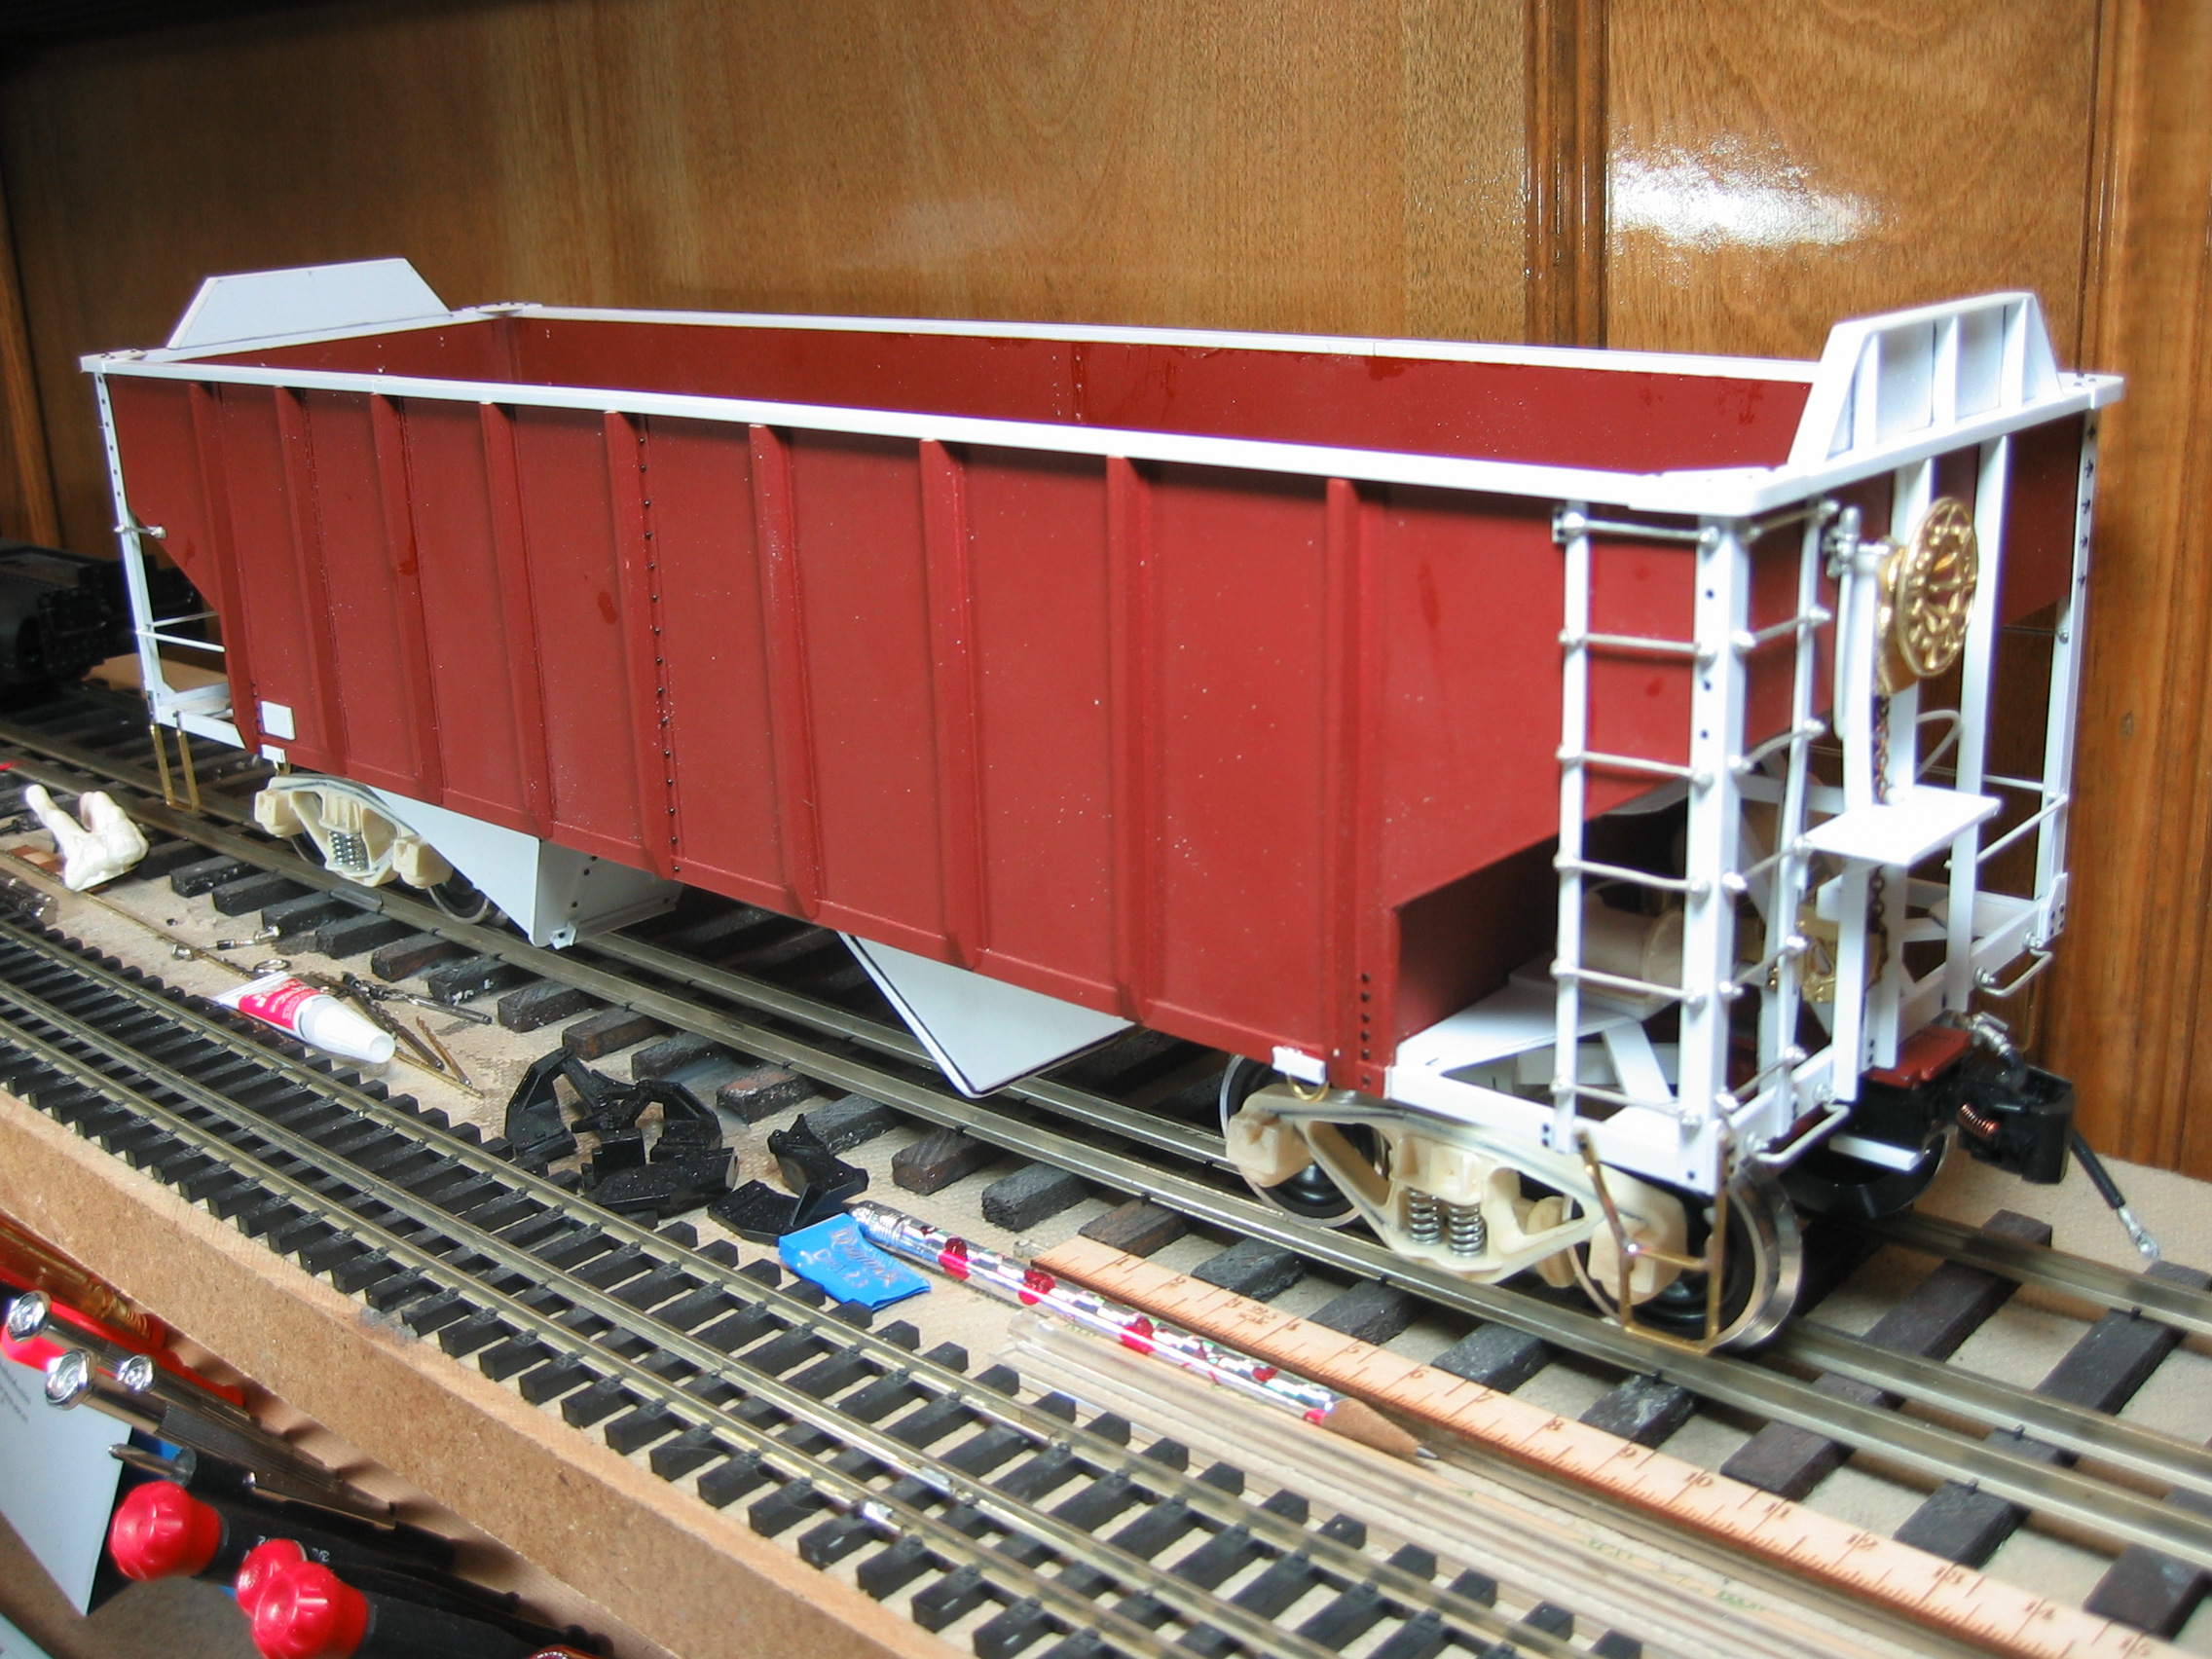
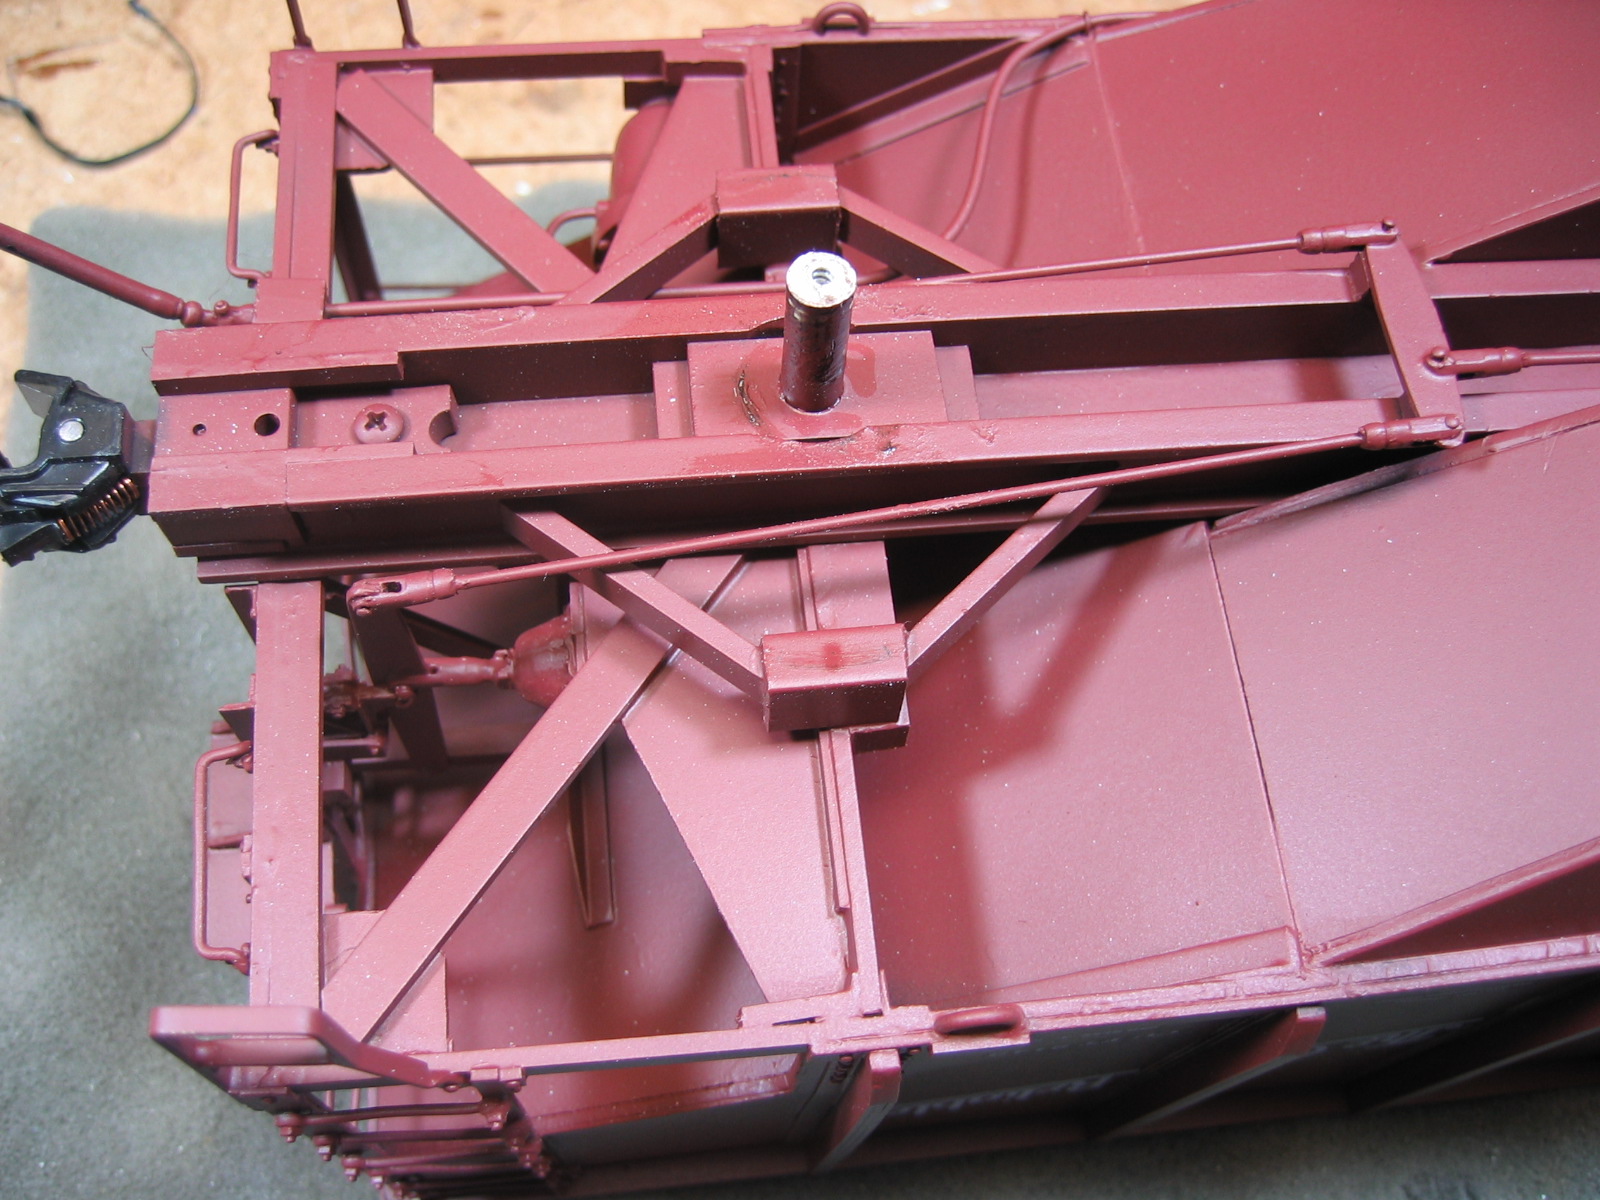
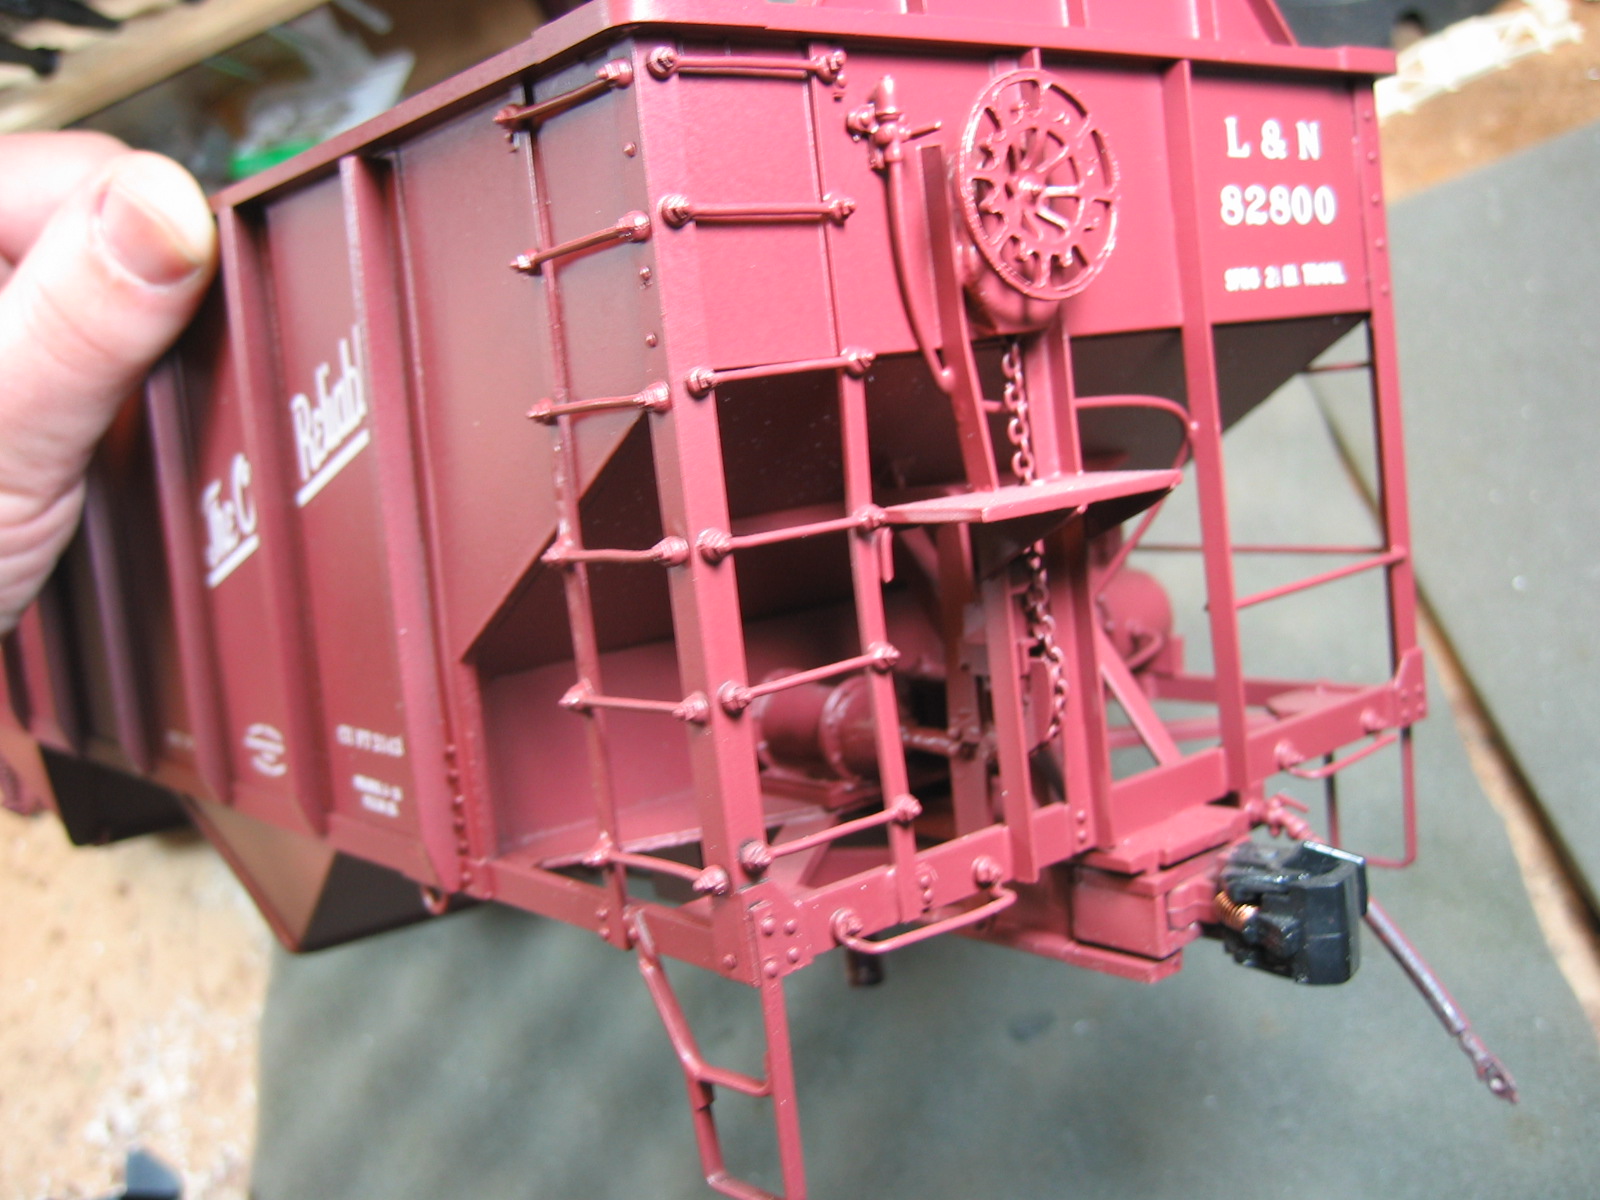
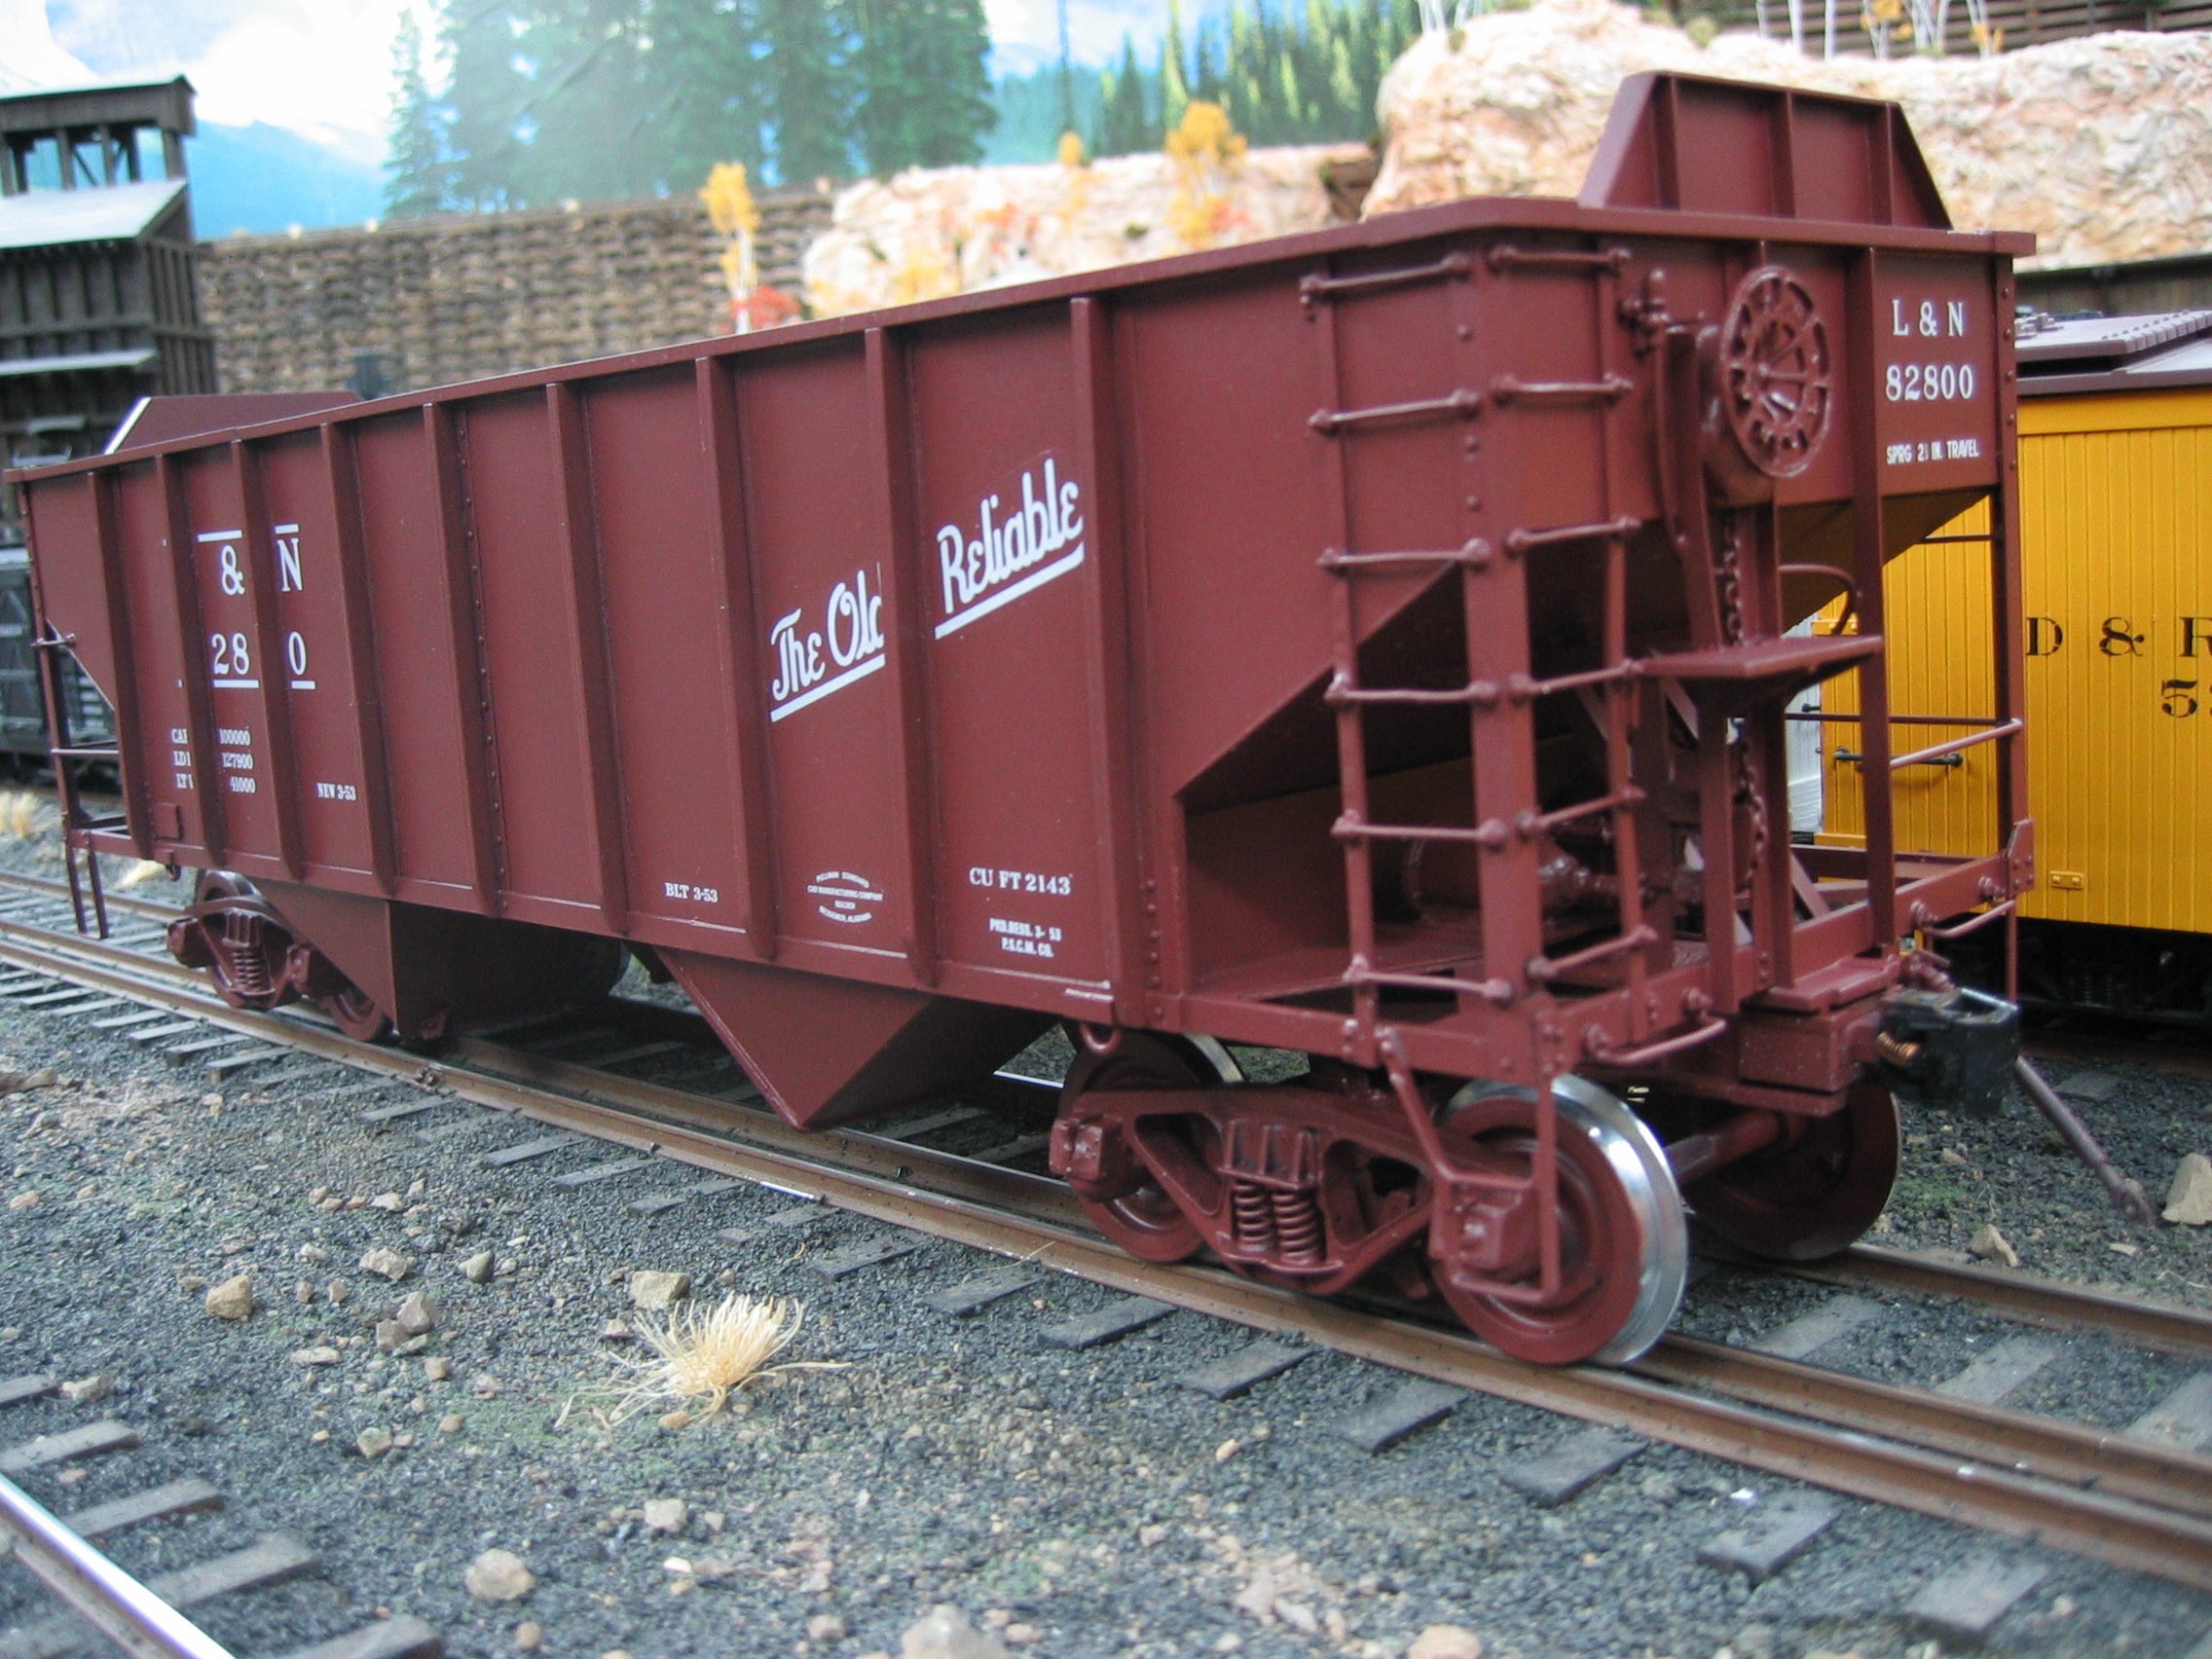
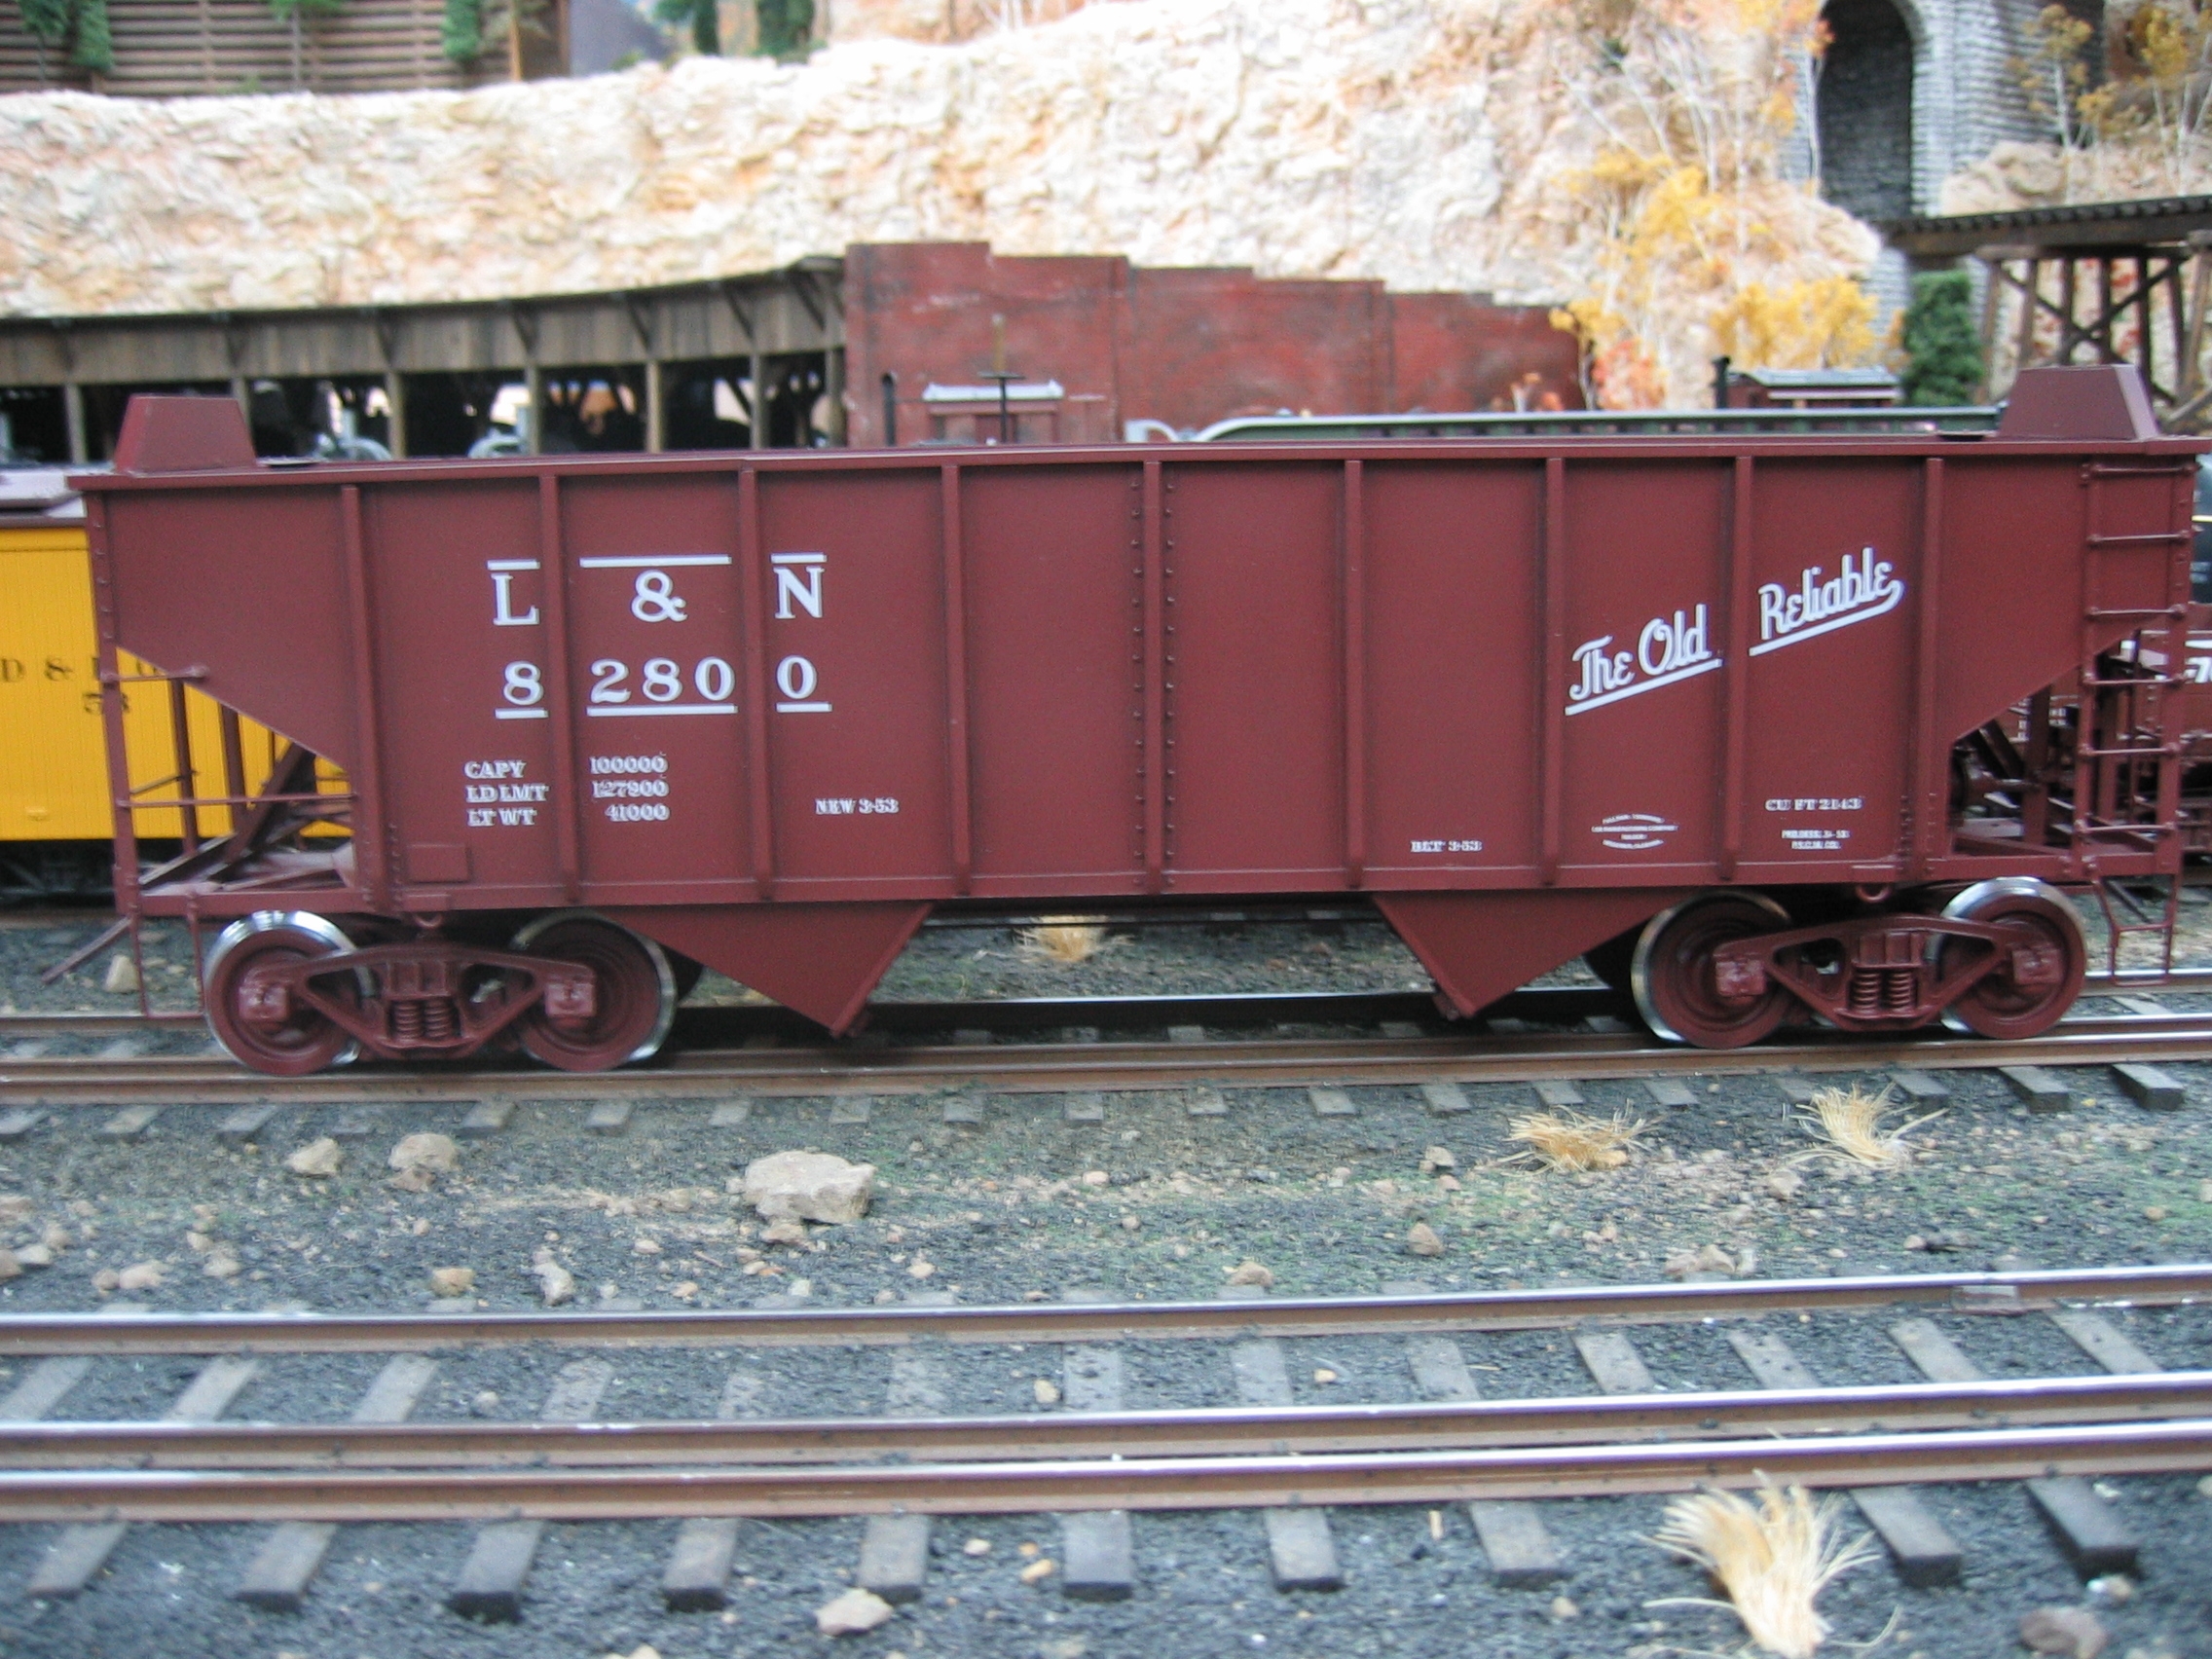
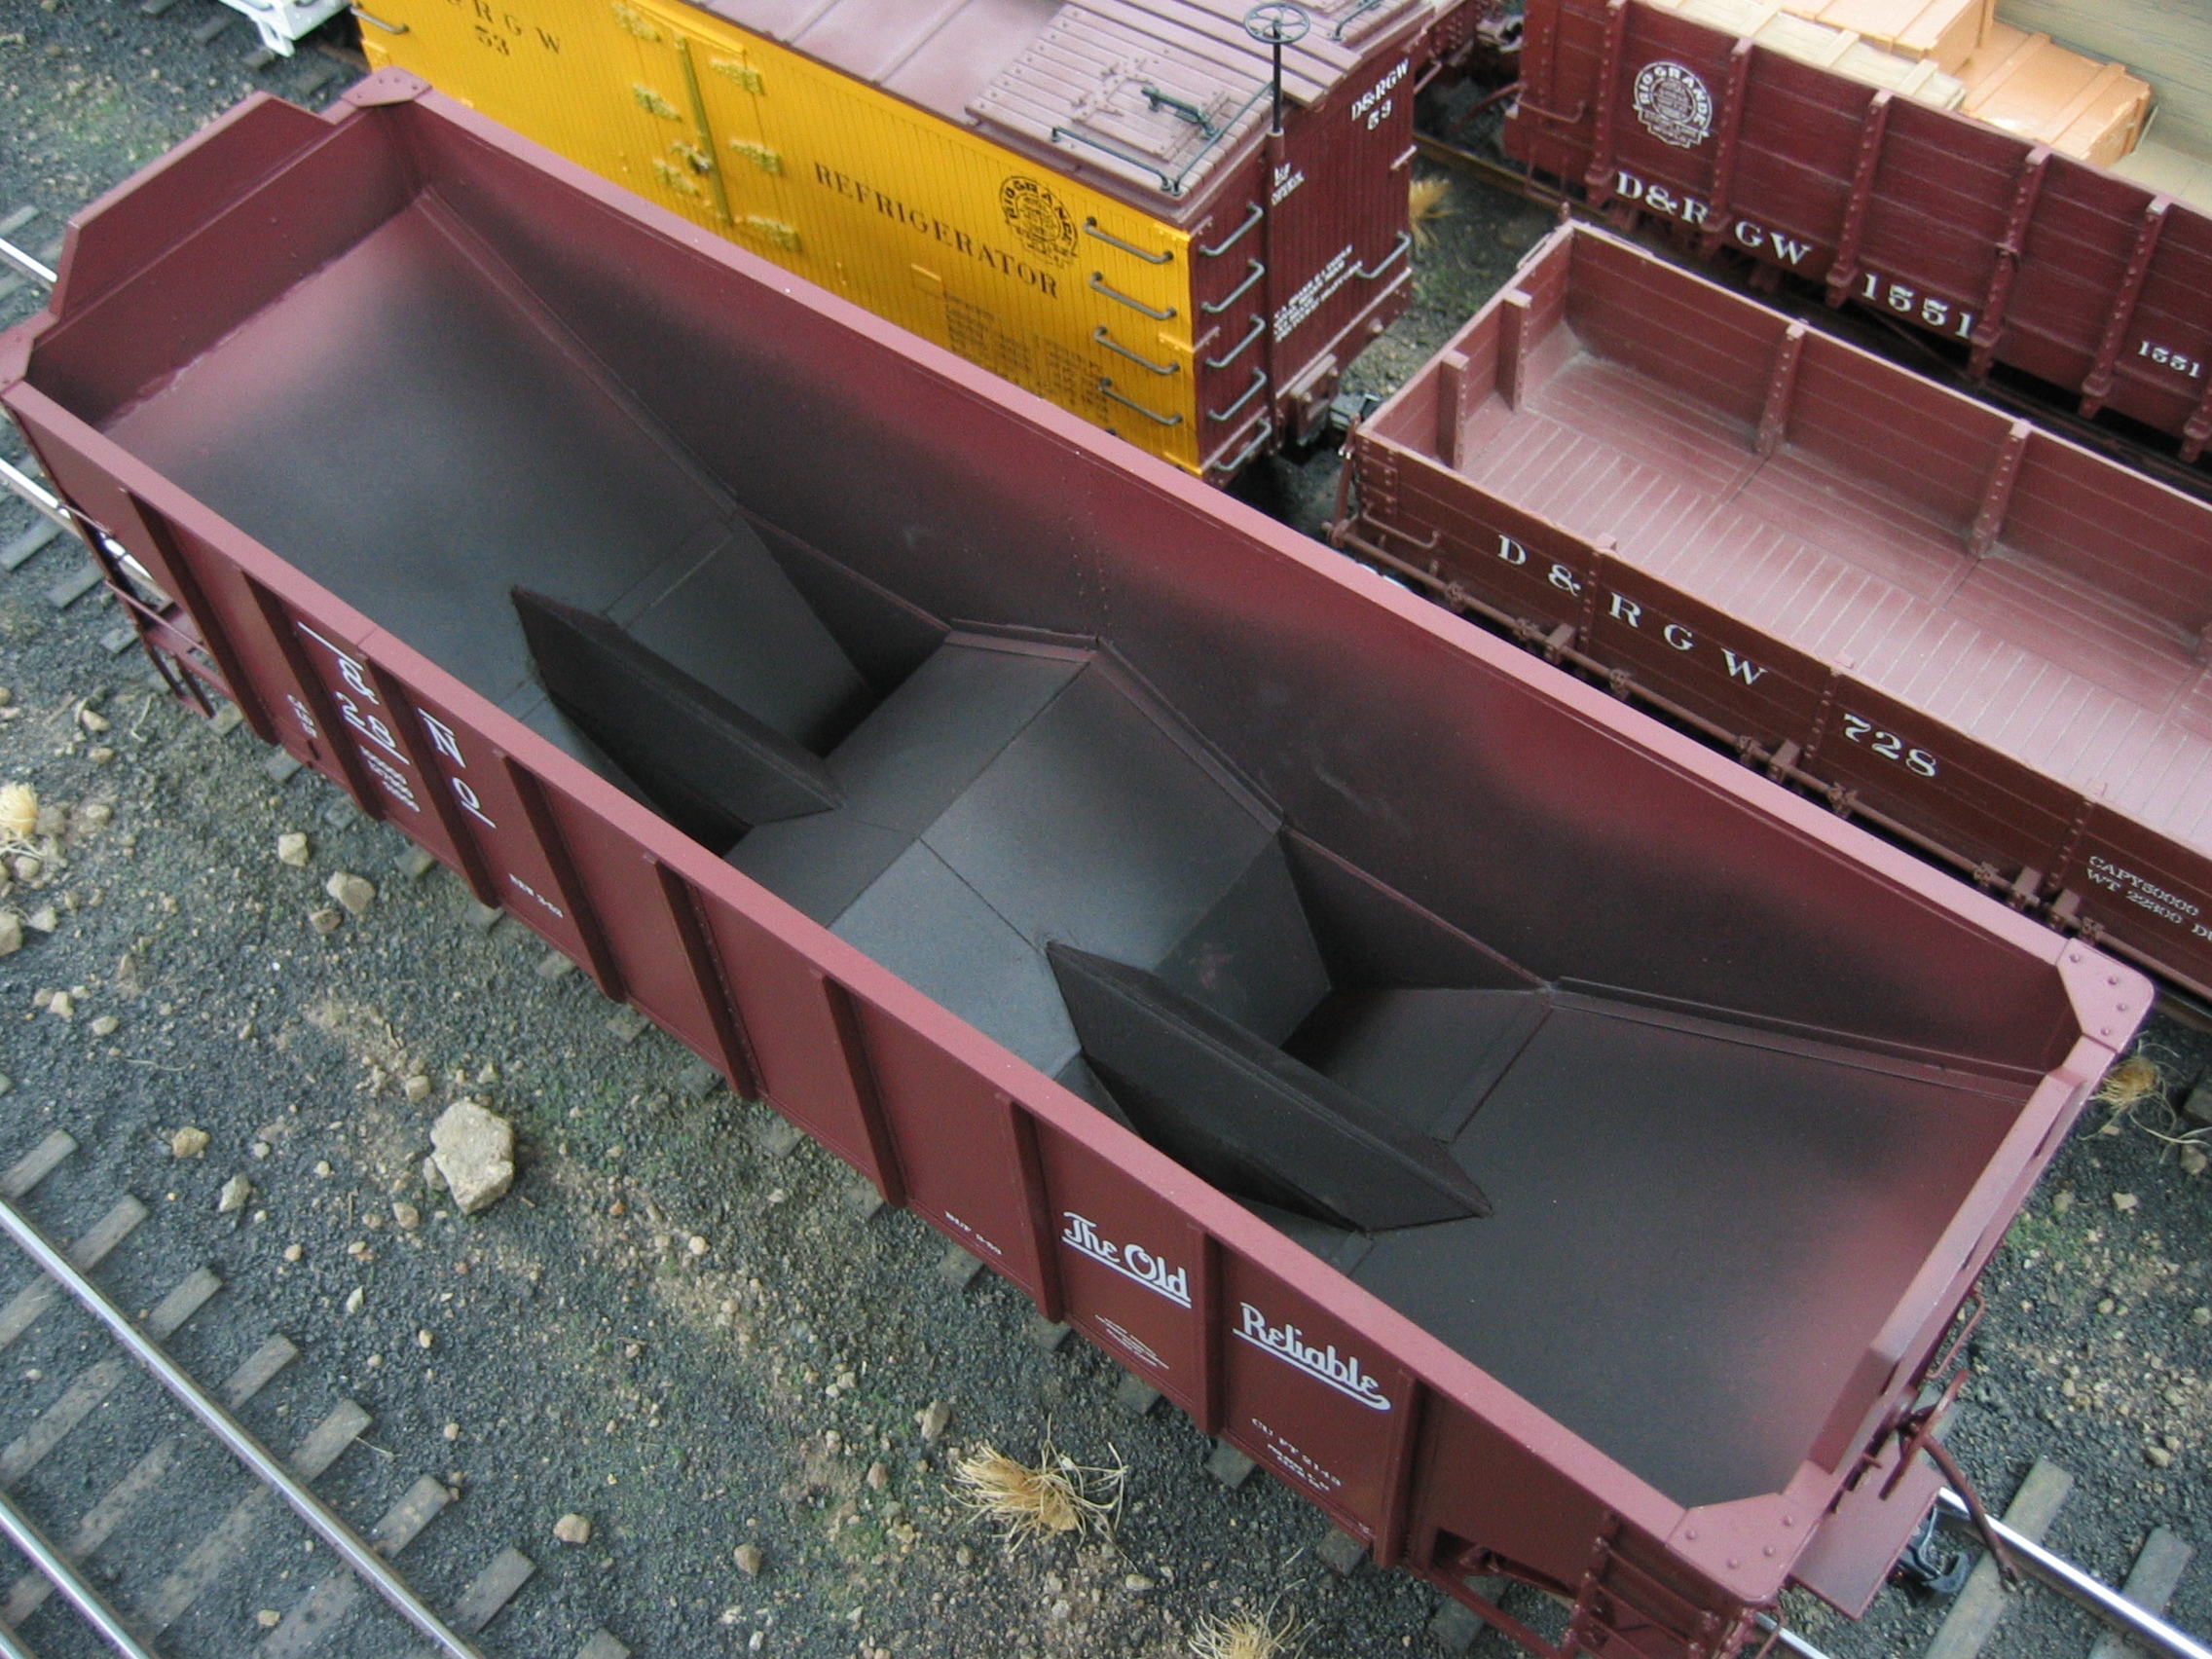
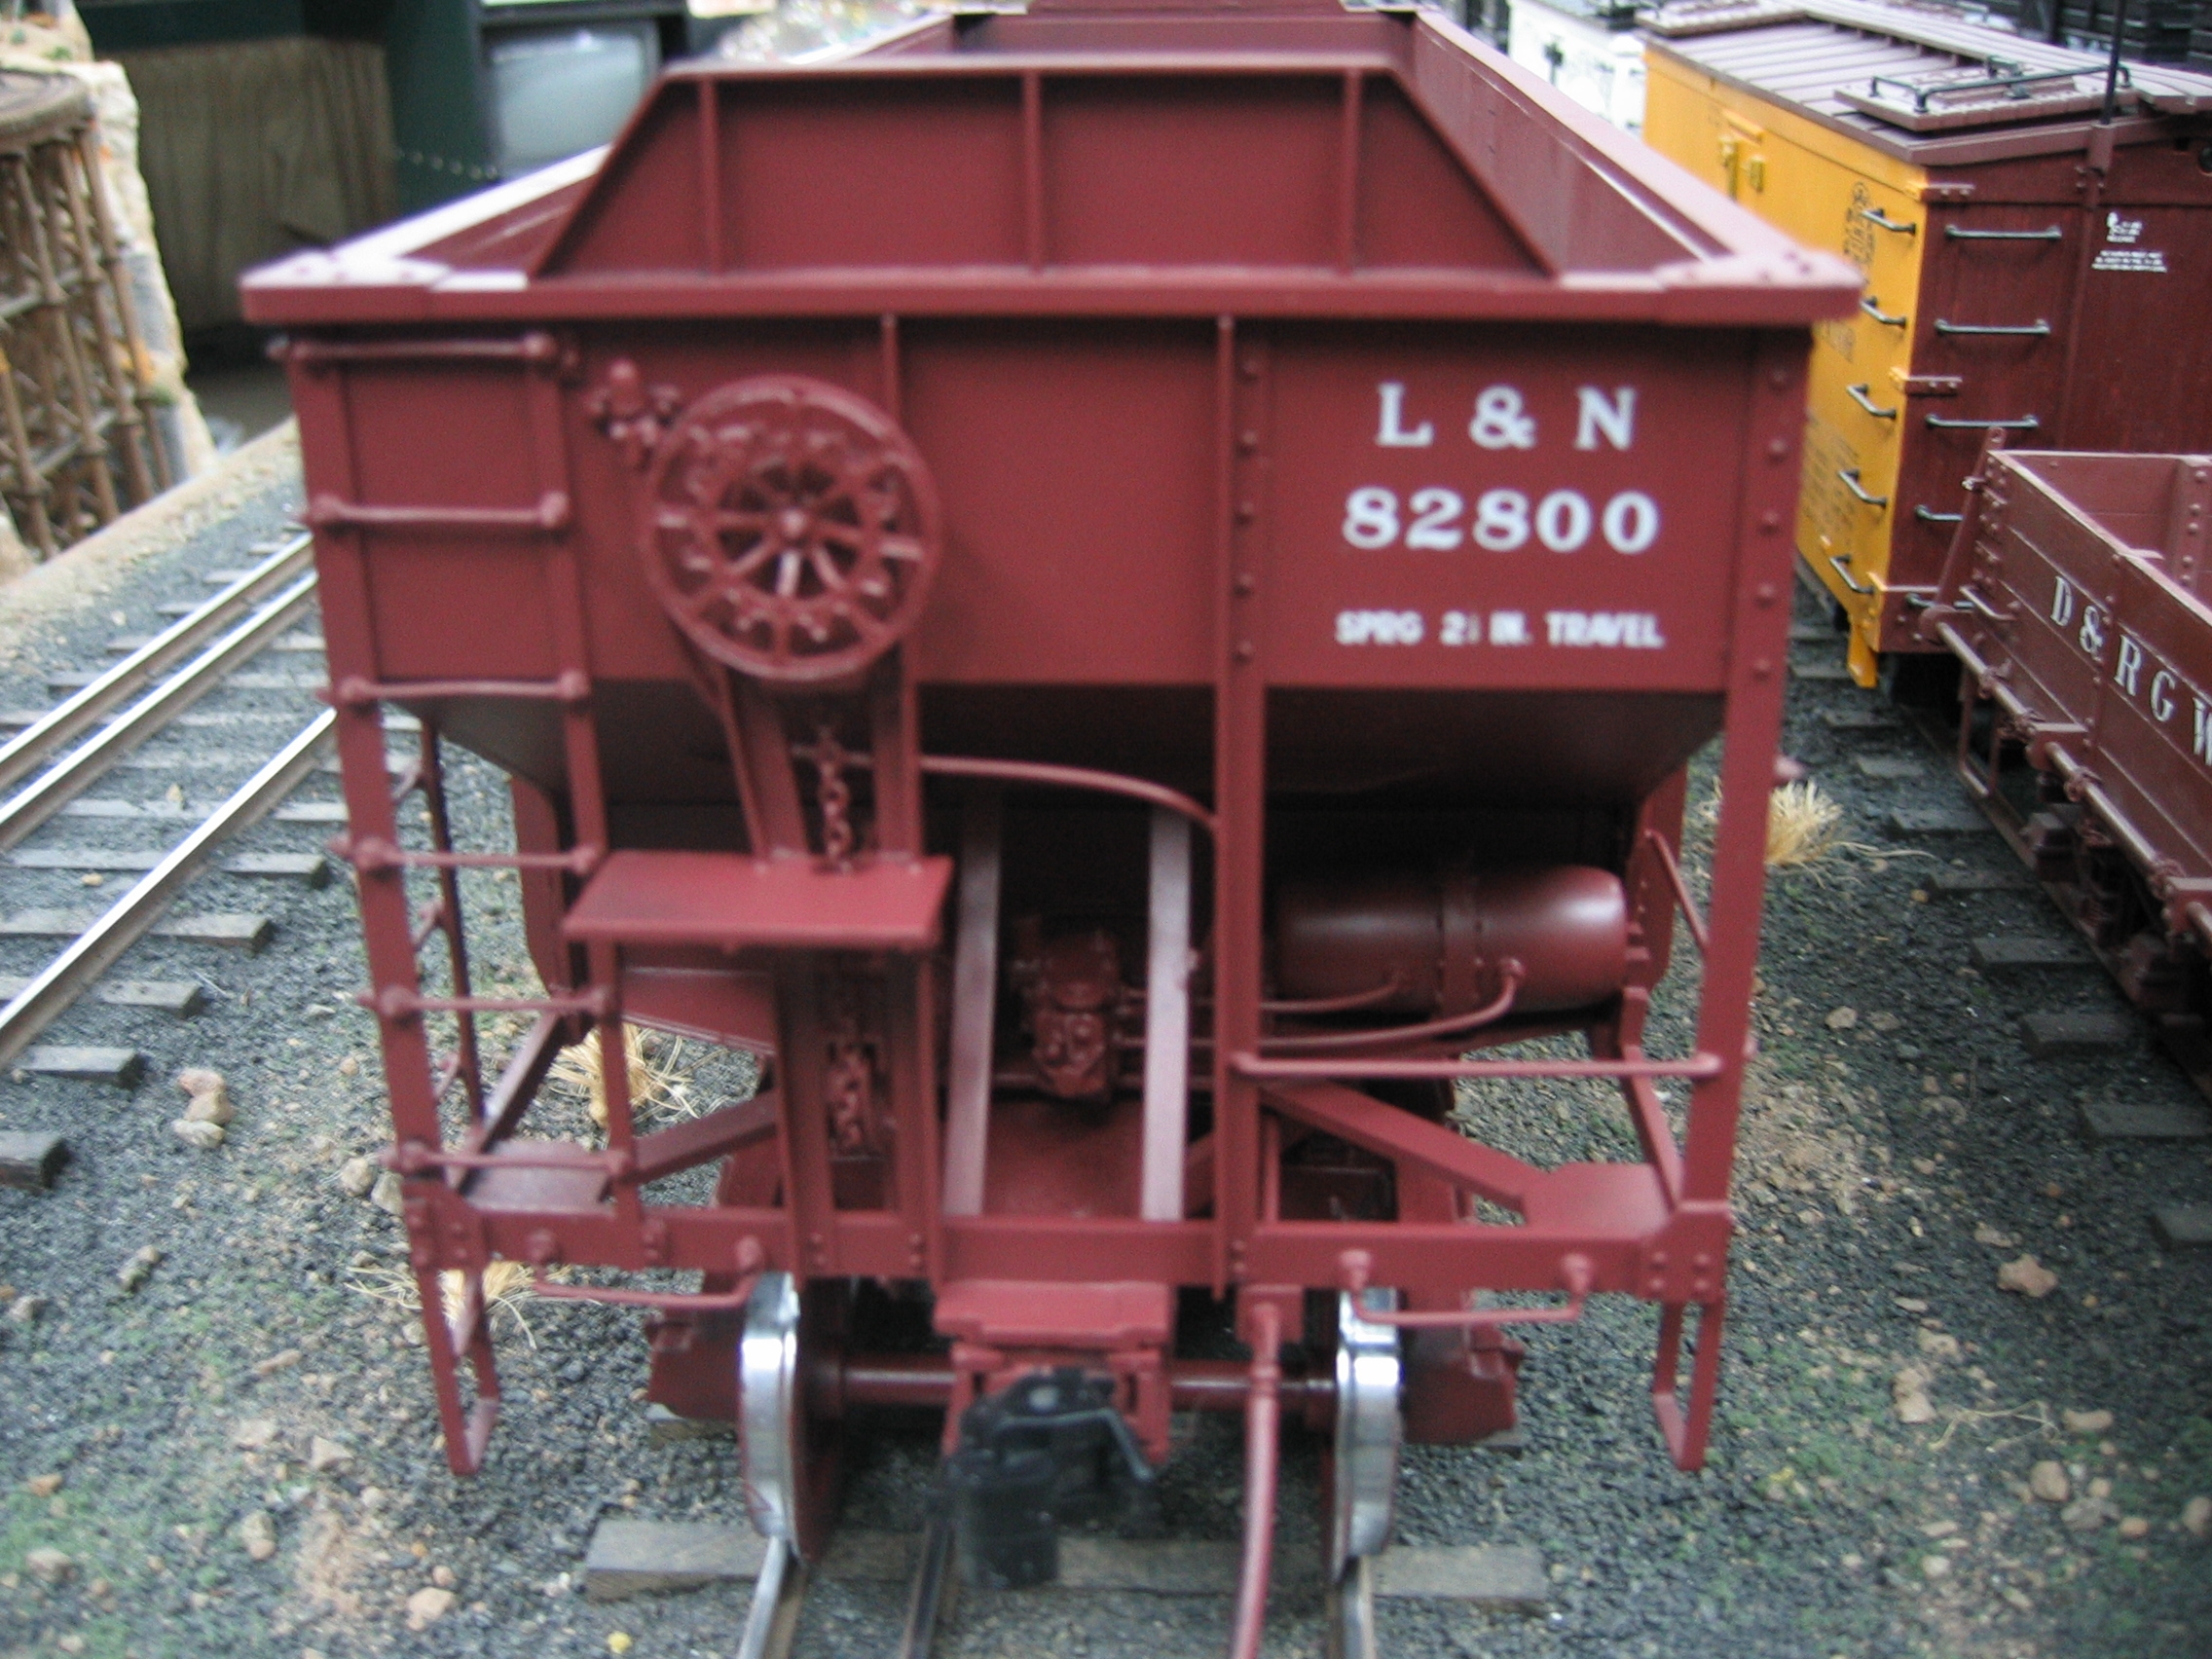
Here's the one that got away--and then got finished! Pullman-Standard began work on a series of 36 foot, 50 ton capacity 2-bay hoppers for the L&N in 1949 which was then followed up with several thousand additional production cars in 1952-53. These latter cars were designated the PS-3. Later on the design morphed into a 3-bay version. From a modeler's point of view, the PS-3 is a relatively simple late steam era hopper car to build since unlike the earlier generations of 50 ton hoppers, this was a partially welded car, lacking most rivets! And either embossing rivets or pressing home 100s of sequin dress pins takes no small amount of time. The sides, ends and interior slope sheets of my car were built from rather thick .080" styrene (actually part of a scrapped sign that I had been given, hence the odd red, white and blue colors) whereas the underframe consisted of two Plastruct ABS channels with a length of thick ABS strip separating them. I quit on the car at this point, but Barry Bogs acquired it, via Jim Hadden, and completed it with stunning results (Barry's work is in white styrene; mine in red oxide). The investment cast AB brake system is Barry's own pattern work as is the brake wheel. Another friend of ours, James Engle, provided the custom made decals. Once again, Bob Hundman of Mainline Modeler published the excellent drawings. Photos are courtesy of Barry & Frolin Marek.
|
|
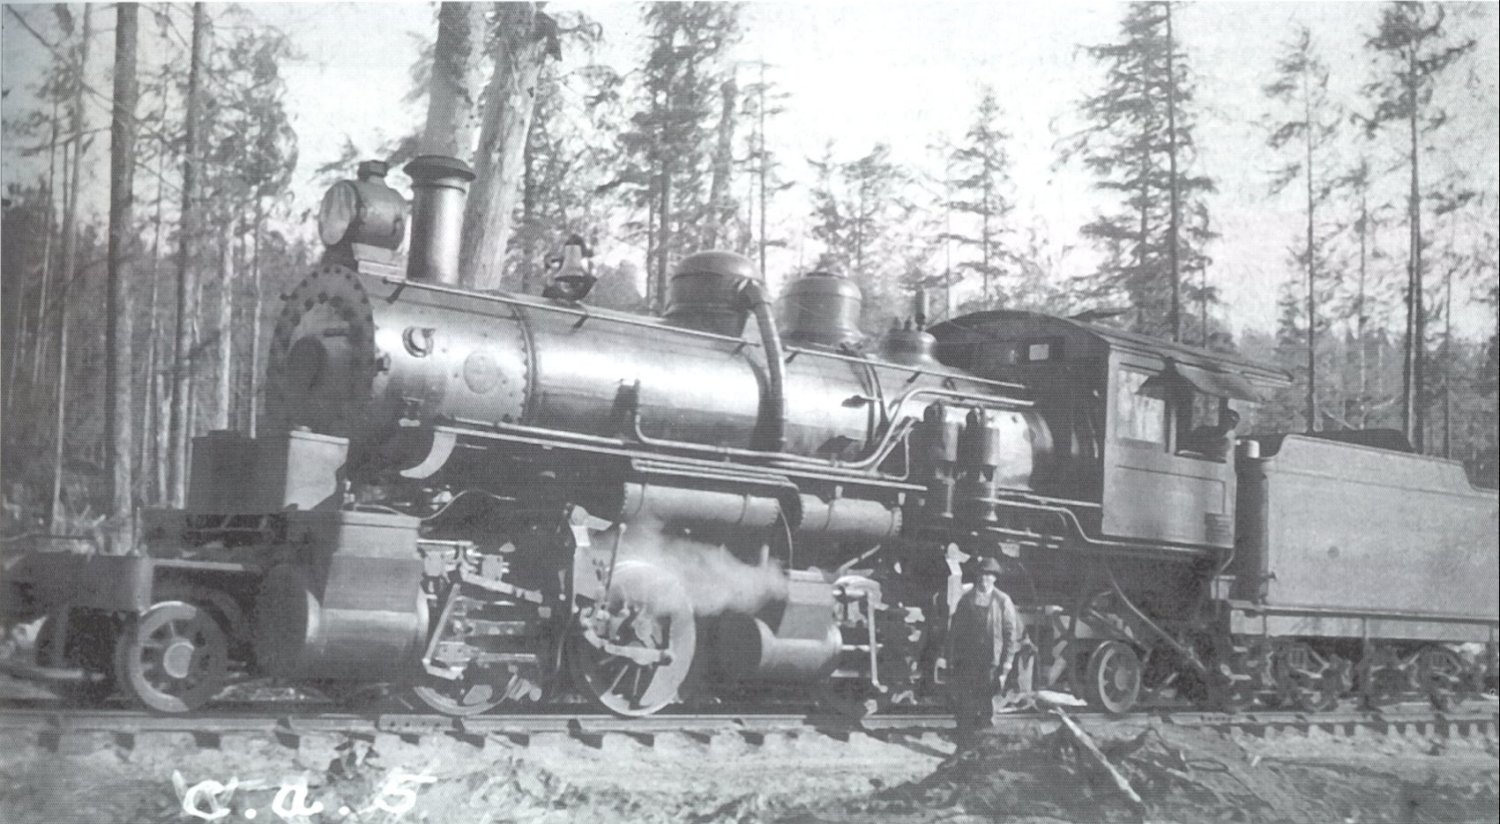
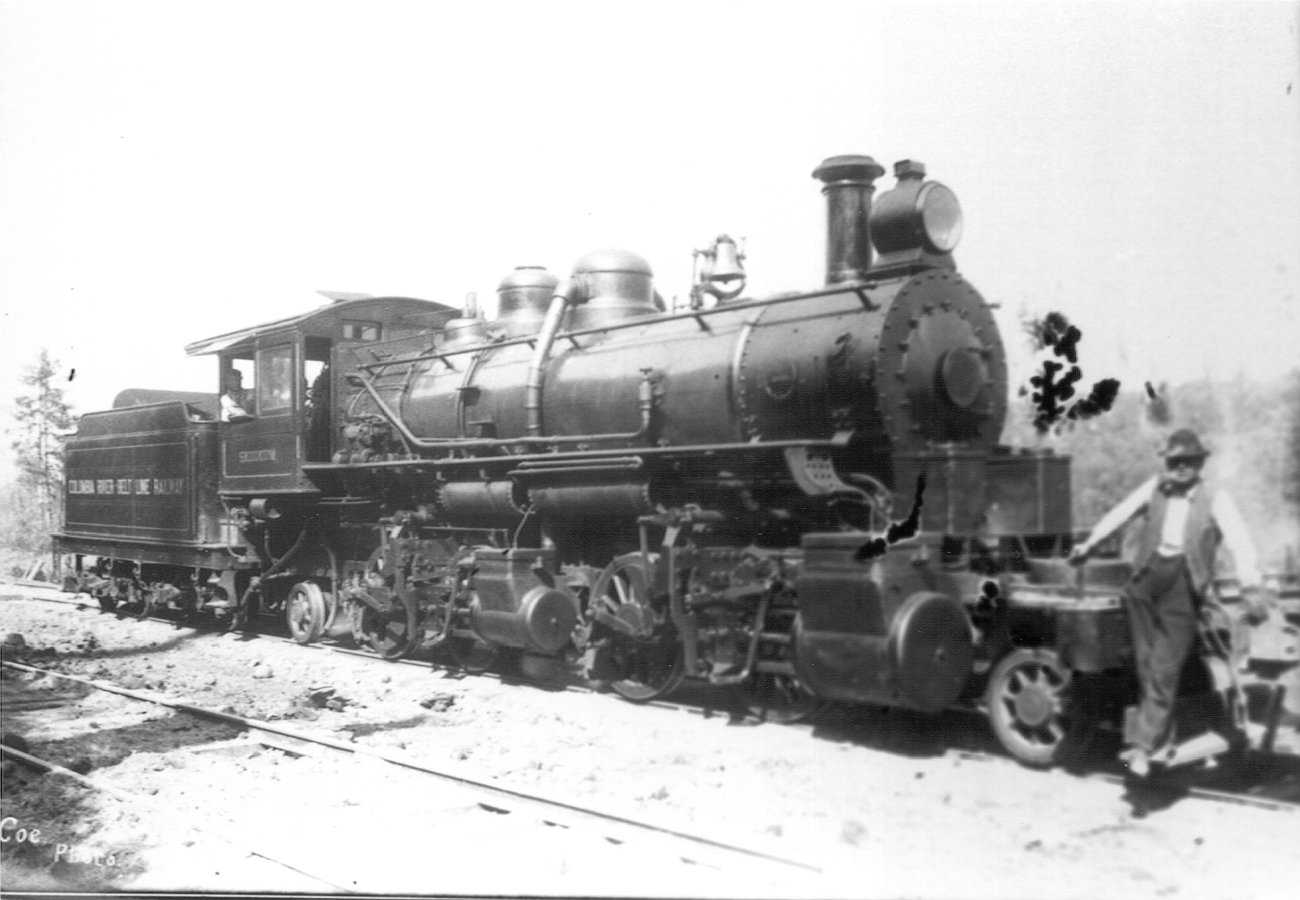
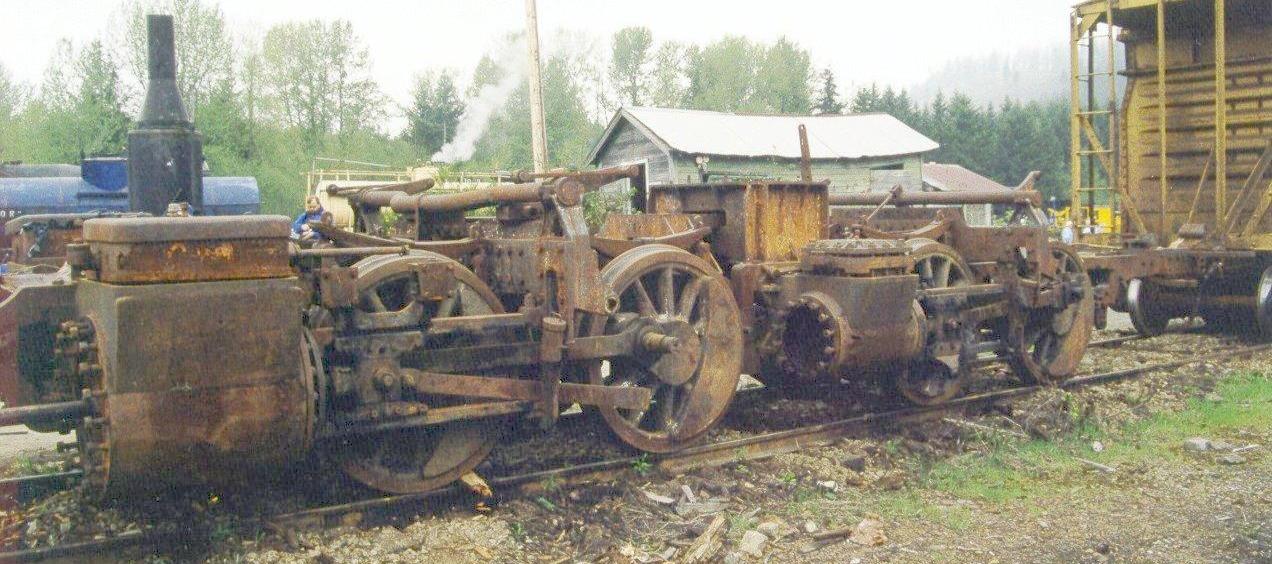
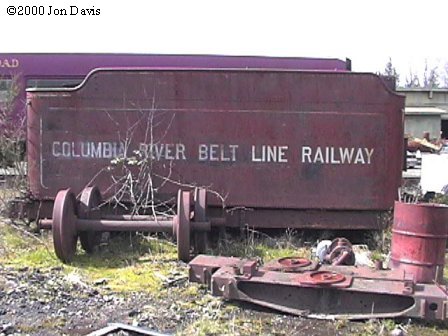
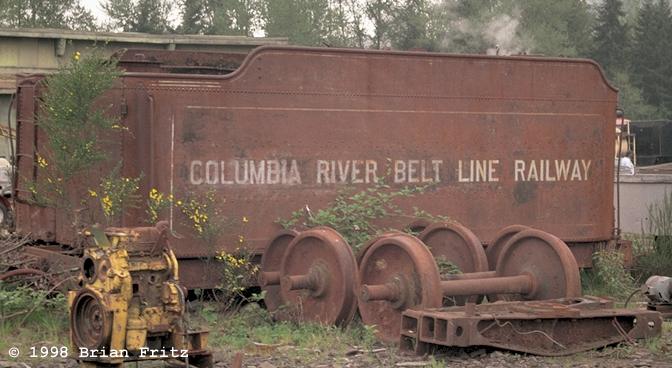
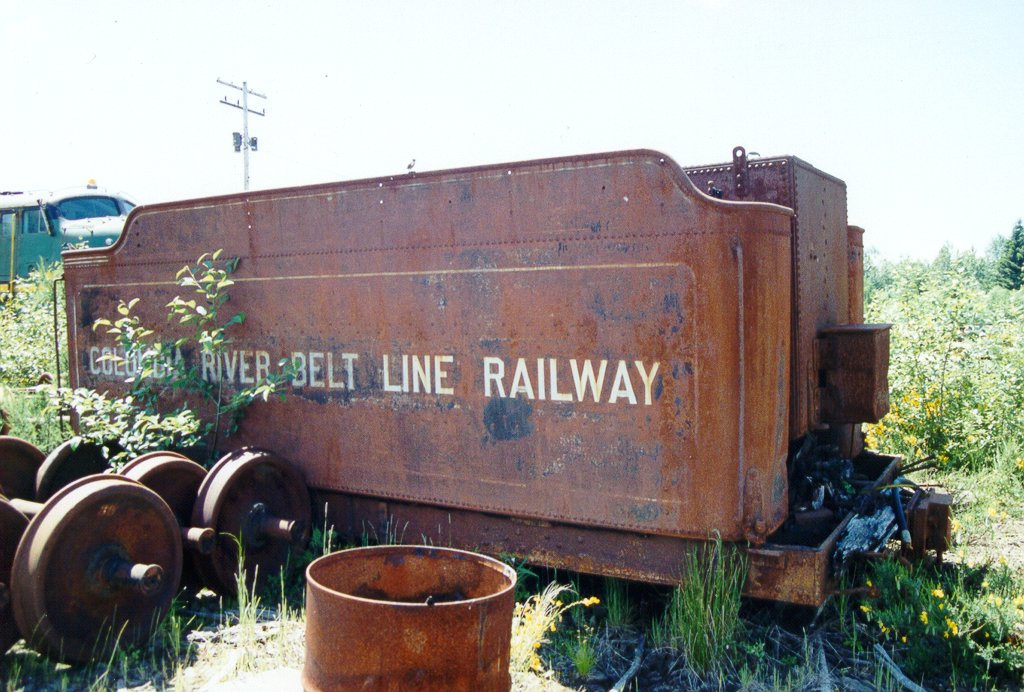
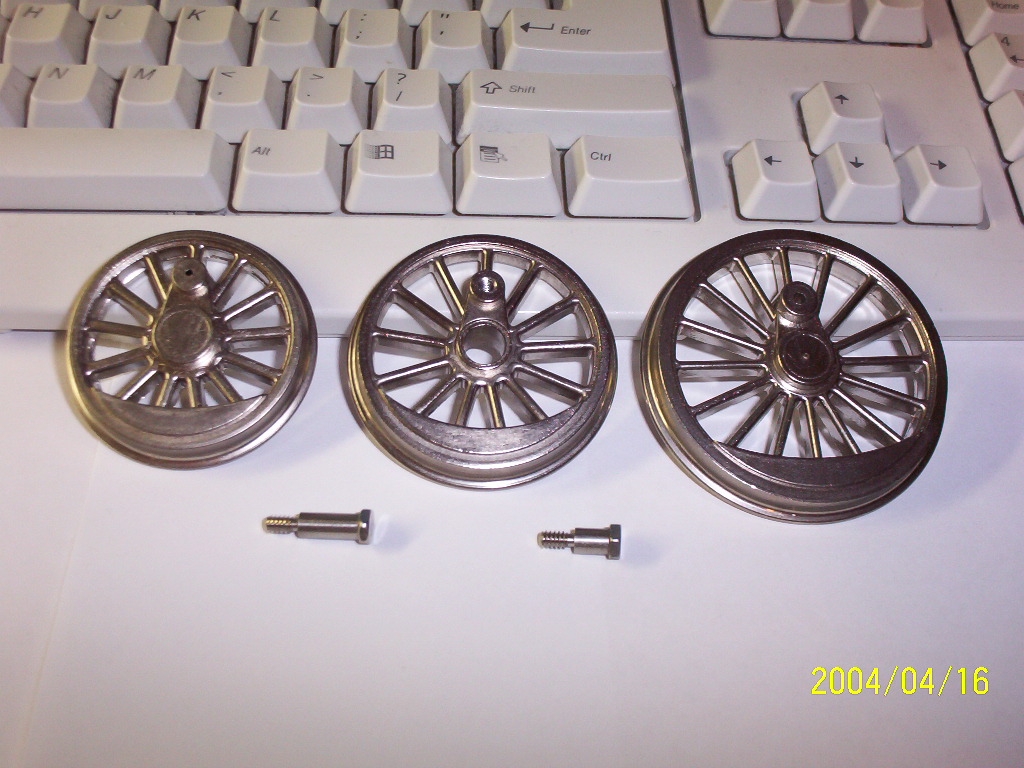
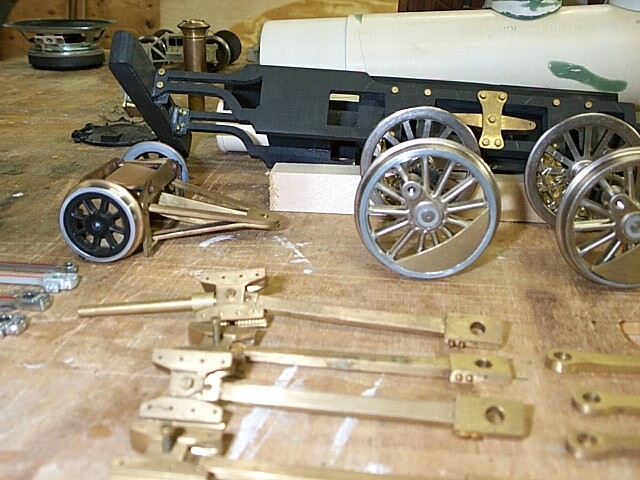
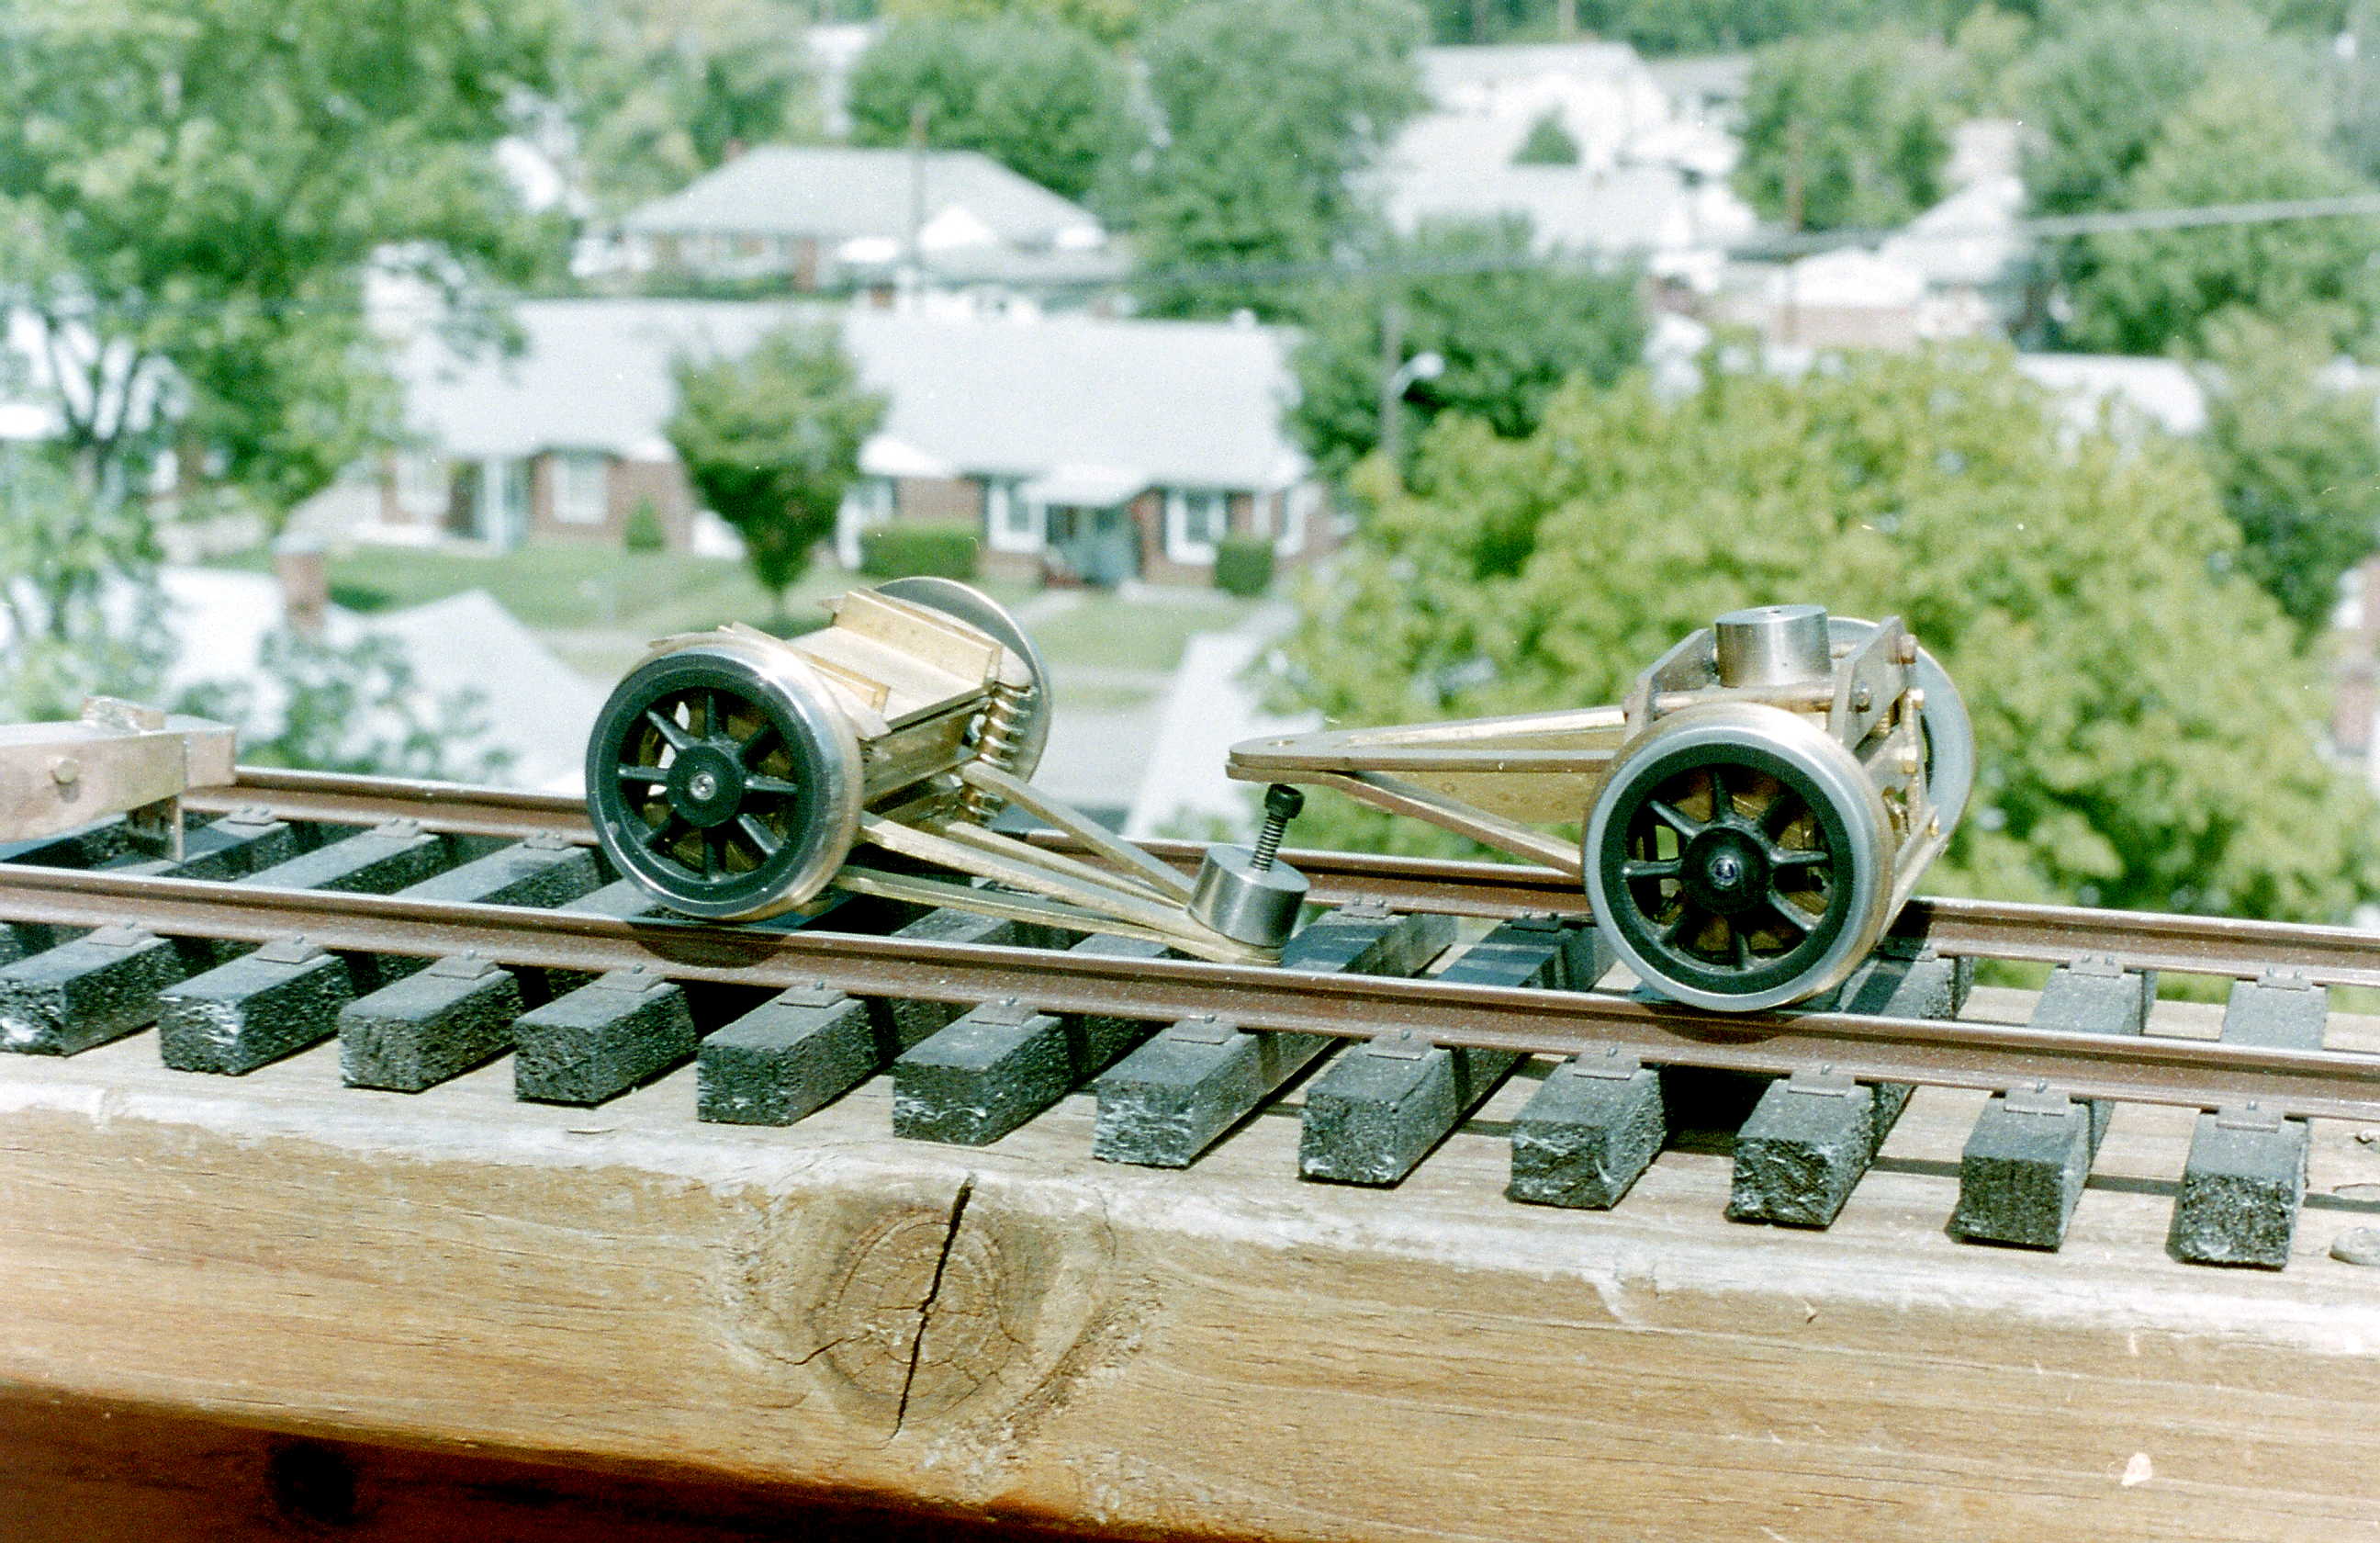
The only Gauge 3 locomotive project which I undertook with any rigor--and maybe a bit of wild-eyed optimism--was not simply an exercise in seeing what sort of two-rail electric steam outline locomotive could be built in Gauge 3: It was actually an attempt to make a few bucks prior to my wedding in 1998 (really, no joke). The story is this: After I came back from teaching college in Cape Town, South Africa in December of 1997, I was working a series of odds jobs, planning to get married a year later in December of 1998, and possibly begin PhD work that following semester. And so I thought: "Wouldn't this be a great time to try my hand at custom building in a scale and gauge that almost no one else in America is working in!" What was I thinking? Anyway, the plan was to build four Gauge 3 locomotives on spec and see how well it would pay. As anyone may guess, this madcap plan fizzled as I began to realize just how much time and research go into building a quality scale model, let alone a first effort by a novice builder! I choose to model Little River Railroad 2-4-4-2 logging mallet #126 (later named Skookum after the locomotive was returned by the Little River to Baldwin, resold to a west coast logger, and rechristened by its new owner). The reason I choose such an odd mini-mallet as the #126 was (1) LGB 0-4-0 motor blocks in 1:22.5 scale had an almost spot-on wheelbase for the high and low pressure engines of this locomotive, (2) a driver of the correct OD (48") was available in die-cast from Palacina Productions (now defunct), (3) there were commercially available wheels in Gauge 1 of the right OD which might easily, with new axles, be re-gauged for lead, trailing, and tender truck wheelsets, and (4) ample research materials (scale drawings, photographs & small scale brass models) were available. Here's a sample (my thanks to Jon Davis of Mallets in the Tall Timber for the prototype photos and Barry Bogs for the pics of the O scale Skookum). And yes, if you are wondering, the Skookum still exists, though in pieces, and has been sold to a California railfan who plans to restore the loco to operation!
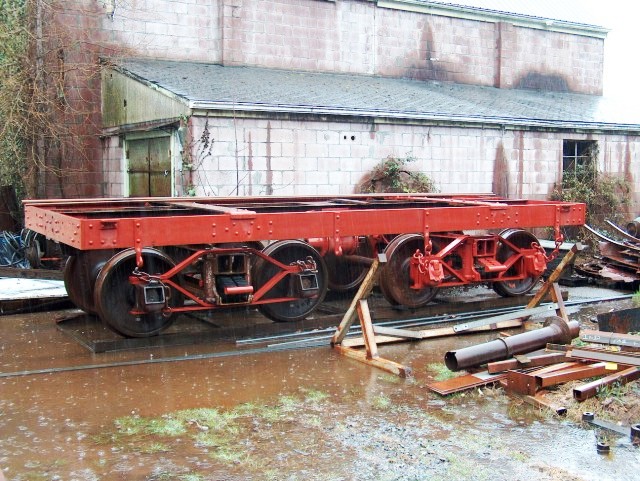
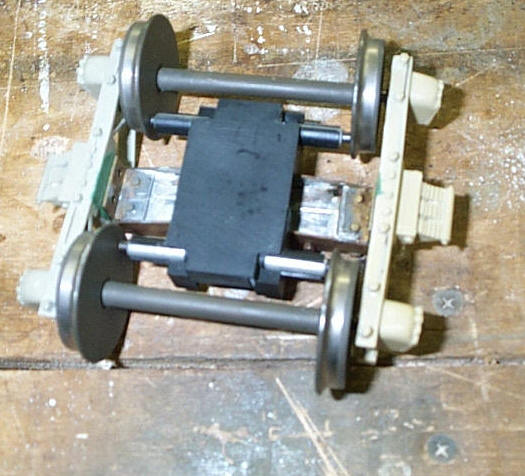
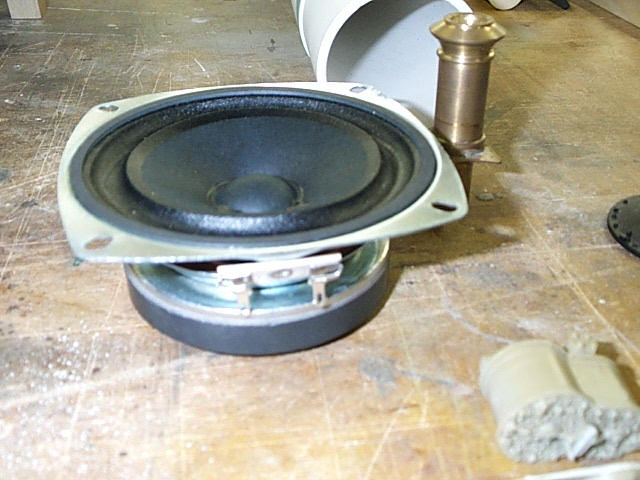
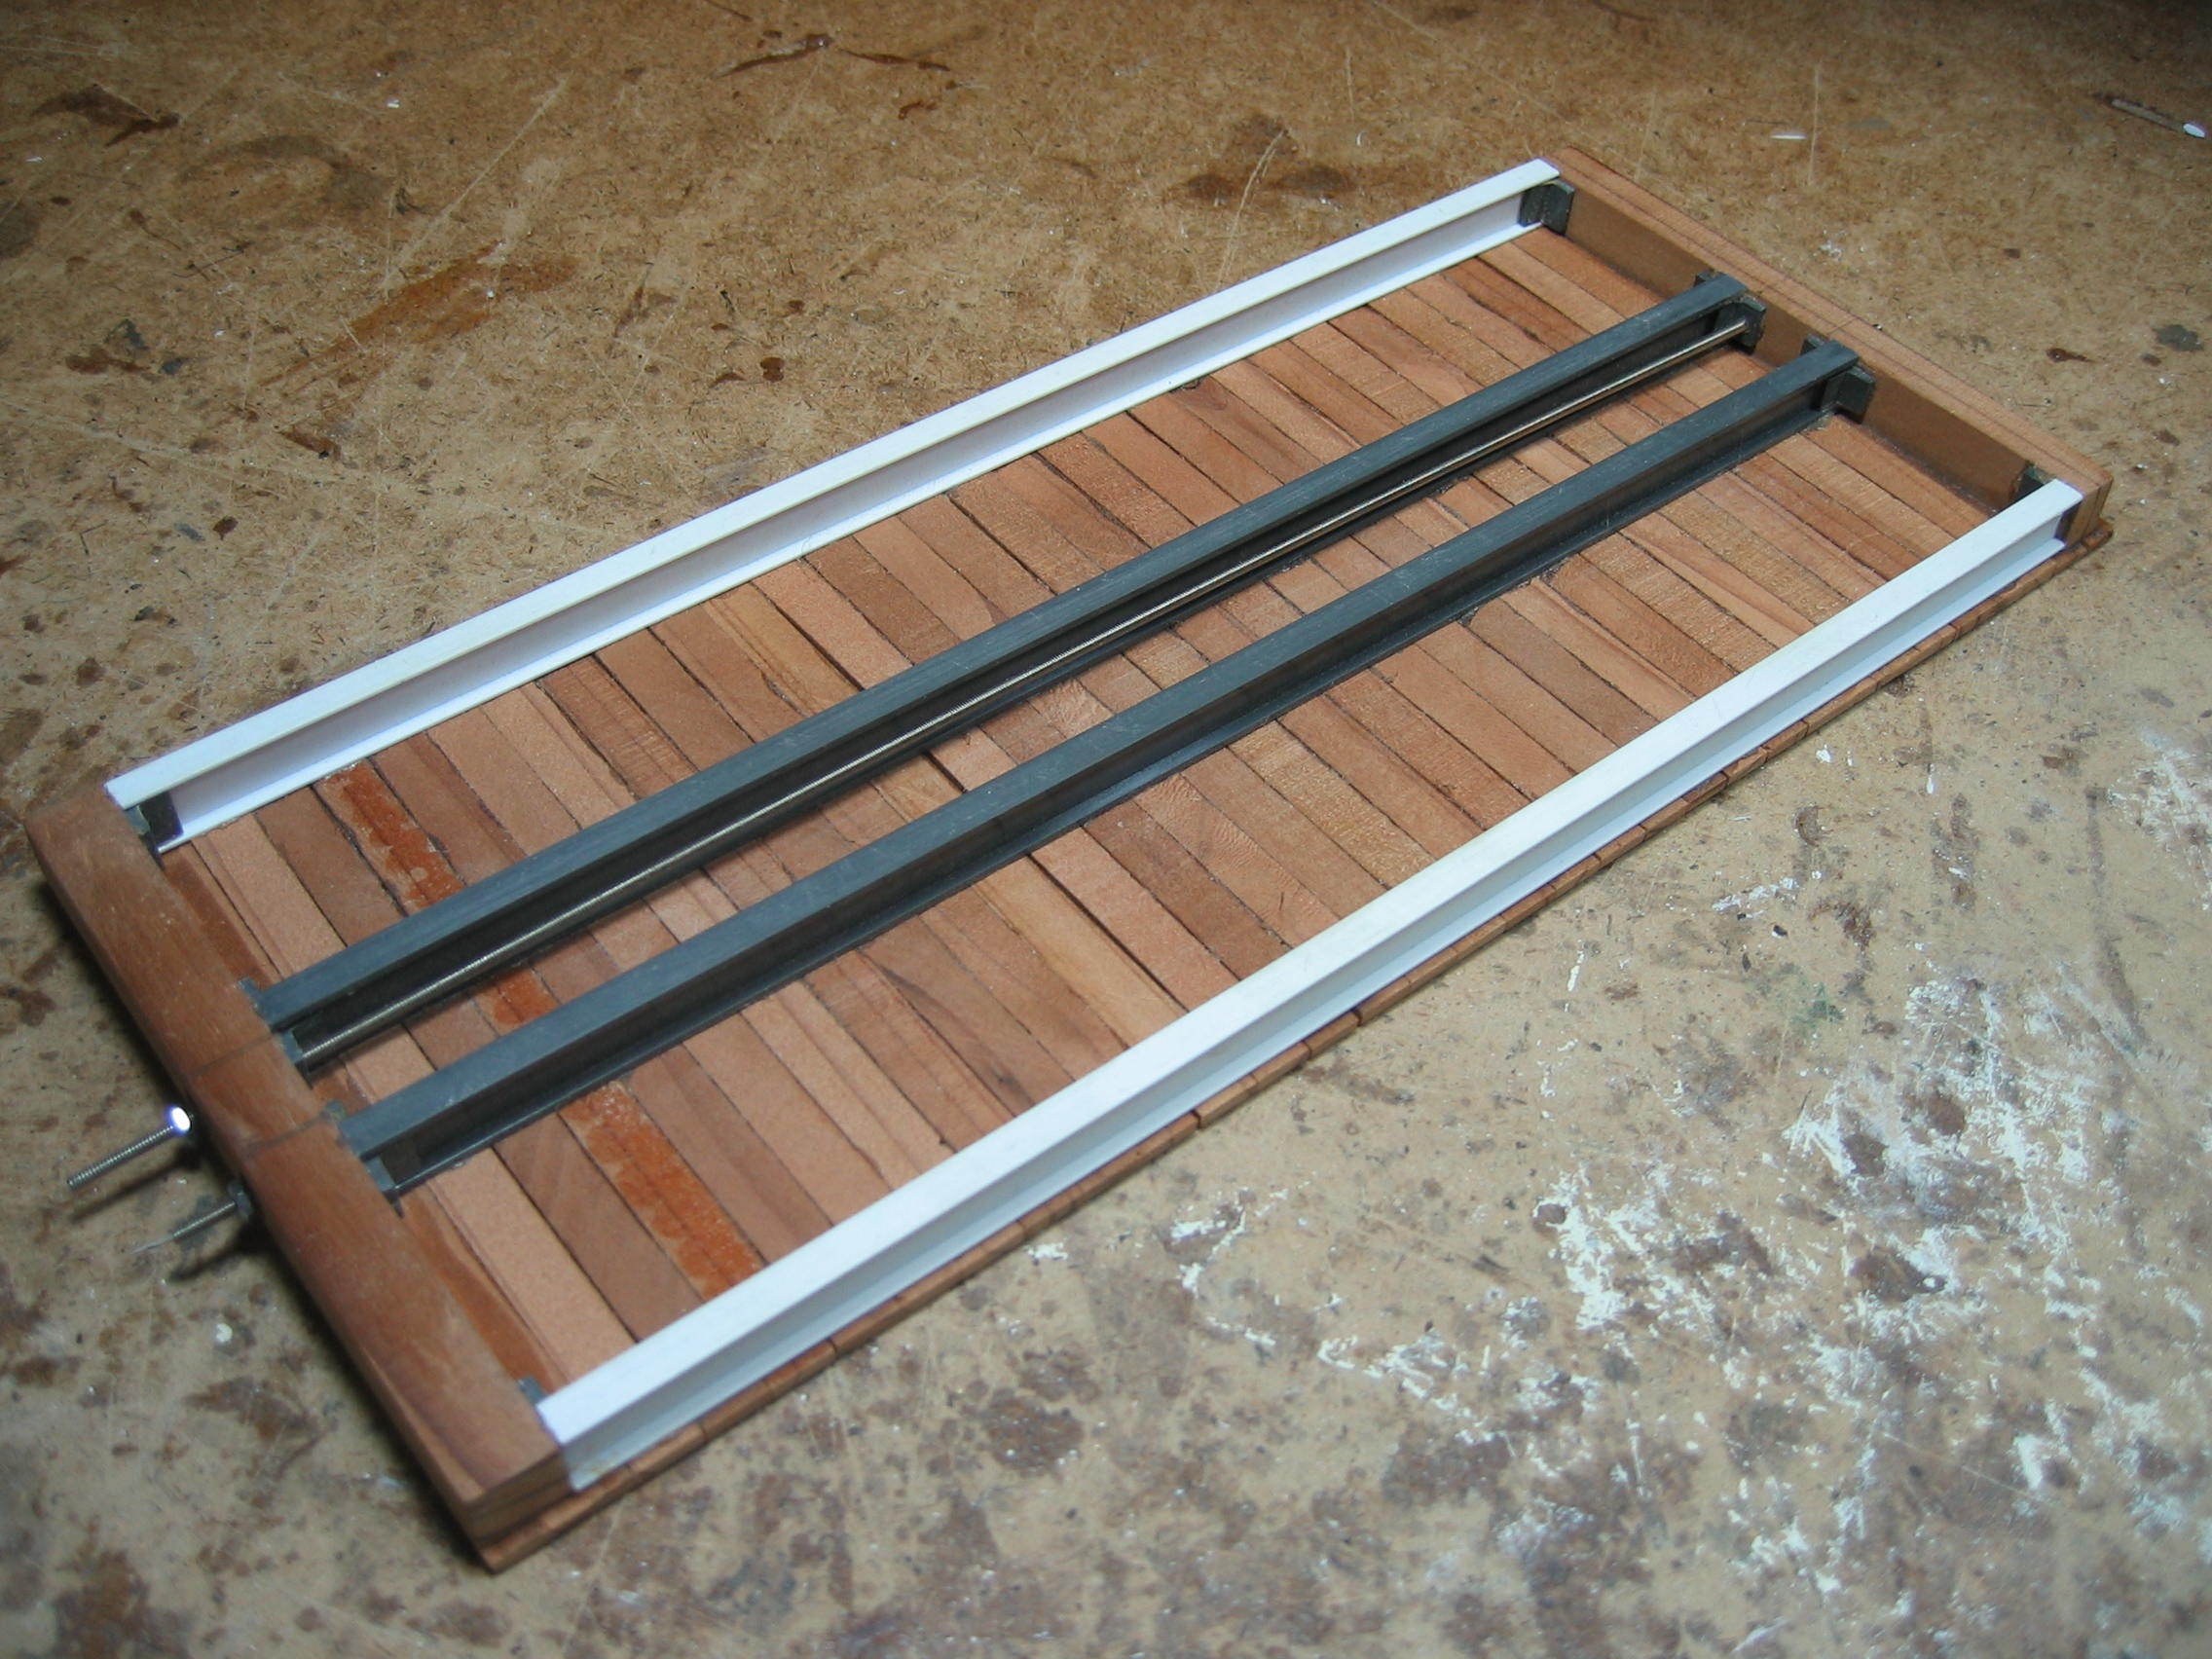
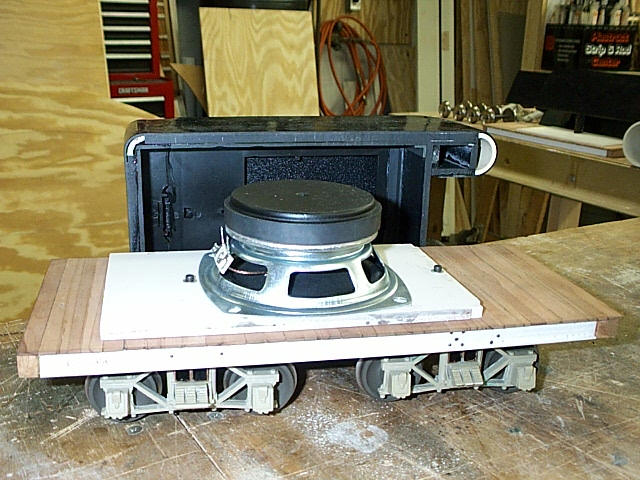
The Tenders I started on the tenders first, making use of Bachman's Big Hauler 4-6-0 tender as a core, since these were of the proper scale length. I widened each slightly, and glued new .060" ABS wrappers around the Bachman bodies (using a heat gun to make the ABS bend). Later I found the Bachman shells to be unnecessary and the .060" ABS far too thick to heat and bend without adding ripples to the plastic sheet. Ripples meant a lot of filing and sanding. New tender underframes were made from Plastruct channel and redwood for both decking and end sills. Two threaded rods, with nuts embedded in the end sills and running the length of each tender, were added to ensure that no draft forces would pull the tender underframe apart (Gauge 3 freight cars are quite heavy!). Provision was also made for a 5" diameter speaker to mount in the tender floor alongside a Phoenix sound board. Barry Bogs provided cast urethane archbar truck sideframes from his K-37 project--a near identical match to those on the Skookum. I then fabricated brass bolsters and adopted Barry's method of power pick up: LGB plunger-style pickups mounted to the bolster & wiping each wheelset.
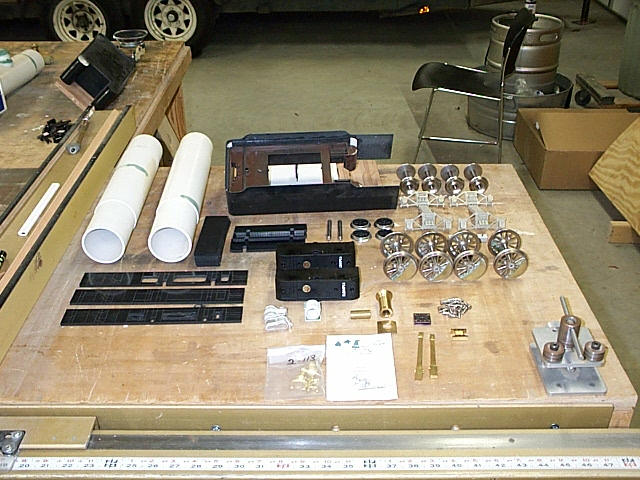
The Chassis Motor blocks sufficient for four locomotives were acquired by buying up clearance LGB 0-4-0 "Circus" engines (similar to their well known "Stainz" 0-4-0 but much cheaper!). After cannibalizing the drives, the remaining superstructures, drivers and other parts were themselves "parted out." New 2˝" gauge, 6mm axles were turned to fit the motor blocks, and the original LGB spur gears were pressed on these. Delrin insulating bushings were applied to each die-cast Palacina Productions driver, and a special quartering jig was used to assemble the lot. New Ľ" ABS frames were cut by hand and then filed to match the outline of the Skookum's own frame halves. These were then sandwiched around the motor blocks, with additional slabs of Ľ" ABS spacing the frames halves out. The resulting assembly was glued and screwed into place. The thin stamped metal LGB side rods were discarded and new brass ones were milled and fitted to the Palacina drivers. Crossheads and main rods were also milled from brass bar stock. The lead and trailing trucks were similarly fabricated from brass stock and then LGB spoked wheels, used previously on one of their electric locomotive, were re-gauged and applied. Cylinders were built up from PVC pipe, PVC end caps turned on a lathe, and ABS. At this point, work on the chassis ceased.
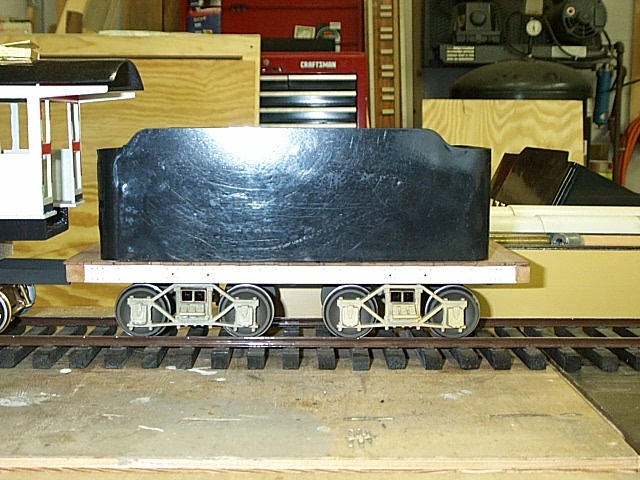
Boiler & Cab As is typical among kitbashers in large scale, the boiler was made from a length of PVC pipe, turned on a lathe to the right OD. The cab was made from .080" styrene, whereas the domes were PVC pipe end cap turnings. The stack was turned from brass by a fellow Gauge 3 enthusiast, my friend the late James Newton, who for several years published the North American Gauge 3 Newsletter.
Passing the Baton
Exiting Gauge 3--An Explanation If you have read this far, then some sort of explanation is due for why I switched, after making substantial progress, from modeling in 1:22.6 scale, Gauge 3 to 1:20.3 scale, F Gauge. The reason is, quite simply, scale. The availability, or lack thereof, of commercial products in Gauge 3 was not the main problem--I knew that going into Gauge 3. Rather, with the world of large scale shifting towards more scale-conscious and accurate 3' narrow gauge modeling on Gauge 1 track--and the creation of the correct proportion for such: 1:20.32 or F scale--to stay in 1:22.5 scale with its compromise regarding modeling 3' narrow gauge prototypes, as opposed to European meter gauge, for operation on Gauge 1 track, made little sense. If I wanted to model both American 3' narrow gauge and 4'-8˝" standard gauge together, then I ought to do so in the same scale, with two different proportional model track gauges. I did not have the substantial investment in 1:22.5 scale models, as say, my friend Barry Bogs, and so a choice had to be made. I chose to go with F scale and chart a new path: the standard gauge counterpart to narrow gauge modeling in 1:20.3: 70.6mm gauge, or F Gauge as it is being dubbed. Since making the change in 2001, a lot has happened, personally for me, as well as for the progress of standard gauge modeling in 1:20.3. I hope that you will join me as I detail some of that progress elsewhere on this site. |
|
Last update: 28 October 2009
|
|
Copyright 2004-2007 CumberlandModelEngineering.com. All Rights Reserved |
.jpg) The First Freight
Car (1994-1999)
The First Freight
Car (1994-1999)
.JPG)
.JPG)
.jpg)
.jpg)
.jpg)
.jpg)
.jpg)
.jpg)

.JPG)
.JPG)
.jpg)

.JPG) 43' C&O Coal
Gondola (2001-2002)
43' C&O Coal
Gondola (2001-2002)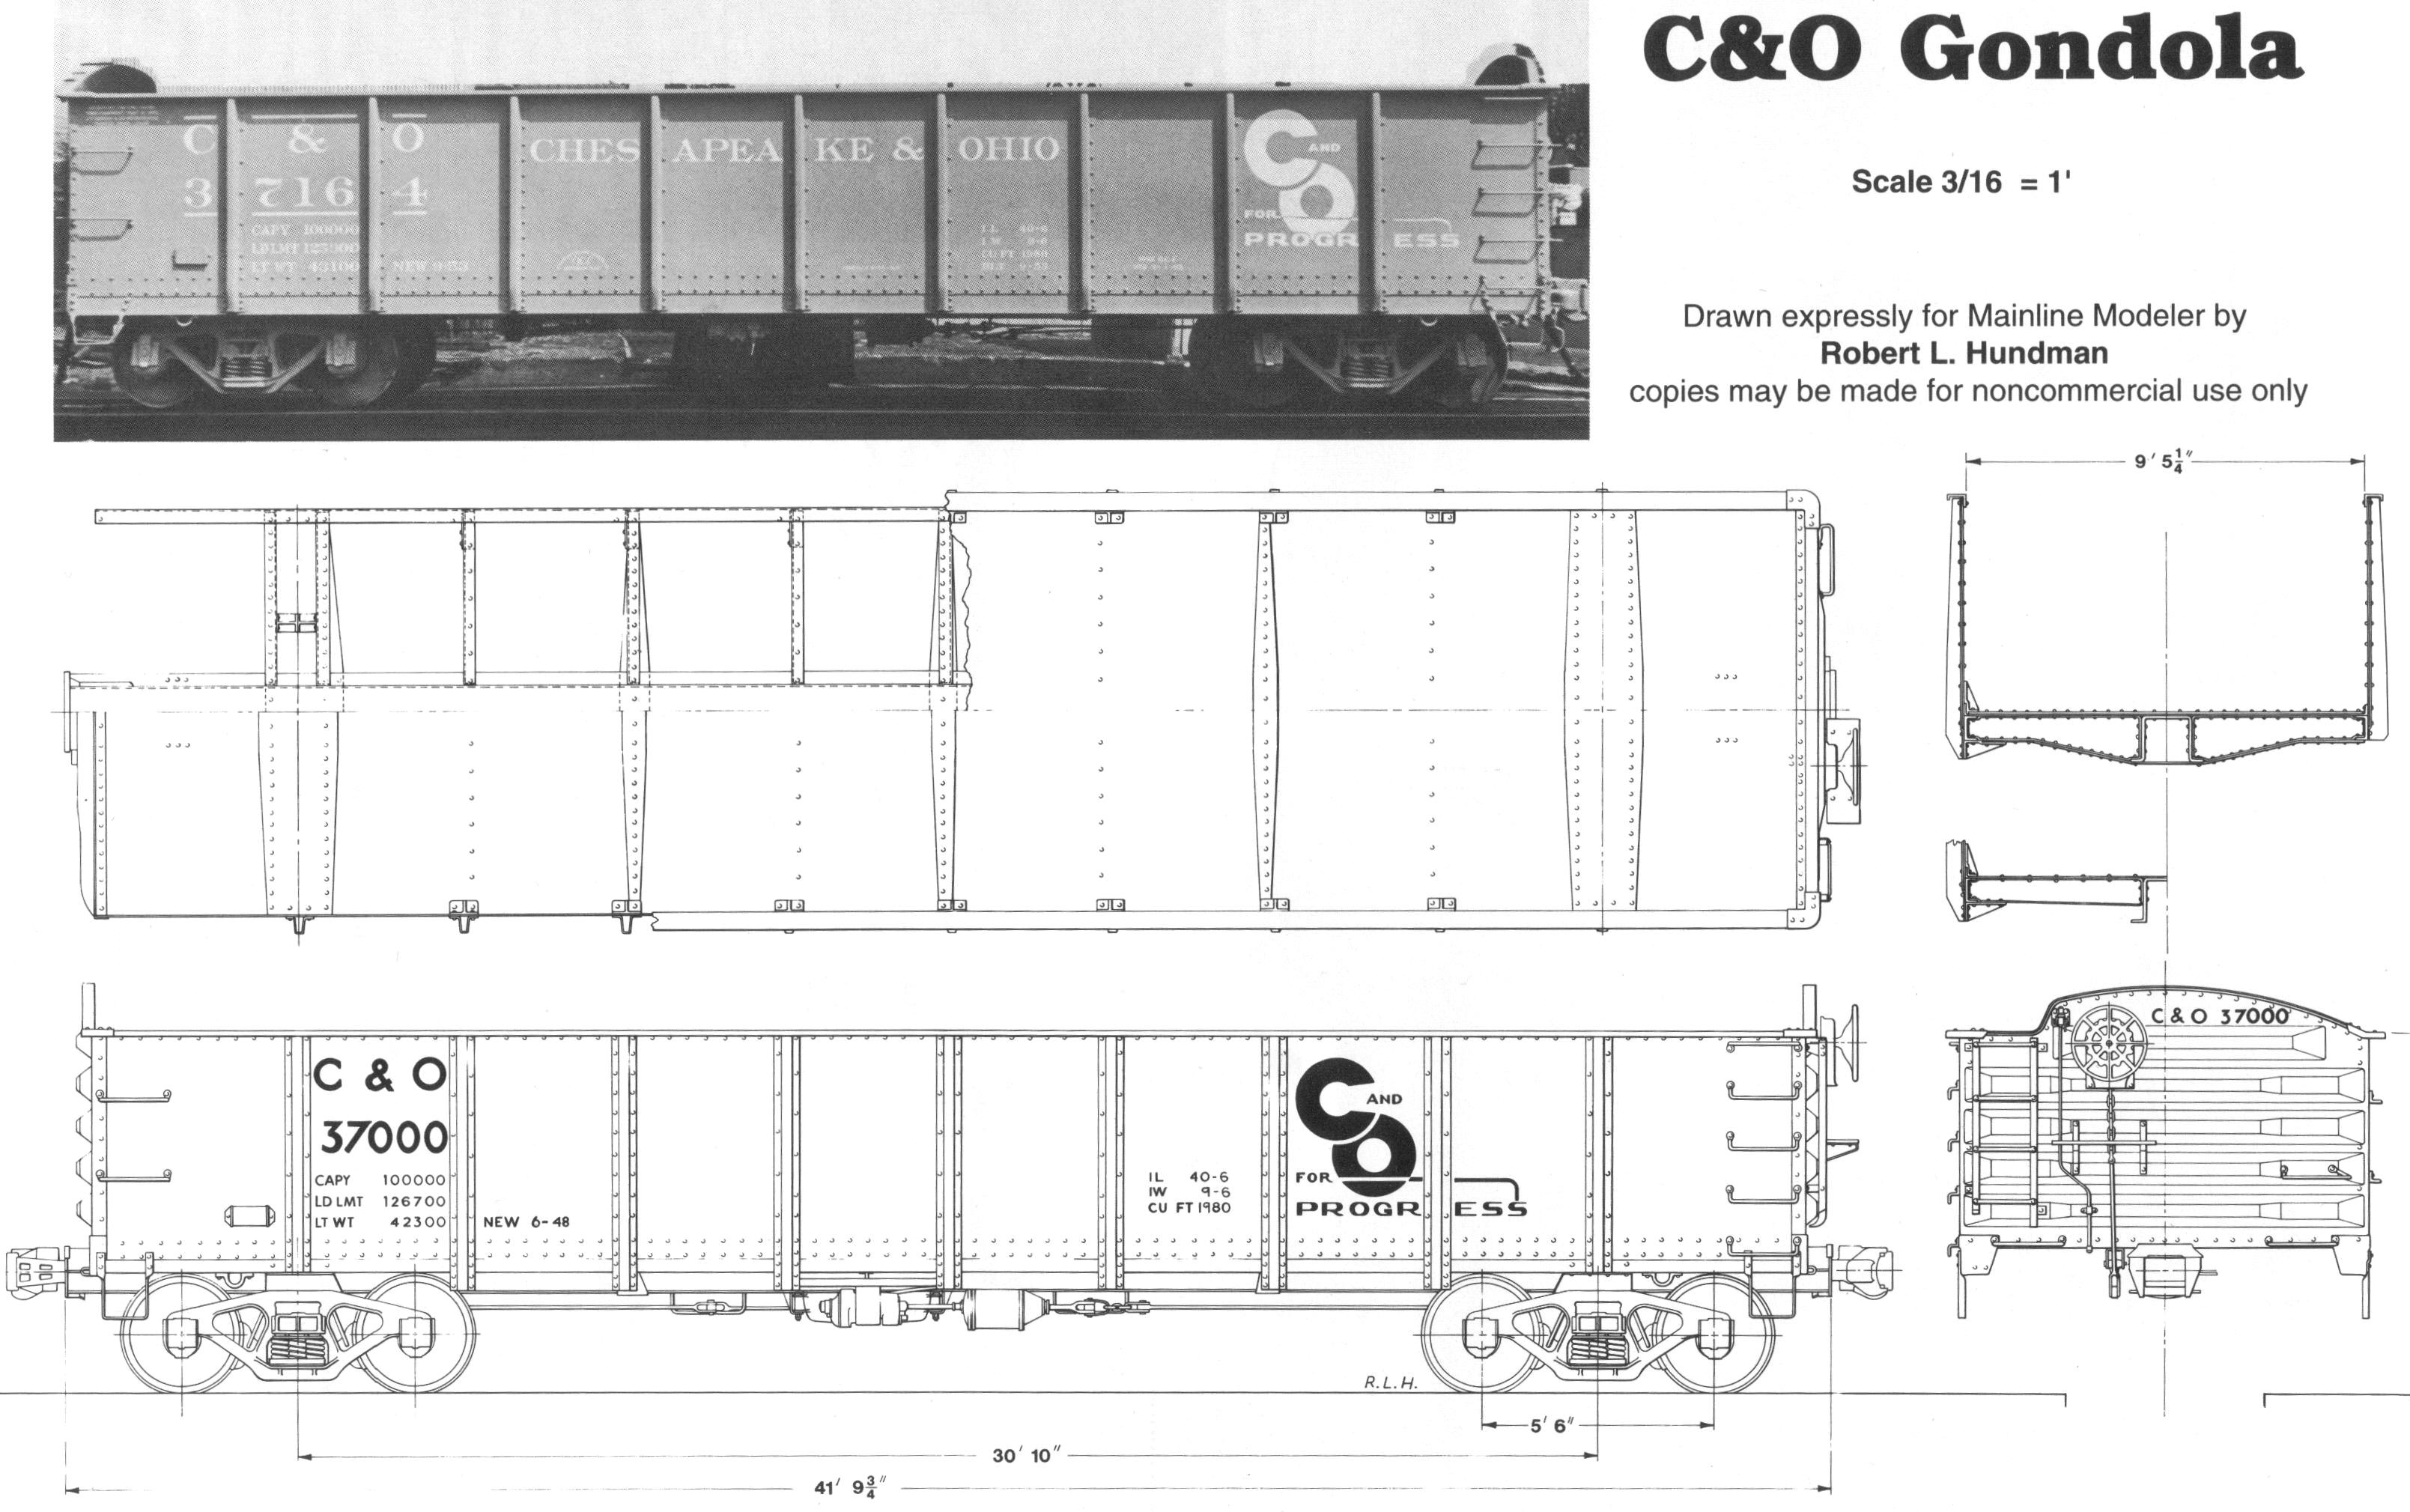
.JPG)
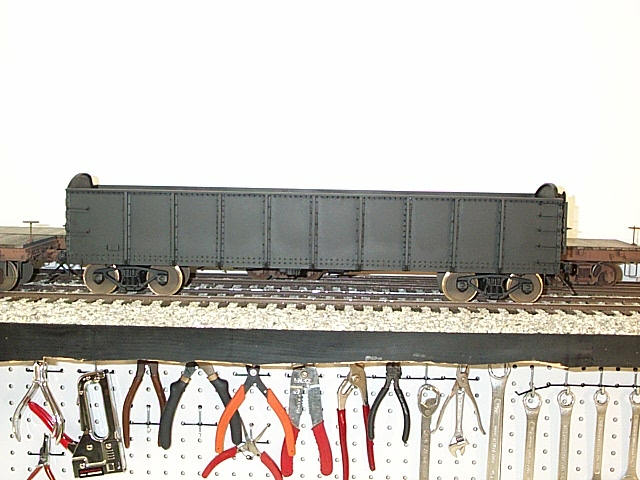
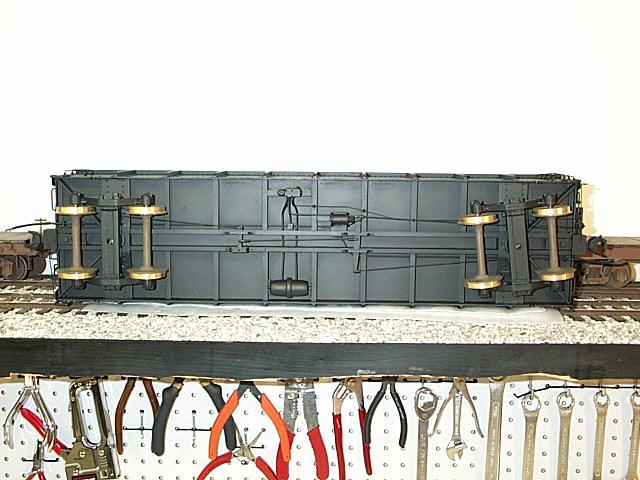
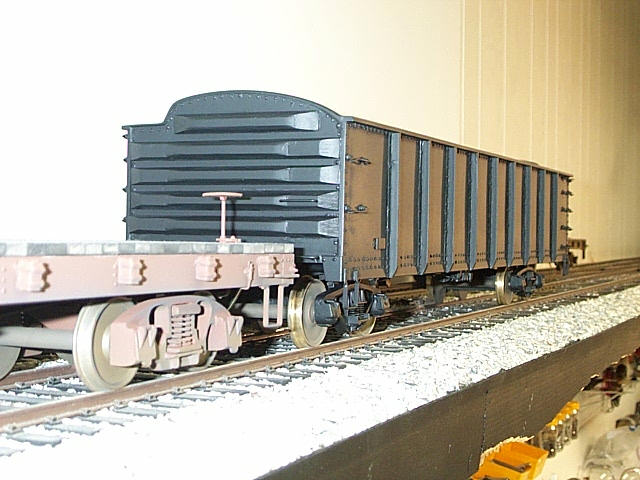


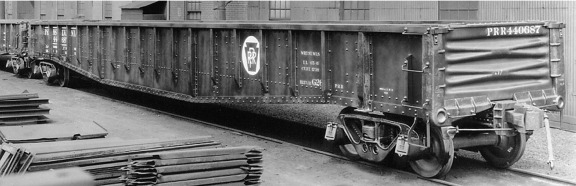 65' Pennsy Mill Gondola (2001-2002)
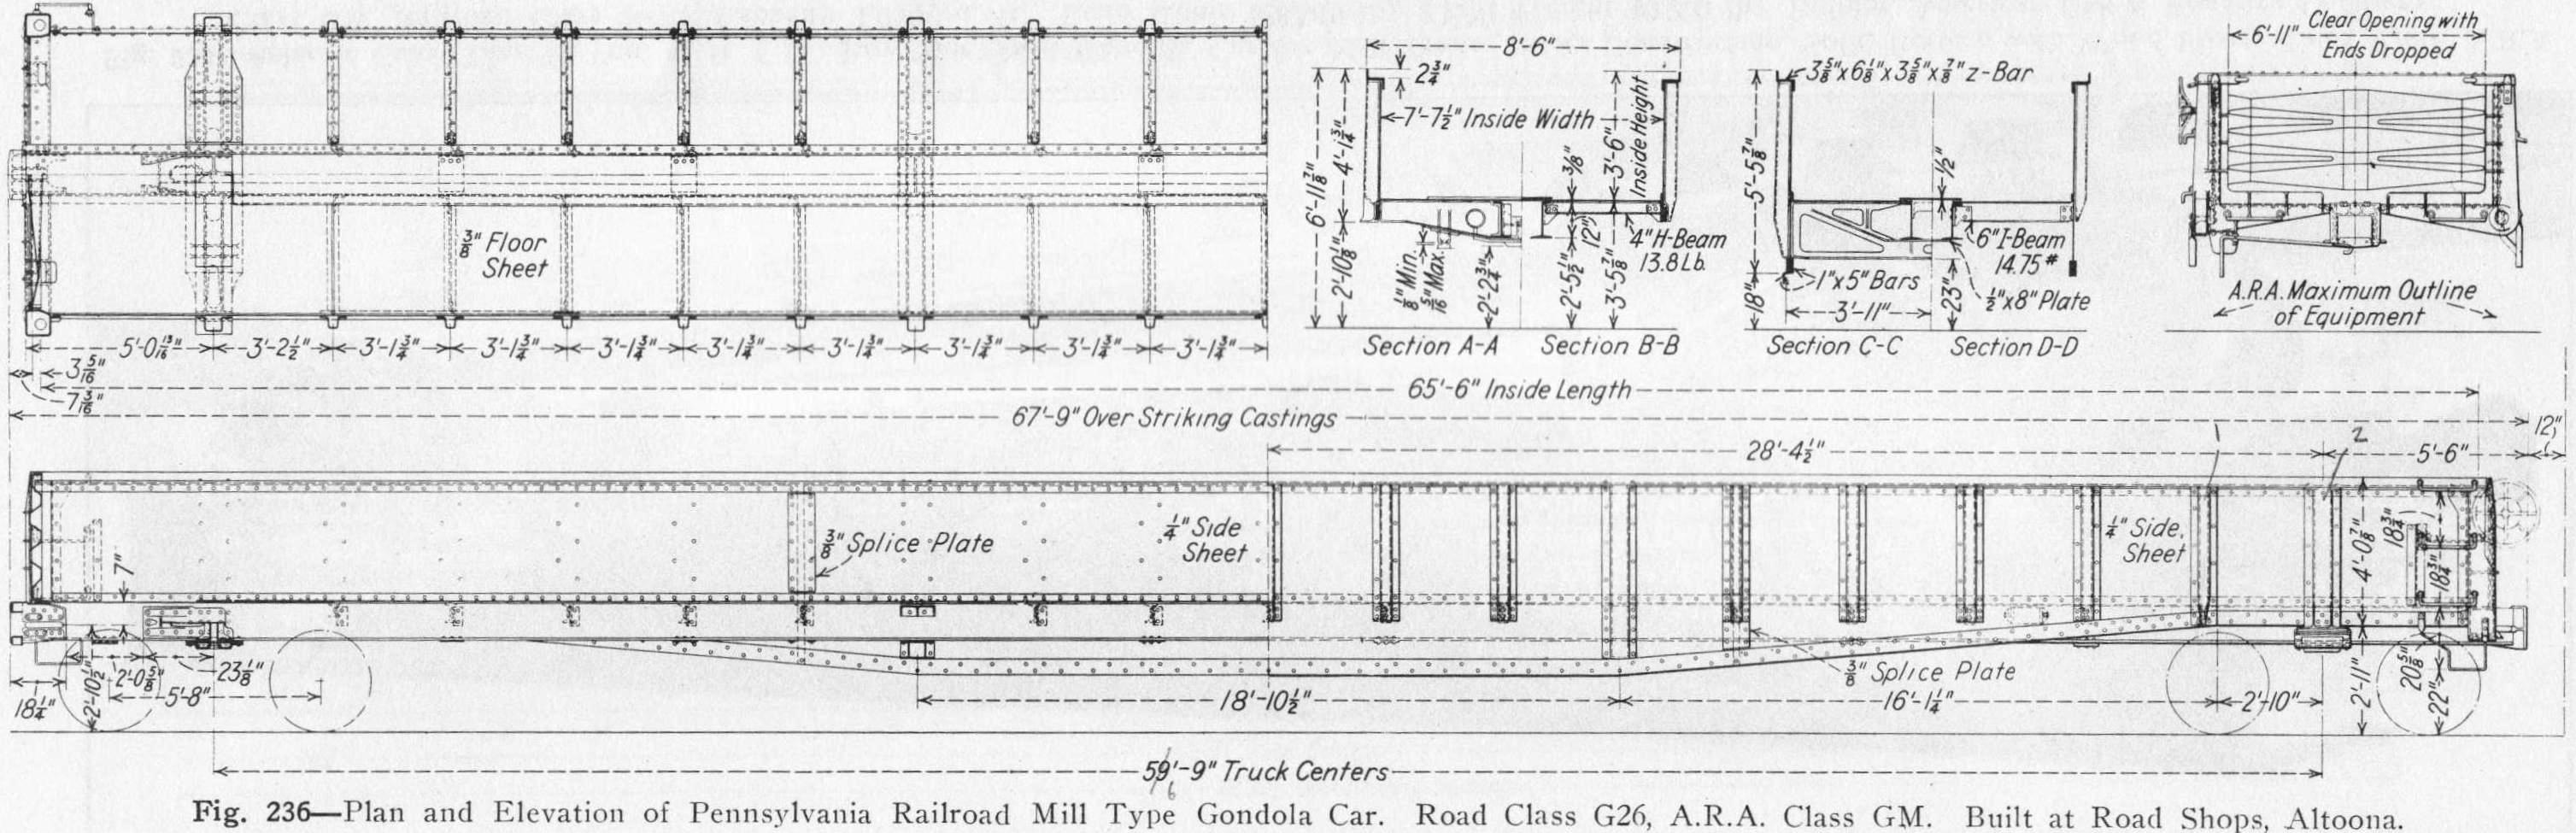
.JPG)

.jpg)


.jpg) Pullman-Standard PS1
50' & 40' Boxcars (2001)
Pullman-Standard PS1
50' & 40' Boxcars (2001)
.JPG)
.jpg) Pullman-Standard PS-3
2-Bay Hopper (2001, 2005)
Pullman-Standard PS-3
2-Bay Hopper (2001, 2005)


.jpg)
.jpg)
.jpg) Little River Railroad
2-4-4-2
#126 (1998)
Little River Railroad
2-4-4-2
#126 (1998)

.jpg)
.JPG)

.JPG)

.jpg)
.jpg)

.jpg)


.jpg)

.jpg)

.jpg)
.jpg)
.jpg)
.jpg)
.JPG)
.JPG)
.jpg)
.jpg)

.jpg)
.JPG)